
Beginner Cake Decorating Tips for Stunning Results
More than 80 percent of home bakers say their biggest challenge is achieving a cake that looks as good as it tastes. The path to beautiful cake decorating can feel intimidating but with the right tools and a bit of guidance, even beginners can create professional results at home. This step by step guide breaks down the process so you can confidently gather your supplies, prep every layer, and master simple decorating techniques for eye catching cakes that impress.
Table of Contents
- Step 1: Gather Essential Cake Decorating Tools And Supplies
- Step 2: Prepare Your Cake For Smooth Decorating
- Step 3: Apply A Flawless Crumb Coat Base
- Step 4: Use Simple Piping Techniques For Decoration
- Step 5: Add Finishing Touches And Check Your Design
Quick Summary
| Key Point | Explanation |
|---|---|
| 1. Assemble essential tools for decorating | Gather key items like a turntable, offset spatulas, and piping bags for effective cake decoration. |
| 2. Properly prepare your cake | Cool your cake completely and apply a crumb coat for a smooth, professional finish. |
| 3. Master the crumb coat technique | Apply a thin layer of buttercream to seal crumbs and create an even base for decoration. |
| 4. Practice basic piping skills | Start with simple designs like borders and rosettes to build confidence and control. |
| 5. Refine your cake design | Add finishing touches with embellishments and check for symmetry to enhance visual appeal. |
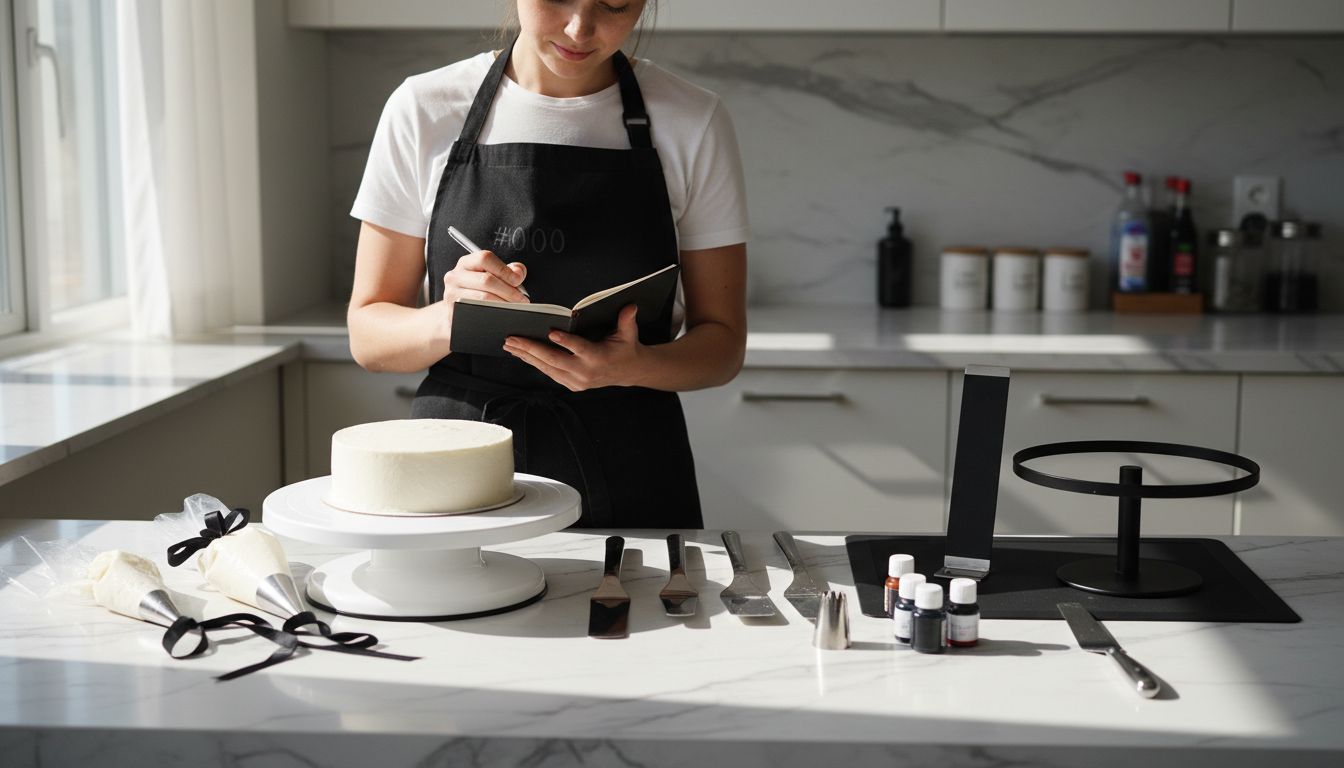
Step 1: Gather essential cake decorating tools and supplies
Preparing for your cake decorating journey starts with assembling the right tools and supplies. According to the Scottish Qualifications Authority, successful cake decoration requires a thoughtful collection of equipment that enables various techniques like piping, crimping, and embossing.
Your basic toolkit should include several key items. Start with a good quality turntable for smooth cake spinning and even decorating, offset spatulas in different sizes for precise icing application, and a set of piping bags with multiple tips for creating intricate designs. You will also need a bench scraper for creating smooth buttercream finishes, a sharp palette knife for detailed work, and a sturdy cake stand. Additional essential supplies include fondant smoothers, rolling pins specifically for sugar paste, and a selection of food colours for creating vibrant decorations.
As you build your collection, remember that quality matters more than quantity. Invest in durable tools that will serve you well across multiple cake decorating projects. The London South East Colleges recommend starting with versatile tools that can help you master basic techniques before expanding your toolkit. A well-organized tool kit will set you up for decorating success and make your creative process much more enjoyable.
Step 2: Prepare your cake for smooth decorating
Achieving a professional cake decorating result starts with thorough cake preparation. According to Blackpool and The Fylde College, proper cake preparation involves several critical steps that set the foundation for stunning decorations.
Begin by completely cooling your cake to room temperature. Next, use a long serrated knife or cake leveller to trim the cake top evenly, creating a flat surface. Carefully slice your cake horizontally into layers if you want to add filling. One Education recommends creating a crumb coat first a thin layer of frosting that seals in loose crumbs and provides a smooth base for your final decoration. Apply this initial coat using an offset spatula, then refrigerate the cake for 15 to 20 minutes to allow the crumb coat to set.
Pro tip: Rotate your cake turntable while applying the crumb coat to ensure an even and smooth surface. A chilled cake is much easier to work with and prevents crumbs from mixing into your final frosting layer. Once your crumb coat has set, youre ready to apply your final layer of buttercream or fondant with confidence and precision.
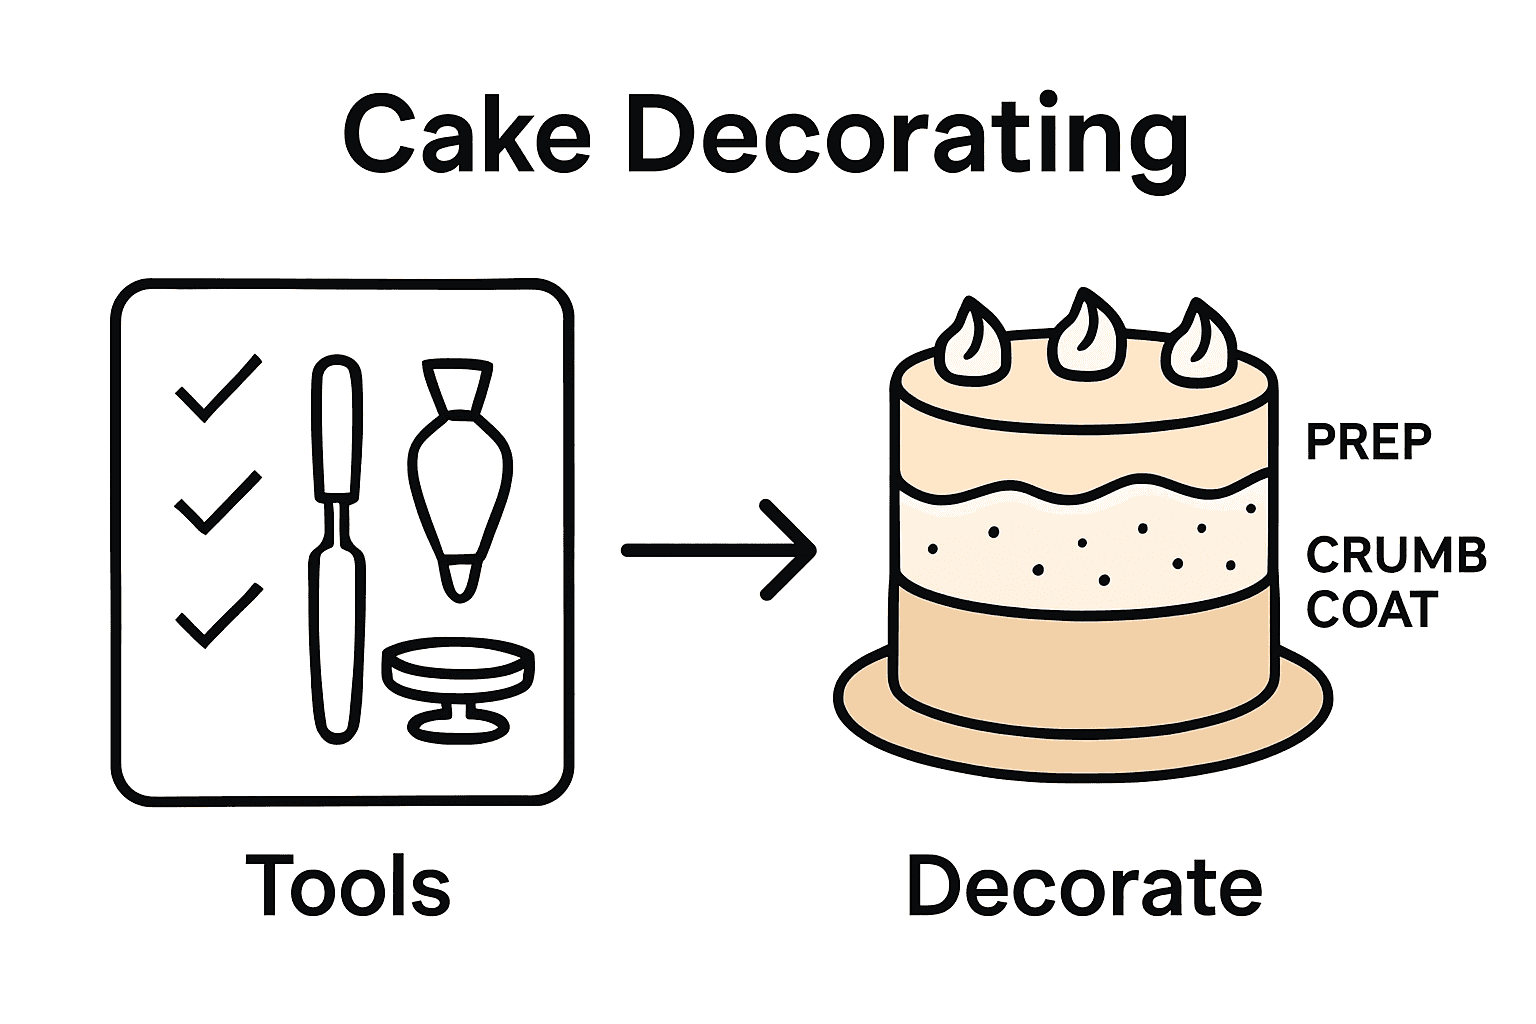
Step 3: Apply a flawless crumb coat base
Mastering the crumb coat is essential for creating a professional looking cake decoration. According to One Education, the crumb coat is a critical first layer that creates a smooth foundation for your final frosting and decorative work.
To apply a flawless crumb coat, start by placing a small dollop of buttercream in the centre of your cake board to anchor the cake. Position your first cake layer and apply a thin, even layer of buttercream using an offset spatula. Fill any gaps between cake layers with more buttercream, ensuring a level surface. The Scottish Qualifications Authority recommends using gentle, consistent pressure when spreading the buttercream to trap and seal any loose crumbs.
Pro tip: Work in thin layers and keep your spatula clean by wiping it frequently with a paper towel. This prevents crumbs from mixing into your frosting and ensures a smoother finish. After applying the initial crumb coat, refrigerate the cake for 15 to 20 minutes to set the layer. This chilling time allows the buttercream to firm up, creating a stable base for your final decorative layer and preventing crumbs from mixing into your finished design.
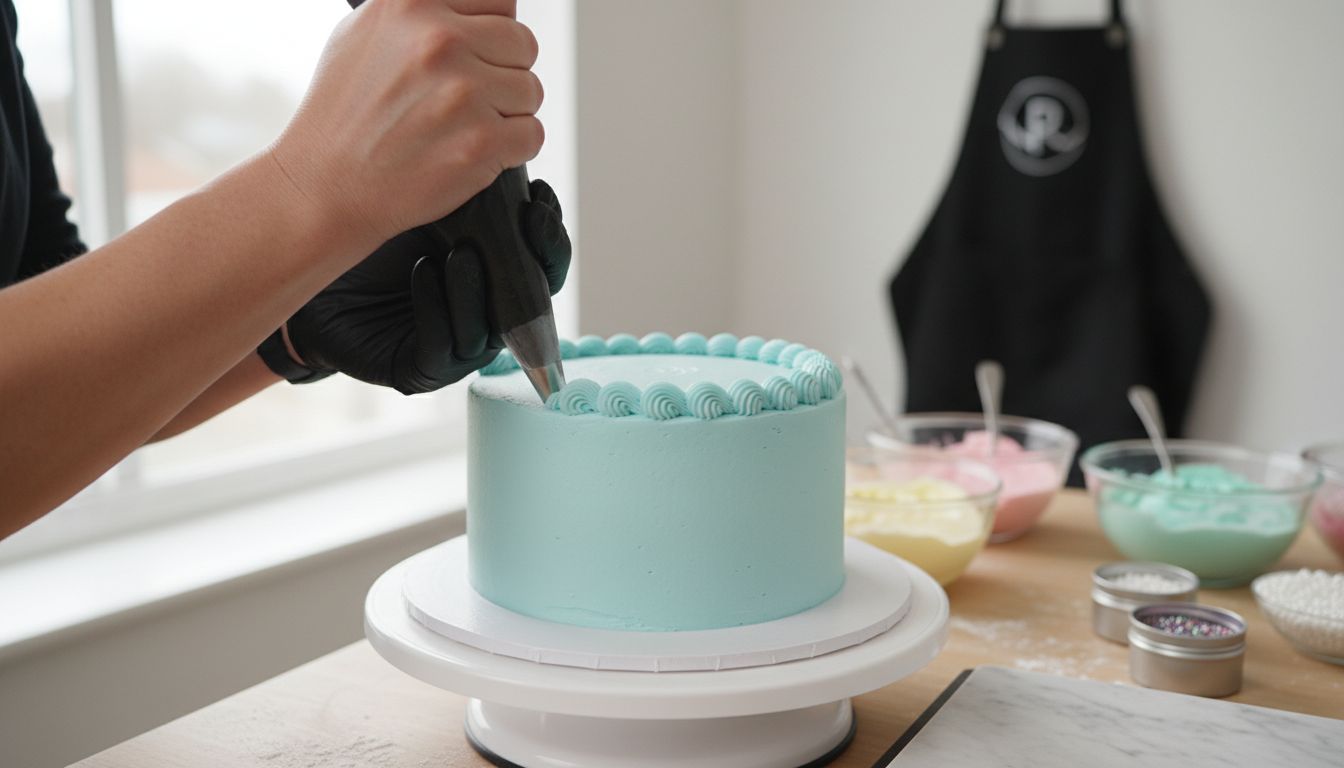
Step 4: Use simple piping techniques for decoration
Piping is a fundamental skill that transforms an ordinary cake into a stunning masterpiece. According to London South East Colleges, learning basic piping techniques is essential for beginners wanting to create beautiful cake decorations.
Start by preparing a sturdy piping bag fitted with a basic round or star tip. Fill the bag about halfway with buttercream or royal icing, then twist the top to prevent leakage. Practice consistent pressure and steady hand movement on a flat surface before attempting your cake. The Scottish Qualifications Authority recommends starting with simple techniques like creating borders, rosettes, and basic flower designs. Keep your hand steady and move in a consistent motion, applying even pressure to create uniform decorative elements.
Pro tip: Hold your piping bag at a 45 degree angle to the cake surface and maintain consistent pressure for smooth lines. Always practice on a piece of parchment paper first to build confidence and control. Start with basic designs like shell borders or simple dots before progressing to more complex decorative techniques. With practice, youll develop the muscle memory and precision needed to create professional looking cake decorations.
Step 5: Add finishing touches and check your design
The final stage of cake decorating is all about refining your design and adding those special details that transform a good cake into an extraordinary one. According to the Scottish Qualifications Authority, this step involves carefully applying previously prepared decorative elements and commercially available embellishments to achieve a polished look.
Review your cake from multiple angles, checking for symmetry and balance in your design. One Education recommends experimenting with techniques like watercolour blending or subtle ombre colour gradients to add depth and visual interest. Use small offset spatulas or food safe brushes to blend colours smoothly and create soft transitions between decorative elements. Consider adding edible pearls, glitter, or delicate sugar flowers as final accents that elevate your cake design.
Pro tip: Take a step back and photograph your cake from different perspectives. This helps you spot any uneven areas or missed details that might need touch ups. Natural lighting works best for revealing the true texture and colour of your decoration. Remember that perfection comes with practice dont be too hard on yourself if your first few attempts are not exactly as you imagined. Each cake you decorate will help you develop better skills and more confidence in your creative abilities.
Make Your Cake Decorating Dreams Come True with the Right Tools and Supplies
Starting your cake decorating journey can feel overwhelming when you are unsure about the essential tools and supplies needed to create flawless designs. The article highlights key challenges such as achieving a smooth crumb coat, mastering piping techniques, and adding those perfect finishing touches. These steps require not only practice but also reliable equipment like high-quality spatulas, piping bags, food colours, and cake boards to bring your creative vision to life.

Take the next step toward stunning cake results by exploring the wide range of professional-grade baking accessories available at The Vanilla Valley. With over a decade of trusted service, their extensive selection supports beginners and professionals alike. Whether you need vibrant food colours, durable decorating tools, or decorative accents, you can find everything in one place. Act now to enjoy exclusive offers, free next day delivery, and expert guidance that will make your decorating process smoother and more enjoyable. Start browsing The Vanilla Valley today and transform your cakes into works of art.
Frequently Asked Questions
What tools do I need to start cake decorating?
To begin cake decorating, you need essential tools such as a turntable, offset spatulas, piping bags, and a bench scraper. Gather these items to ensure you can perform various decorating techniques effectively.
How do I prepare my cake for decorating?
Start by cooling your cake to room temperature, then level the top with a serrated knife. If adding layers, slice the cake horizontally and apply a thin crumb coat to seal in crumbs before refrigerating it for 15 to 20 minutes.
What is a crumb coat and why is it important?
A crumb coat is a thin layer of frosting applied to trap loose crumbs and create a smooth base for final decorations. Apply this initial layer evenly and refrigerate for 15 to 20 minutes to ensure a stable surface for your final frosting.
What basic piping techniques should I practice as a beginner?
Begin with basic piping techniques such as borders, rosettes, and simple flowers. Practice on parchment paper before decorating your cake to build confidence and ensure even pressure while piping.
How can I add finishing touches to my cake design?
Refine your cake design by reviewing it from multiple angles and adding decorative elements like edible pearls or subtle colour gradients. Experiment with small spatulas or brushes to create smooth transitions and enhance visual interest.
What should I do if my cake decoration doesn’t look perfect?
If your decoration doesn’t turn out as expected, remember that practice improves your skills. Take a step back, observe your work critically, and keep experimenting with designs in future cakes to gain confidence and improve your technique.