
Colouring and Painting Tips for Modelling Paste Cakes
Struggling with modelling paste that turns sticky, streaky, or refuses to hold its shape is a familiar challenge for cake decorators across South Wales. Achieving vibrant, flawless colours on sculpted cakes comes down to understanding how tools, workspace, and colour choices all work together. With the right approach, even beginners can master consistent colour distribution and professional painting techniques that give every cake a showstopping finish.
Table of Contents
- Step 1: Prepare Your Modelling Paste Workspace
- Step 2: Select Suitable Colours and Painting Tools
- Step 3: Mix Colours Evenly Into Modelling Paste
- Step 4: Apply Paint Precisely For Desired Effects
- Step 5: Check Colour Consistency and Finish
Quick Summary
| Key Takeaway | Explanation |
|---|---|
| 1. Set Up a Sturdy Workspace | A solid, stable surface prevents movement while applying modelling paste, crucial for achieving clean results. |
| 2. Choose the Right Colours | Use gel or paste colours for uniform blending; avoid liquid and powder colours that compromise the paste’s texture. |
| 3. Knead for Even Colour Mixing | Thoroughly knead the paste after adding colour to avoid streaks, achieving a professional look and consistent shade. |
| 4. Paint Only When Dry | Ensure modelling paste is fully dry before painting to prevent cracking and achieve smooth application of colours. |
| 5. Inspect for Consistency | Check for colour uniformity and smoothness under various lighting to catch and correct imperfections before finalisation. |
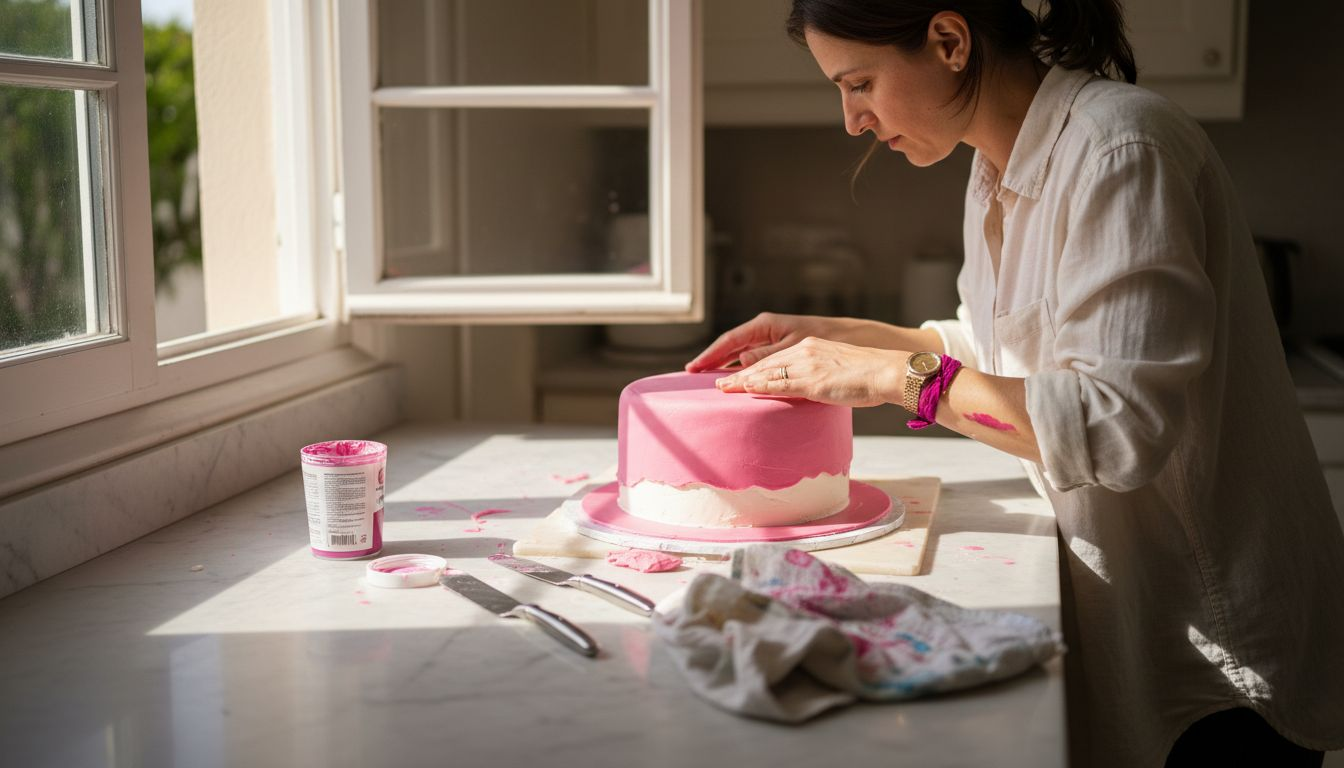
Step 1: Prepare your modelling paste workspace
Getting your workspace right is half the battle when you’re working with modelling paste. Unlike softer mediums, modelling paste is thick and demanding, so your setup needs to be sturdy enough to handle the weight and texture you’re applying. Spend five minutes setting this up properly now, and you’ll save yourself frustration later on.
Start by choosing a solid surface that won’t wobble or flex under pressure. A wooden painting board works beautifully, or you can use a Masonite panel if you prefer something with a bit more grip. If you’re working on canvas, make sure it’s double thick canvas for stability, and here’s a practical trick: wedge timber blocks at the corners to keep the canvas taut. Modelling paste is genuinely heavy, and any movement will throw off your work, especially when you’re layering colours or creating fine details.
For your tools, forget fancy brushes at this stage. You’ll want palette knives, butter knives, or paint scrapers to apply and manipulate the paste. Keep a damp cloth nearby to wipe your tools between applications, and make sure your workspace has proper air flow so your paste can dry evenly. Position yourself somewhere with decent natural light if possible, though you might find a daylight lamp helps with spotting colour variations. When you’re colouring modelling paste, accurate colour matching depends on seeing your work clearly, so good lighting isn’t just nice to have, it’s part of your foundation.
Expert tip Position your workspace near a window or invest in a daylight lamp, as artificial room lighting can distort how colours appear on your paste, causing frustration when colours look completely different once you’ve finished.
Step 2: Select suitable colours and painting tools
Choosing the right colours and tools makes an enormous difference when you’re decorating modelling paste cakes. The wrong combination can ruin your paste’s texture or leave you with colours that don’t blend properly. Getting this right from the start means you’ll work faster and achieve better results.
When it comes to colouring your modelling paste, concentrated paste colours such as Sugarflair or gel colours are your best friends. These blend smoothly into your paste without making it sticky or dry, which is crucial because modelling paste needs to maintain its firm texture for holding shapes. Avoid liquid colours, as they can make your paste sticky and difficult to work with, and skip powder dust colours for mixing into the paste itself, as they tend to dry it out. Once your paste is coloured and ready, you’ll need the right tools to apply it. Fine brushes for detailed work are essential, along with palette knives for spreading and cocktail sticks for adding tiny accents or textures. A good set of brushes in varying sizes means you can move from broad coverage to minute details without constantly swapping tools.
When you’re painting over finished modelling paste, you have options. Acrylic paints work beautifully and dry quickly, or you can use specialised edible dust colours applied with sponges for a softer finish. If you’re working in South Wales and wanting professional results, having both options in your toolkit gives you flexibility. The key is knowing when to use each one based on the effect you’re after. Thick acrylics give you bold, defined colours, whilst edible dusts create a more subtle, powdered appearance that works wonderfully for shading and depth.
Here’s a summary of recommended colouring products and their effects on modelling paste:
| Product Type | Effect on Paste Texture | Colour Intensity | Best Use Case |
|---|---|---|---|
| Gel/Paste Colours | Maintains firmness | Strong, vivid | Uniform colouring |
| Liquid Colours | Makes paste sticky | Weak, inconsistent | Avoid for modelling paste |
| Powder Dust Colours | Dries out the paste | Subtle, muted | Use for surface shading only |
| Acrylic Paints | No impact if applied dry | Bold, opaque | Painting dried surfaces |
| Edible Dusts | No impact on texture | Soft, gentle | Shading and blending effects |
Top tip Invest in a small set of artist’s brushes in sizes 0, 2, and 4 rather than trying to make do with one or two, as the right brush size prevents you from accidentally covering areas you meant to leave blank.
Step 3: Mix colours evenly into modelling paste
Getting your colour distributed evenly throughout your modelling paste is where patience really pays off. Uneven colour mixing will leave you with streaky, patchy results that look unprofessional, so taking time to do this properly now saves you from disappointment later. The good news is that the technique is straightforward, though it does require some elbow grease.
Start by taking a small amount of your chosen gel or paste colour on a cocktail stick and add it to your paste. This is the crucial bit, and it cannot be rushed. Add just a tiny amount, then knead the paste thoroughly with your hands, working it consistently in the same direction. You’ll notice at first that the colour looks streaky and blotchy, almost like marbling. Do not worry. This is completely normal. Keep kneading and folding the paste over itself, breaking it down and redistributing it until the streaks begin to fade. After about one to two minutes of continuous kneading, you should start seeing the colour become more uniform. If you need a deeper shade, add another tiny amount of colour on your cocktail stick and repeat the kneading process. Consistent colour distribution in modelling paste requires continued kneading until the colour fully penetrates throughout, so do not be tempted to rush this stage by adding lots of colour at once. Your hands will warm the paste as you work, and this actually helps the colour blend more smoothly. The warmth makes the paste slightly more pliable, allowing the colour to spread more evenly than if you tried to mix it when the paste is cold and stiff.
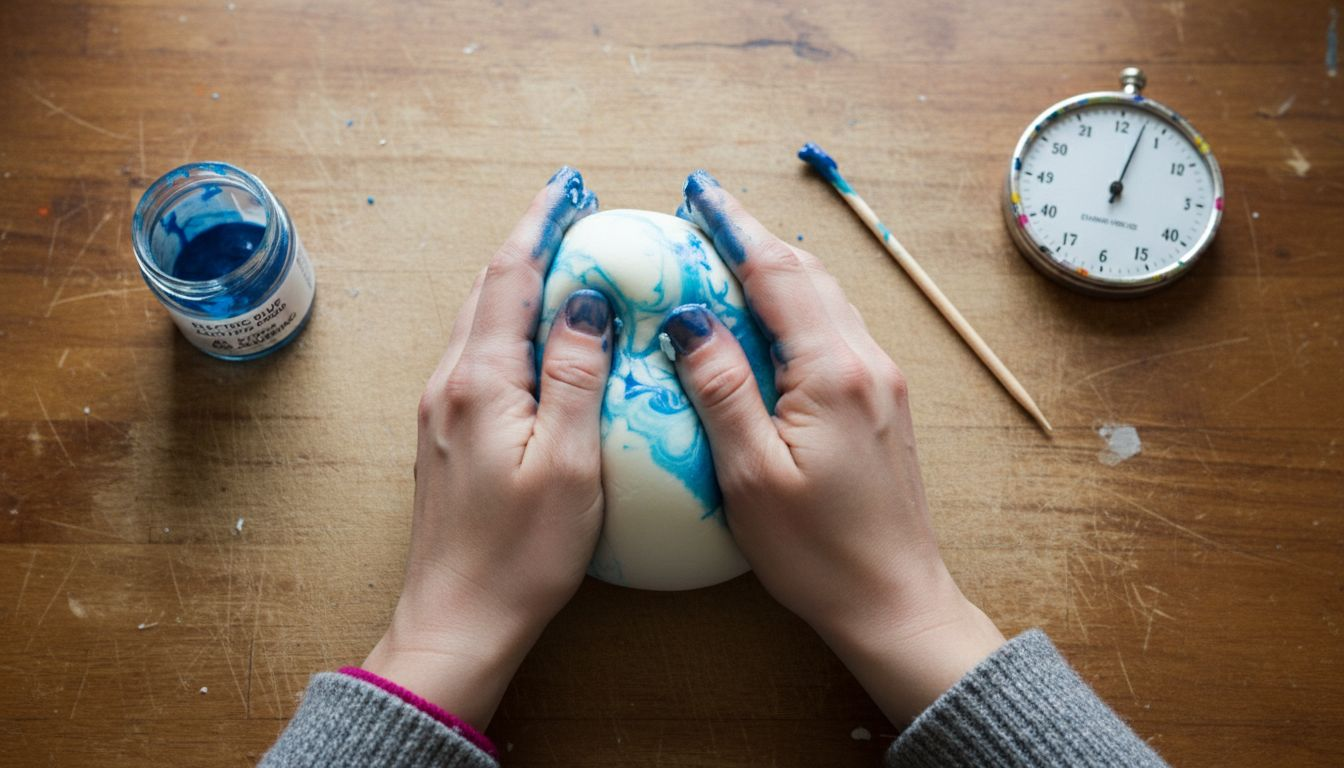
Once your paste is a uniform shade, it is ready to use. If you find yourself with colour that is still slightly streaky after several minutes of kneading, you may have added too much colour too quickly. In that case, add more uncoloured paste and continue kneading to dilute it. Working with modelling paste teaches you quickly that less is more when it comes to adding colour.
Professional tip Warm your hands slightly before kneading coloured paste by rinsing them in warm water and drying thoroughly, as this reduces kneading time and helps the colour blend faster without overworking the paste.
Step 4: Apply paint precisely for desired effects
Painting over your dried modelling paste opens up a whole world of creative possibilities. This is where you add fine details, shading, and depth that transform your work from good to genuinely impressive. The key is waiting until your paste is completely dry before you start, and then applying your paint with intention and control.
Before you even pick up a brush, make absolutely certain your modelling paste is fully dry. This usually takes 24 to 48 hours depending on thickness and humidity in your workspace. Painting wet or partially dried paste will cause cracking and ruin your hard work. Once you are confident it is dry, select your finest brushes. A size 0 or 2 brush gives you the precision you need for detailed work, whilst a slightly larger size 4 brush works well for broader coverage or background effects. Fine brushes for precision and layering paint allow you to build up colour gradually, creating depth through multiple thin layers rather than one thick application. This layering technique is genuinely transformative. Start with very diluted paint and apply it lightly, allowing it to dry between coats. Each layer adds richness and dimension that you simply cannot achieve in a single application.
Think about what effect you are after. If you want solid, bold colour coverage, you can use paint at full strength and apply it confidently. For subtler effects like shading or creating texture, dilute your paint with water to make it more translucent, then apply it where you want shadows or dimension. Working in South Wales, you might find that dry conditions help your paint dry faster, which is actually beneficial as it lets you layer more quickly. Some decorators prefer to mix paint directly into modelling paste before application to create naturally textured, coloured surfaces. This approach gives you a unified look where colour and texture feel integral rather than painted on top. Experiment with both methods to see which suits your style.
The table below compares two main methods for colouring modelling paste:
| Method | Colour Distribution Quality | Typical Uses | Advantages |
|---|---|---|---|
| Mixing Colour Into Paste | Uniform throughout | Solid shapes, base colours | Consistent, fade-resistant |
| Painting On Surface | Surface only | Details, accents, shading | Flexible, easy adjustments |
Work slowly and deliberately. Rushing leads to mistakes that are difficult to fix once paint has dried. If you do make an error, you can carefully scrape it off with a craft knife whilst it is still wet, or paint over it once everything is fully dry.
Painting tip Dilute your acrylic paint with just a touch of water on your palette before each brush stroke, as this prevents paint from becoming gloppy and allows you to build colour gradually for more professional results.
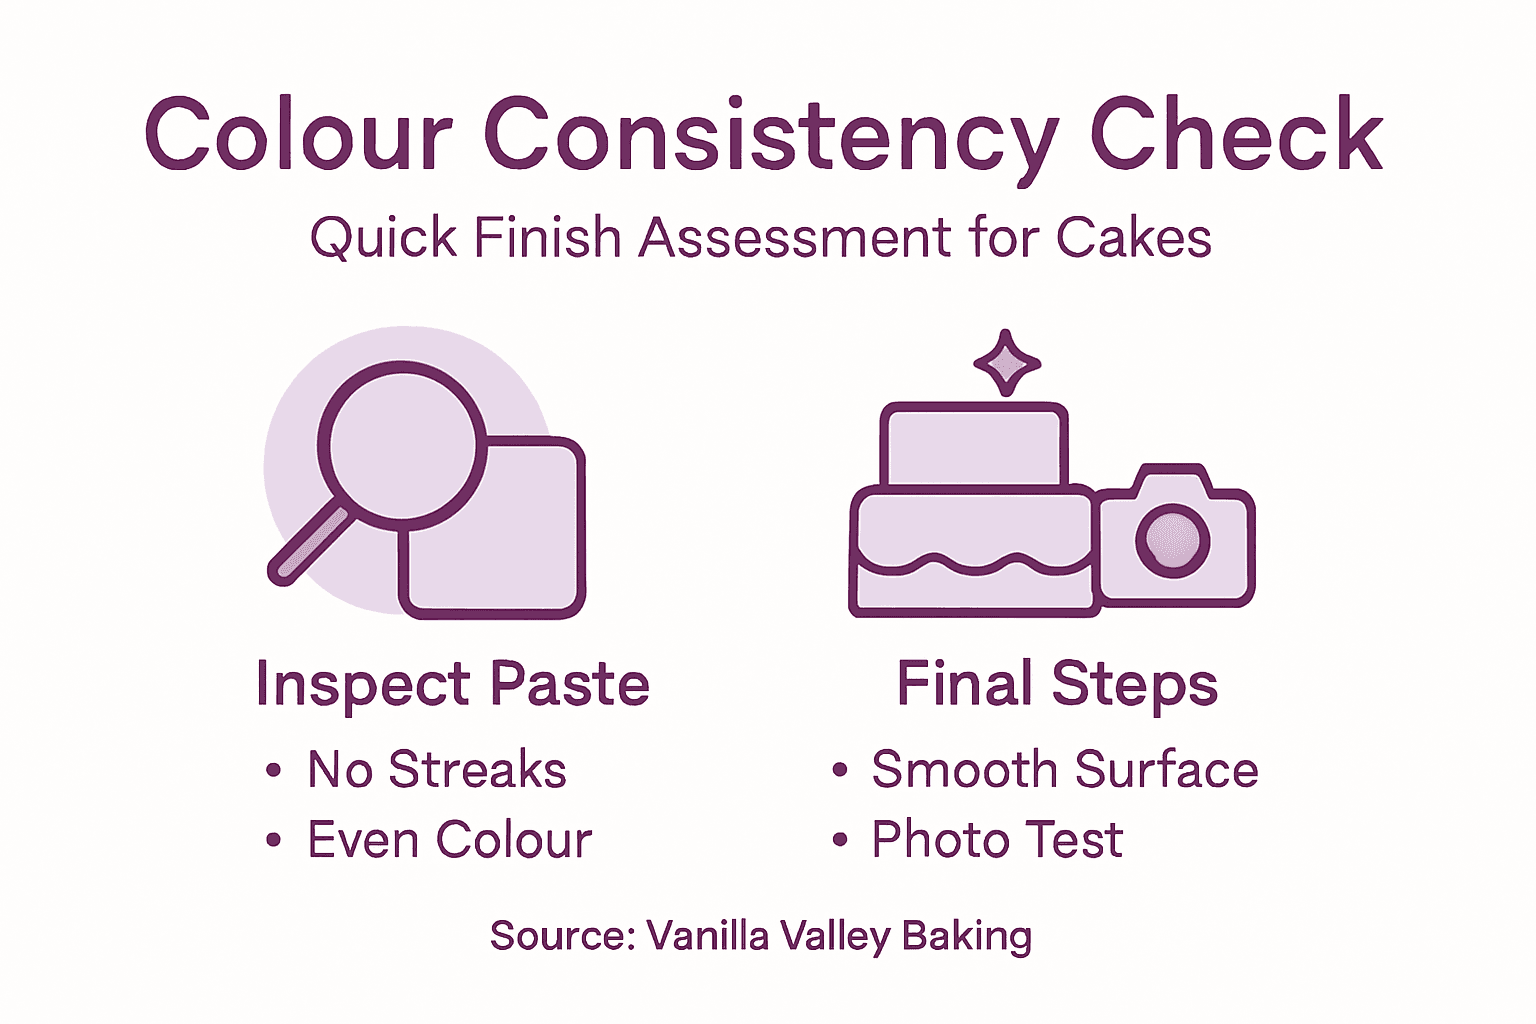
Step 5: Check colour consistency and finish
This is your quality control moment. Before you declare your modelling paste cake complete, take time to inspect your work thoroughly for colour consistency and finish. What looks good under your workspace lights might reveal imperfections when you step back, and catching these now means you can fix them before your cake reaches its final destination.
Start by examining your coloured paste for even colour distribution. Look for any streaks, patches, or areas where the colour fades into white or appears uneven. If you mixed your paste properly, you should see a uniform shade throughout. Hold your work up to natural light and also check it under your workspace lamps, as different lighting reveals different issues. Colour consistency is checked by ensuring even colour distribution throughout with smoothness and no streaks or patches. If you spot minor colour variations, you can knead the paste again if it is still soft, though this becomes difficult once it has begun to set. For painted sections, examine your brushwork closely. Look for blotches, uneven coverage, or areas where paint has pooled. The surface should feel smooth to the touch, and paint should adhere evenly without flaking or cracking. If you are planning to varnish your work for a glossy finish, ensure your paint is completely dry first, as applying varnish over wet paint creates a cloudy, disappointing result.
If you find imperfections and your paste is fully dry, you have options. Light sanding with fine sandpaper smooths rough edges and can even out minor colour variations on the surface. File away sharp edges where paint might have chipped during handling. For painted sections with small cracks or blemishes, you can carefully apply another thin coat of paint over the problem area once everything is fully dry. Working in your South Wales studio, humidity levels matter here. If the air is damp, drying takes longer, and rushing to sand or paint over incomplete drying leads to frustration. Patience at this stage genuinely separates amateur work from professional looking results. Your cake deserves that final polish.
Quality check tip Photograph your finished work under different lighting conditions before considering it complete, as your phone camera often catches imperfections that your eye misses, helping you refine your technique for next time.
Master Colouring and Painting for Your Modelling Paste Cakes with The Vanilla Valley
Achieving perfectly coloured and painted modelling paste cakes requires the right tools and materials that maintain texture and deliver vibrant, consistent shades. If you have struggled with uneven colour distribution or paint cracking because of unsuitable colours or lack of proper brushes, you are not alone. This article’s focus on kneading colour evenly, selecting gel and paste colours over liquid ones, and applying paint precisely with layered techniques highlights key challenges every cake decorator faces.

The Vanilla Valley is your trusted partner for overcoming these common issues. Since 2009, we have supplied high-quality cake decorating essentials that cater to both amateurs and professionals in the United Kingdom. From concentrated gel and paste colours that keep modelling paste firm to specialist brushes and palette knives designed for delicate detailing, our range supports every stage of your creative process. Explore our wide selection of cake boards, fondants, and food colours and experience the confidence of working with premium products that deliver consistent, professional results every time. Step up your cake decorating artistry today and visit The Vanilla Valley online shop to find everything you need to bring your modelling paste creations to life without compromise.
Frequently Asked Questions
What tools are best for applying modelling paste?
Using palette knives, butter knives, or paint scrapers is ideal for applying modelling paste. Avoid fancy brushes at this stage, and keep a damp cloth handy for cleaning your tools throughout the process.
How do I colour modelling paste evenly?
To achieve even colour distribution, add a small amount of gel or paste colour on a cocktail stick and knead it into the paste thoroughly for about one to two minutes. This ensures a uniform shade without streaks, so take your time to knead consistently in the same direction.
Can I paint on modelling paste while it’s still wet?
No, you should wait until your modelling paste is completely dry before painting. Drying time can take 24 to 48 hours, depending on thickness, so ensure it is fully cured to prevent cracking when you apply paint.
What is the best way to create shading effects when painting?
For subtle shading effects, dilute your acrylic paint with a little water before applying it to the surface. This technique allows you to build colour gradually, giving you greater control over the depth and dimension of your painted sections.
How can I check for colour consistency in my modelling paste?
Inspect your coloured paste under natural light and your workspace lamps to spot any streaks or uneven areas. If you notice imperfections, you can knead the paste again while it’s still soft to redistribute the colour evenly.
What should I do if I find imperfections in my painted sections?
If you spot small cracks or blemishes in your painted work, you can carefully apply another thin coat of paint over the affected areas once everything is fully dry. This touch-up will help you achieve a smoother and more polished finish.