
How to Colour Sugarpaste for Stunning Cake Designs
Struggling to achieve true bakery-quality colours on homemade cakes is a common challenge for British amateurs. The right sugarpaste colouring skills can transform even the simplest bakes into showstopping centrepieces in any South Wales kitchen. With over 60 percent of home bakers reporting uneven colour results, mastering professional techniques could make your personal projects shine. This step-by-step guide reveals the foolproof tools, methods, and tips you need to colour sugarpaste like a pro.
Table of Contents
- Step 1: Gather Essential Tools and Ingredients
- Step 2: Prepare Sugarpaste for Colouring
- Step 3: Add and Mix Food Colour Thoroughly
- Step 4: Test and Adjust Shade Consistency
- Step 5: Store Coloured Sugarpaste Safely
Quick Summary
| Essential Insights | Clear Explanation |
|---|---|
| 1. Use Gel or Paste Colours | Opt for food colouring gels or paste for vibrant hues without altering sugarpaste texture. |
| 2. Knead Sugarpaste for Optimal Flexibility | Proper kneading ensures a smooth, elastic texture ideal for colour absorption. |
| 3. Mix Colour Gradually for Accuracy | Start with small amounts of food colour to achieve the desired shade without streaks. |
| 4. Test Colour in Natural Light | Assess colour in daylight for the most accurate judgement of shade and consistency. |
| 5. Store Correctly to Maintain Quality | Use airtight containers and store in a cool, dark place to prolong usability of coloured sugarpaste. |
Step 1: Gather Essential Tools and Ingredients
Before diving into the magical world of sugarpaste colouring, you will need a selection of key tools and ingredients to ensure professional results. Baking tools are crucial for achieving consistent and stunning cake designs, so let’s explore what you need to get started.
First, gather food colouring gels or professional paste colours in various shades. Unlike liquid food colourings, these concentrated pigments deliver vibrant results without diluting your sugarpaste. You will also need clean disposable gloves to prevent staining your hands, a sturdy work surface covered with non-stick baking parchment, and a palette knife or bench scraper for mixing. Professional sugarpaste works best when you can control colour intensity precisely.
Keep your workspace clean and organised by having paper towels, a small bowl of water, and additional clean work surfaces nearby. Having everything prepared beforehand will make your colouring process smooth and enjoyable.
Top Tip: Wear disposable gloves and work on a surface that can handle potential staining to protect your clothing and workspace.
Here is a quick reference guide to common food colouring types used for sugarpaste:
| Colouring Type | Intensity of Colour | Effect on Sugarpaste Texture | Common Uses |
|---|---|---|---|
| Gel | Highly concentrated | No additional moisture | Best for bold, rich shades |
| Liquid | Mild | Softens and dilutes texture | Light pastel tints |
| Powder | Moderate | No moisture added | Dusting or subtle hues |
| Paste | Very intense | Maintains firm texture | Deep, vibrant colours |
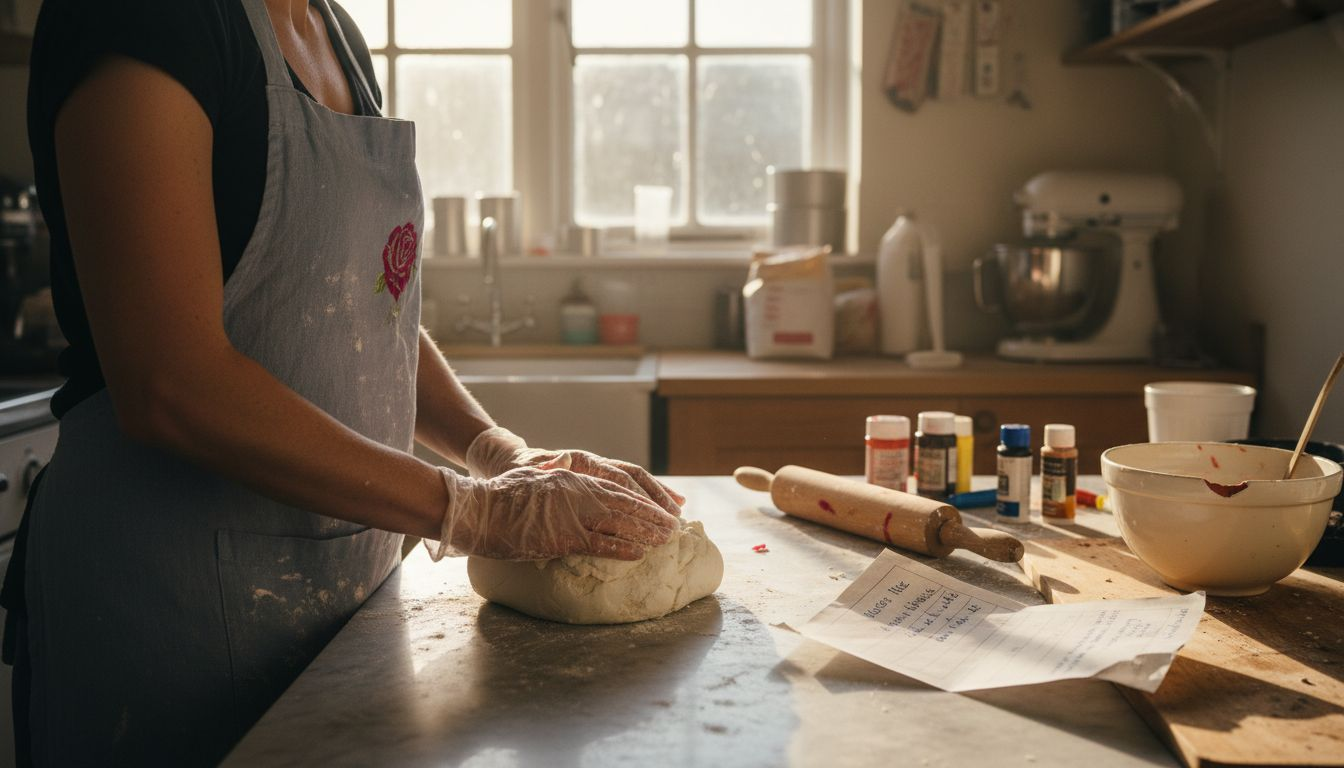
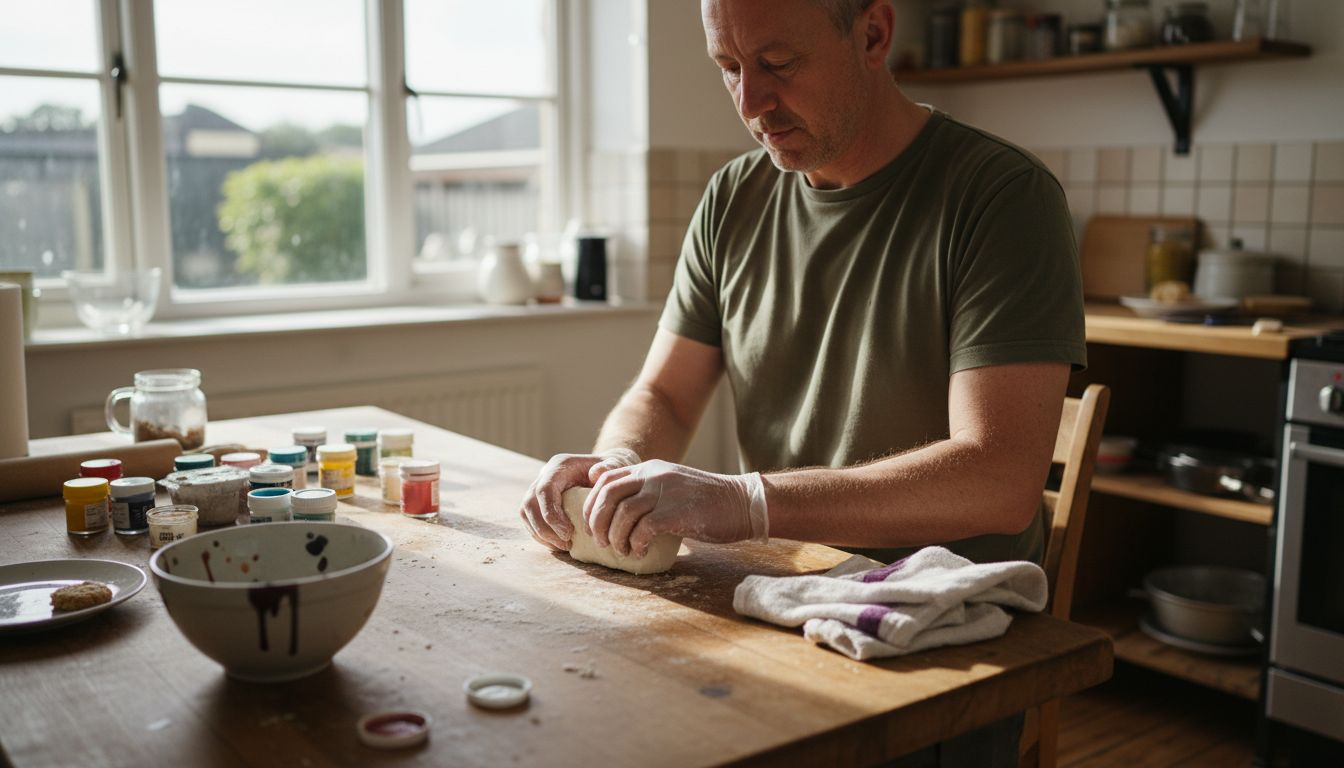
Step 2: Prepare Sugarpaste for Colouring
Preparing your sugarpaste correctly is crucial for achieving smooth, vibrant colours in your cake decorations. Professional sugarpaste techniques require careful handling to ensure the perfect texture and colour absorption.
Start by removing the sugarpaste from its packaging and assess its initial consistency. If the paste feels firm, gently knead it with clean hands to soften and make it more pliable. Work the sugarpaste on a surface lightly dusted with icing sugar to prevent sticking. The goal is to create a smooth elastic texture without overworking the paste, which can cause it to become dry or cracked. Take care to work with only the amount of sugarpaste you need for your current project to prevent unnecessary drying.
Ensure your workspace is clean and your hands are free from any residual oils or colours that might contaminate the pristine white sugarpaste. A smooth, consistent base is essential for achieving true and vibrant colour results.
Top Tip: Always work with sugarpaste at room temperature to ensure optimal malleability and colour absorption.
Step 3: Add and Mix Food Colour Thoroughly
Adding colour to your sugarpaste requires precision and patience to achieve those stunning cake design results. Food colouring techniques play a crucial role in creating vibrant and consistent cake decorations.
Begin by wearing disposable gloves to protect your hands and prevent staining. Use a cocktail stick or toothpick to add a tiny amount of gel or paste food colouring to your sugarpaste. Start with less than you think you need small amounts can always be built up gradually. Work the colour into the sugarpaste by kneading thoroughly using a folding motion that ensures even distribution. Press the colour through the paste systematically avoiding streaking or uneven patches. If you want a lighter shade add just a small dot of colour and continue kneading until the shade is uniform.
Remember that colours will typically darken slightly after resting so resist the temptation to add too much colour initially. Work in a well lit area so you can accurately judge the emerging shade and consistency.
Top Tip: Always test your final colour on a small piece of sugarpaste before colouring your entire batch to ensure you achieve the precise shade you want.
Step 4: Test and Adjust Shade Consistency
Achieving the perfect sugarpaste colour requires careful testing and subtle adjustments. Professional colour testing techniques can help you create precisely the shade you desire for your cake design.
Begin by pinching off a small piece of your coloured sugarpaste to test the shade. Natural daylight provides the most accurate colour assessment so move near a window or well lit area. If the colour appears too light gradually add more food colouring using your cocktail stick method from the previous step. When the shade is darker than intended balance it out by kneading in small amounts of white sugarpaste. This technique allows you to fine tune your colour without starting over completely.
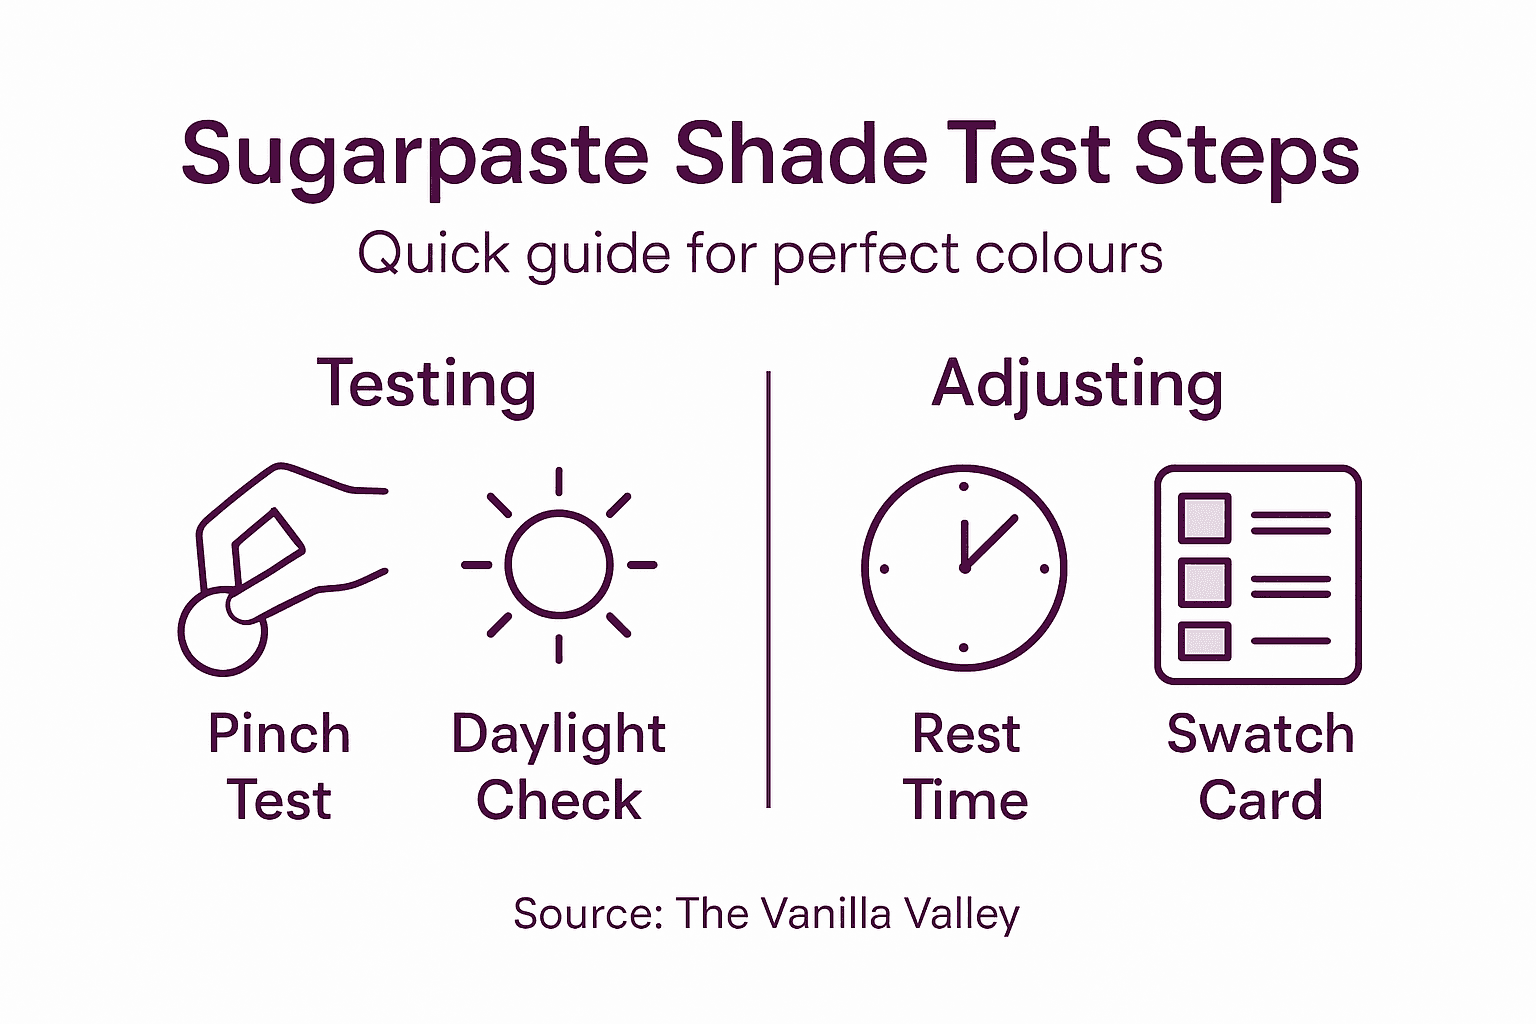
Remember that sugarpaste colours can continue to develop after initial mixing so allow the coloured paste to rest for a few minutes before making final judgements. Always compare your test piece against your original colour goal to ensure youre achieving the exact shade you envisioned.
Top Tip: Create a colour swatch card by keeping small samples of your mixed colours for future reference and consistency.
Step 5: Store Coloured Sugarpaste Safely
Protecting your beautifully coloured sugarpaste is just as important as creating it. Professional cake decorating techniques emphasise the critical nature of proper storage to maintain your sugarpaste’s quality and colour vibrancy.
Carefully transfer your coloured sugarpaste into an airtight container or sealed plastic bag. Press out any excess air before sealing to prevent moisture loss and potential hardening. Choose a cool dry place away from direct sunlight which can cause colour fading and sugarpaste deterioration. Professional bakers recommend storing your sugarpaste at consistent room temperature ideally between 18 and 22 degrees Celsius. If you are not using the sugarpaste immediately wrap individual pieces in clear food wrap to prevent them from drying out.
When storing multiple coloured batches use separate containers to prevent unintended colour mixing. Label each container with the colour and date of preparation to help you track freshness and usage. Well stored sugarpaste can typically remain usable for several weeks when handled correctly.
Top Tip: Create a dedicated storage area in your kitchen specifically for cake decorating supplies to keep your coloured sugarpaste organised and protected.
Below is a summary of best practices for long-term sugarpaste storage:
| Storage Factor | Recommended Approach | Risk if Ignored |
|---|---|---|
| Air exposure | Use airtight containers | Hardening, loss of pliability |
| Light/heat exposure | Store in a cool, dark place | Colour fading or melting |
| Label and organisation | Record colour and date | Loss of track, wasted product |
| Moisture control | Press out excess air | Dry, cracked sugarpaste |
Bring Your Sugarpaste Colours to Life with Expert Baking Supplies
Mastering the art of colouring sugarpaste demands precision tools and premium ingredients to avoid common challenges like uneven shades and drying out. Whether you struggle to achieve that perfect vibrant hue or worry about sugarpaste texture after adding colour, our carefully selected range ensures flawless results every time. Discover professional-grade food colours and gels designed to preserve your sugarpaste’s firmness while delivering deep, consistent shades that last.

Transform your cake decorating experience by shopping with The Vanilla Valley, where expert advice meets top-quality supplies. With decades of experience serving passionate bakers in North Cardiff and nationwide, we provide reliable products, helpful tutorials, and swift delivery to keep your creative flow uninterrupted. Visit The Vanilla Valley today and start creating stunning sugarpaste designs that truly stand out.
Frequently Asked Questions
How do I choose the right food colouring for sugarpaste?
To select the right food colouring for sugarpaste, consider using gel or paste colours as they provide vibrant results without affecting the texture. Begin by gathering a few shades and test them in small amounts, gradually building the colour until you achieve the desired intensity.
What is the best way to prepare sugarpaste for colouring?
To prepare sugarpaste for colouring, knead it gently to soften and ensure it’s pliable. Work on a surface lightly dusted with icing sugar to avoid sticking, and remember to only use the amount you need for your project to prevent drying.
How can I mix food colouring evenly into sugarpaste?
Mixing food colouring evenly into sugarpaste requires patience and proper technique. Use a cocktail stick to add a small amount of colour, then knead thoroughly using a folding motion to ensure even distribution and avoid streaks.
How do I test the shade of my coloured sugarpaste?
To test the shade of your coloured sugarpaste, pinch off a small piece and assess the colour in natural light. If the shade is too light, gradually add more colour; if it’s too dark, knead in small amounts of white sugarpaste until you reach the desired tone.
What are the best storage practices for coloured sugarpaste?
Store coloured sugarpaste in an airtight container or sealed plastic bag to prevent it from hardening. Ensure you press out any excess air and store it in a cool, dark place to maintain its colour vibrancy, ideally at room temperature.
How long can I keep coloured sugarpaste?
Coloured sugarpaste can last several weeks if stored correctly in airtight containers away from light and moisture. For best results, label each container with the colour and date, and handle the paste carefully to maintain its quality.