
How to Make Tempered Chocolate with Goldings Chocolate
Every ambitious baker in South Wales knows the struggle of chocolate that turns dull or streaky just when presentation matters most. Properly tempered chocolate delivers the glossy finish, clean snap, and smooth texture that distinguish truly professional results. Whether you decorate wedding cakes or perfect your chocolates, learning the science behind melting and crystal formation with Goldings Chocolate unlocks new possibilities for shine, structure, and unmistakable quality.
Table of Contents
- Step 1: Select And Prepare Goldings Chocolate
- Step 2: Melt Chocolate To The Correct Initial Temperature
- Step 3: Cool And Stir To Create Stable Crystals
- Step 4: Test The Chocolate For Proper Temper
- Step 5: Pour And Set Chocolate For A Perfect Finish
Quick Summary
| Key Point | Explanation |
|---|---|
| 1. Select high-quality Goldings Chocolate | Use couverture chocolate with ample cocoa butter for optimal results in tempering and flavour enhancement. |
| 2. Control melting temperature strictly | Melt chocolate between 45°C and 50°C using a double boiler to prevent burning and ensure even consistency. |
| 3. Monitor cooling for stable crystal formation | Cool chocolate to 27°C to 28°C while stirring continuously to create stable cocoa butter crystals leading to a professional finish. |
| 4. Test chocolate for temper accuracy | Spread a sample on parchment to check for glossiness, firmness, and quick setting as indicators of successful tempering. |
| 5. Use proper techniques for pouring and setting | Pour melted chocolate into clean molds at 18°C to 20°C for a smooth appearance, allowing undisturbed setting for the best texture. |
Step 1: Select and prepare Goldings Chocolate
Preparing premium Goldings Chocolate requires careful selection and meticulous preparation. Your goal is to create a perfectly tempered chocolate with a glossy finish and smooth texture that will elevate any baking or confectionery project.
When selecting Goldings Chocolate, look for high-quality couverture chocolate known for its superior cocoa butter content. Professional chocolate tempering demands precision in both chocolate selection and preparation. Break or chop your Goldings Chocolate into uniform small pieces about 1 to 2 centimetres in size. This ensures even melting and prevents potential overheating that could compromise the chocolate’s delicate structure.
Ensure your workspace is completely dry and clean before starting. Any moisture can cause the chocolate to seize, ruining your entire tempering process. Use pristine utensils and a dry bowl to maintain the integrity of your Goldings Chocolate throughout preparation.
Top tip: Always handle your Goldings Chocolate with clean, dry hands and use separate equipment exclusively for chocolate work to prevent contamination and ensure the best possible result.
Step 2: Melt chocolate to the correct initial temperature
Melting Goldings Chocolate requires precision and careful temperature control to achieve the perfect tempered finish. Your objective is to transform the chocolate into a smooth liquid state while preparing it for the critical crystallisation phase.
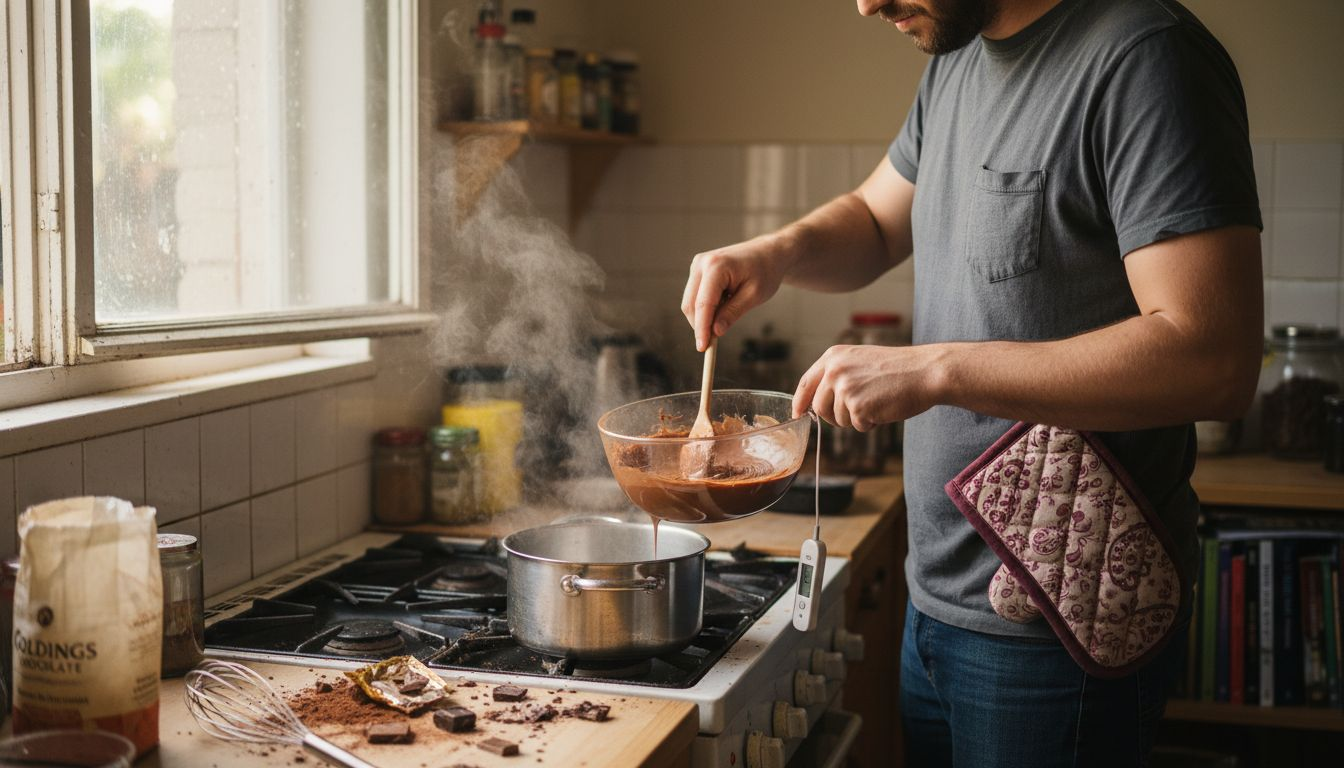
Chocolate melting science indicates that the ideal initial melting temperature ranges between 45°C and 50°C. To accomplish this, use a double boiler or a bain marie method to ensure gentle and even heating. Place a heatproof bowl over a pot of simmering water without allowing the bowl to touch the water directly. This technique prevents direct heat that could burn the chocolate and helps maintain a consistent temperature.
Stir the chocolate gently and continuously as it melts, using a clean dry spatula or chocolate thermometer to monitor the temperature precisely. Remove the bowl from heat immediately once the chocolate reaches 45°C to 50°C, ensuring all cocoa butter crystals have fully decrystallised without overheating. Consistent stirring prevents hot spots and promotes even melting throughout the chocolate.
Top tip: Invest in a digital chocolate thermometer for the most accurate temperature readings and to avoid potential overheating that could ruin your tempering process.
Step 3: Cool and stir to create stable crystals
The crystallisation process is where the magic of chocolate tempering truly happens. Your goal is to transform the melted Goldings Chocolate into a perfectly structured confectionery delight with a glossy finish and satisfying snap.
Chocolate crystallisation techniques reveal the intricate science behind creating the ideal cocoa butter crystal structure. Begin by cooling the chocolate to approximately 27°C to 28°C while stirring continuously. This precise temperature range encourages the formation of stable Form V cocoa butter crystals, which are responsible for the chocolate’s desirable characteristics. Use a spatula or bench scraper to continuously move and agitate the chocolate, spreading it across a cool marble slab or clean work surface to distribute heat evenly.
As you stir, you will notice the chocolate gradually thickening and losing its glossy appearance. This signals the development of crystal nuclei. Gently rewarm the chocolate to around 31°C to 32°C, which helps dissolve any unwanted crystal formations while maintaining the desired stable crystal structure. The key is to maintain consistent movement and monitor temperature carefully to achieve a perfectly tempered chocolate with a smooth texture and brilliant sheen.
Top tip: Work in a cool room with ambient temperature between 18°C and 20°C to help control the chocolate’s crystallisation process and prevent unwanted temperature fluctuations.
Here is a summary of the key temperatures for successfully tempering Goldings Chocolate:
| Stage | Target Temperature | Purpose |
|---|---|---|
| Melting | 45°C to 50°C | Ensure full crystal melting |
| Cooling for crystals | 27°C to 28°C | Form stable crystal structure |
| Rewarming | 31°C to 32°C | Achieve final smooth, glossy finish |
| Setting environment | 18°C to 20°C room | Maintain setting consistency |
Step 4: Test the chocolate for proper temper
The final stage of chocolate tempering is confirming that your Goldings Chocolate has achieved the perfect crystalline structure. This critical step determines whether your chocolate will have that professional finish professional chocolatiers strive to achieve.
Chocolate tempering verification involves a simple yet precise test to assess the chocolate’s quality. Take a small amount of tempered chocolate and spread it thinly on a piece of parchment paper or a cool ceramic surface. Allow the sample to set at room temperature for approximately 3 to 5 minutes. A perfectly tempered Goldings Chocolate will demonstrate three key characteristics: a glossy surface that appears smooth and reflective, a firm texture that snaps cleanly when broken, and a quick setting time.
If the chocolate appears dull, streaky, or fails to set firmly, it requires further tempering. Look for a uniform shine that reflects light evenly and listen for a crisp snap when you break a piece. The chocolate should feel smooth against your tongue and have a clean breaking point without crumbling or bending. These indicators prove that you have successfully created a batch of professionally tempered Goldings Chocolate ready for your finest confectionery creations.
The following table contrasts outcomes of properly vs. improperly tempered chocolate:
| Characteristic | Properly Tempered | Improperly Tempered |
|---|---|---|
| Surface appearance | Highly glossy and reflective | Dull or streaky finish |
| Texture | Firm, crisp snap | Soft, bends or crumbles |
| Setting time | Quick, within minutes | Slow or uneven |
| Mouthfeel | Smooth and creamy | Grainy or waxy |
Top tip: Always test your chocolate in a consistent room temperature environment to ensure accurate results and reliable tempering outcomes.
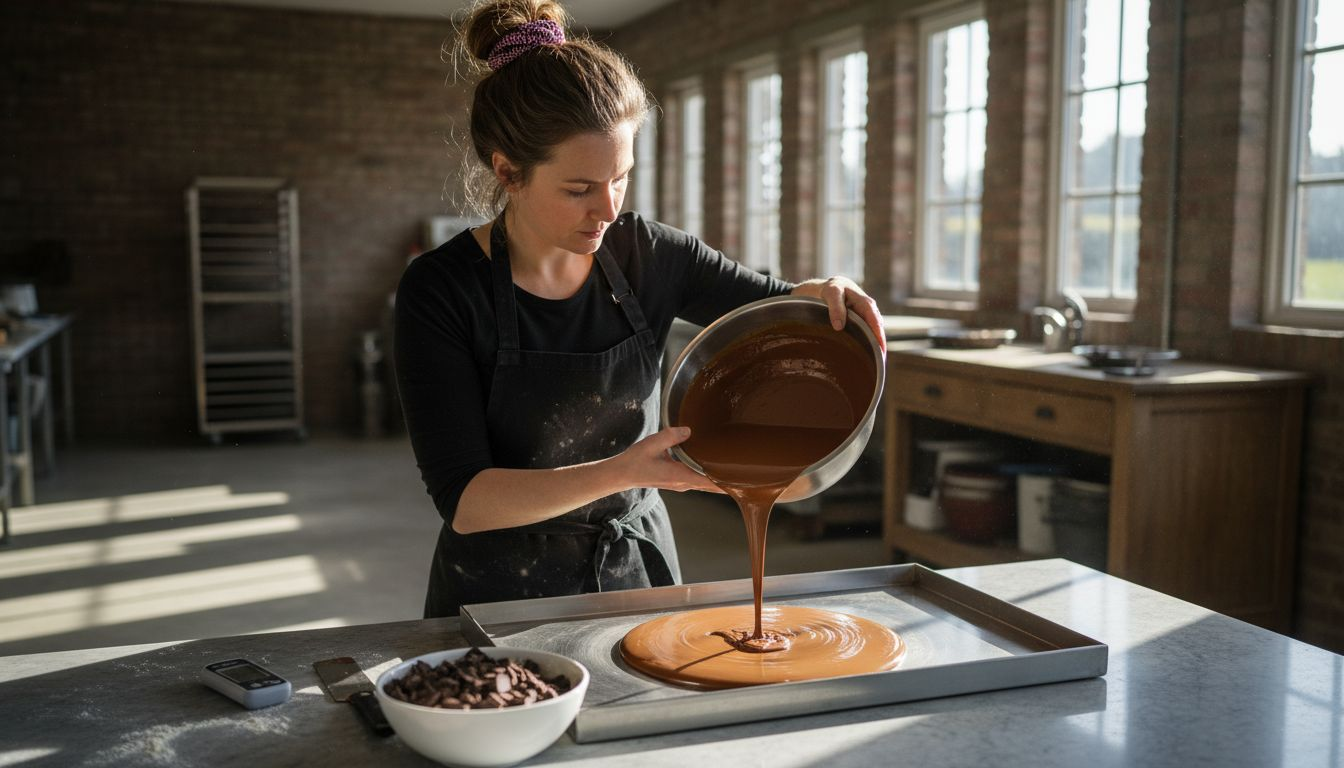
Step 5: Pour and set chocolate for a perfect finish
The final transformation of your perfectly tempered Goldings Chocolate occurs during the pouring and setting stage. This critical moment will determine the visual and textural quality of your finished chocolate creation.

Chocolate setting techniques require precision and careful environmental control. Select clean silicone molds or a smooth marble surface prepared in advance. Pour the tempered chocolate slowly and steadily, allowing it to flow evenly and eliminate any potential air bubbles. Use a gentle tilting motion to spread the chocolate uniformly, ensuring a smooth surface with no imperfections. The ideal room temperature should be between 18°C and 20°C to facilitate optimal crystallisation and prevent unwanted bloom.
Allow the chocolate to set undisturbed for approximately 20 to 30 minutes. Resist the temptation to move or disturb the chocolate during this critical setting period. Once set, the Goldings Chocolate should display a glossy finish, crisp edges, and a satisfying snap when broken. If creating chocolate bars or decorative pieces, gently tap the mold to release any trapped air and promote a flawless final appearance.
Top tip: Use a clean plastic ruler or bench scraper to create perfectly smooth edges when pouring chocolate into molds, ensuring a professional finish.
Elevate Your Chocolate Tempering with Precision Baking Tools
Tempering Goldings Chocolate demands exact temperature control and flawless technique to achieve that perfect glossy shine and satisfying snap. If you are aiming to master the delicate process of crystal formation and chocolate setting as described in this guide, having the right tools and supplies makes all the difference. At The Vanilla Valley, we understand the challenges of working with chocolate and we support you with premium baking accessories designed to streamline your chocolate creations.

Explore our comprehensive range of cake decorating supplies including digital thermometers, silicone moulds, spatulas, and more to help you achieve professional results. Whether you are a hobbyist or an experienced pastry artist, our trusted products and expert advice will empower you to temper Goldings Chocolate like a pro. Visit The Vanilla Valley today and take advantage of our free delivery offers and customer loyalty benefits to start creating stunning chocolate treats now.
Frequently Asked Questions
How do I select the right Goldings Chocolate for tempering?
To select the right Goldings Chocolate for tempering, look for high-quality couverture chocolate with superior cocoa butter content. Aim to choose chocolate that provides a smooth texture and glossy finish when tempered properly.
What is the ideal melting temperature for Goldings Chocolate?
The ideal melting temperature for Goldings Chocolate is between 45°C and 50°C. Use a double boiler to gently melt the chocolate while continuously stirring to ensure even heating and prevent burning.
How do I create stable cocoa butter crystals in Goldings Chocolate?
To create stable cocoa butter crystals, cool the melted Goldings Chocolate to approximately 27°C to 28°C while stirring continuously. This encourages the formation of stable Form V cocoa butter crystals, essential for achieving the desired texture and sheen.
How can I test if my Goldings Chocolate is properly tempered?
Test if your Goldings Chocolate is properly tempered by spreading a small amount on parchment paper. If it sets within 3 to 5 minutes with a glossy and firm texture, it is likely properly tempered.
What should I do if my Goldings Chocolate looks dull after tempering?
If your Goldings Chocolate looks dull, it likely requires further tempering. Reheat it gently before cooling it again to the proper crystallisation temperature to encourage the formation of stable cocoa butter crystals.
How long should I let Goldings Chocolate set after pouring?
Allow your Goldings Chocolate to set undisturbed for about 20 to 30 minutes after pouring. This time ensures the chocolate cools evenly, resulting in a smooth surface and satisfying snap when broken.