
Make Perfect Ganache Every Time for Stunning Cakes
Creating flawless ganache often feels like a mystery for home bakers in South Wales, especially when that silky finish always seems just out of reach. Selecting the right chocolate and focusing on every detail make all the difference for cake decorators keen to achieve stunning results. This guide breaks down the most reliable methods, highlighting exact measurements and smart techniques so you can confidently craft decorations worthy of any celebration.
Table of Contents
- Step 1: Select Premium Chocolate for Best Results
- Step 2: Measure Ingredients with Accuracy
- Step 3: Heat Cream to Ideal Temperature
- Step 4: Combine Chocolate and Cream Smoothly
- Step 5: Test and Adjust Ganache Consistency
Quick Summary
| Key Insight | Explanation |
|---|---|
| 1. Use high-quality chocolate | Select dark chocolate with 55-70% cocoa for optimal flavour and texture in your ganache. |
| 2. Measure ingredients accurately | Use a digital scale for precise measurements to ensure consistency in your ganache. |
| 3. Heat cream to the right temperature | Heat cream just below boiling (80-85°C) to prevent separation and ensure smooth texture. |
| 4. Combine chocolate and cream gently | Gradually mix warm cream with chocolate, using folding motions to achieve a silky emulsion. |
| 5. Adjust ganache consistency as needed | Test and modify ganache thickness with warm cream or additional chocolate based on intended use. |
Step 1: Select Premium Chocolate for Best Results
Choosing the right chocolate is fundamental to creating a ganache that will transform your cakes from ordinary to extraordinary. The quality of your chocolate directly impacts the richness, texture, and overall flavour of your ganache.
When selecting chocolate for ganache, focus on high-quality options with a high cocoa content. Cocoa quality determines ganache performance - aim for dark chocolate with 55-70% cocoa solids, which provides a perfect balance between depth of flavour and smooth consistency.
Key Considerations for Chocolate Selection:
- Choose single-origin chocolates for complex flavour profiles
- Look for chocolates with minimal processing
- Select brands known for sustainable cocoa sourcing
- Avoid compound or cooking chocolates with vegetable oils
The texture and melting properties of your chocolate will significantly influence your ganache. Premium Belgian or French chocolates often provide the most consistent results, offering a silky smooth finish that coats cakes beautifully.
Here’s a quick reference comparing chocolate types for ganache success:
| Chocolate Type | Cocoa Content (%) | Flavour Depth | Melting Quality |
|---|---|---|---|
| Dark (Belgian/French) | 55-70 | Rich, intense chocolate | Smooth, consistent |
| Single-Origin | Varies (usually 60+) | Complex, nuanced notes | Superior, distinctive |
| Compound/Cooking | Low (often <40) | Flat, less chocolatey | May separate or clump |
| Milk Chocolate | 30-45 | Sweet, creamy profile | Softer, less stable |
Professional bakers know: The quality of your chocolate determines 80% of your ganache’s success.
Top tip: Always taste your chocolate before using it in ganache - if it doesn’t taste excellent on its own, it won’t improve in your recipe.
Step 2: Measure Ingredients with Accuracy
Precise measurements are the cornerstone of creating perfect ganache, transforming a simple mixture into a luxurious cake coating. Accuracy determines recipe consistency and ensures your ganache will have the ideal texture and flavour every single time.
When measuring ingredients for ganache, invest in reliable kitchen tools that provide exact measurements. Digital scales are far superior to measuring cups, as they offer millimetre-perfect precision. Weighing ingredients allows you to reproduce your recipe with scientific accuracy.
Essential Measurement Tools:
- Digital kitchen scale (preferably with 1g increments)
- Measuring jugs with clear markings
- Accurate liquid and dry measuring cups
- Temperature-controlled environment
The key to consistent ganache lies in understanding weight-based measurements. Chocolate and cream measurements must be precise, with even slight variations potentially ruining your recipe. Remember that professional bakers treat measurements like a scientific experiment.
Precision in baking isn’t an option - it’s a requirement.
Most home bakers underestimate the importance of consistent ingredient proportions. By using precise measurements, you’ll create ganache with a professional-quality finish that looks and tastes extraordinary.
Top tip: Always zero your digital scale before measuring and use the tare function to add ingredients sequentially for ultimate accuracy.
Step 3: Heat Cream to Ideal Temperature
Heating cream is a delicate process that can make or break your ganache, requiring precision and careful attention. Food safety guidelines recommend careful temperature control to ensure both optimal texture and ingredient integrity.
To achieve the perfect ganache, you’ll need to heat cream to just below boiling point - around 80-85°C. This temperature range allows the cream to develop rich flavours while preventing protein separation or scorching. Essential Heating Techniques:
- Use a heavy-bottomed saucepan for even heat distribution
- Stir continuously to prevent bottom burning
- Watch for small bubbles around the pan’s edges
- Remove from heat immediately when tiny bubbles appear
Professional bakers understand that cream heating is more art than science. The goal is creating a smooth, stable emulsion that will blend perfectly with your chosen chocolate, producing a ganache with glossy, silky-smooth consistency.
Temperature precision transforms good ganache into extraordinary dessert experiences.
When heating cream, use a digital thermometer for absolute accuracy. Avoid direct high heat, which can cause rapid protein breakdown and compromise your ganache’s final texture.
Top tip: Remove cream from heat just before it reaches full boil, as residual heat will continue warming the mixture.
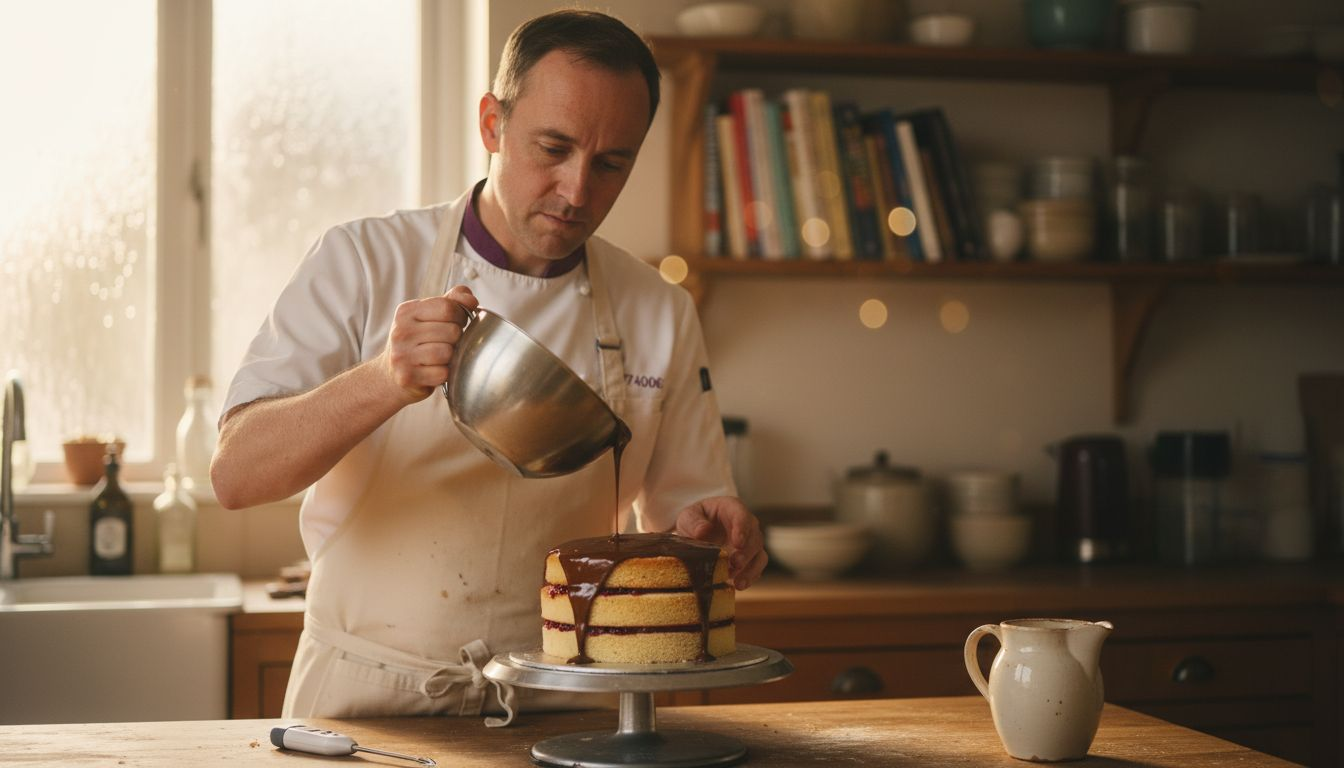
Step 4: Combine Chocolate and Cream Smoothly
Mastering the art of combining chocolate and cream is crucial for creating a silky, luxurious ganache that will elevate your cake from ordinary to extraordinary. Careful mixing techniques ensure perfect texture and prevent unwanted separation or graininess.
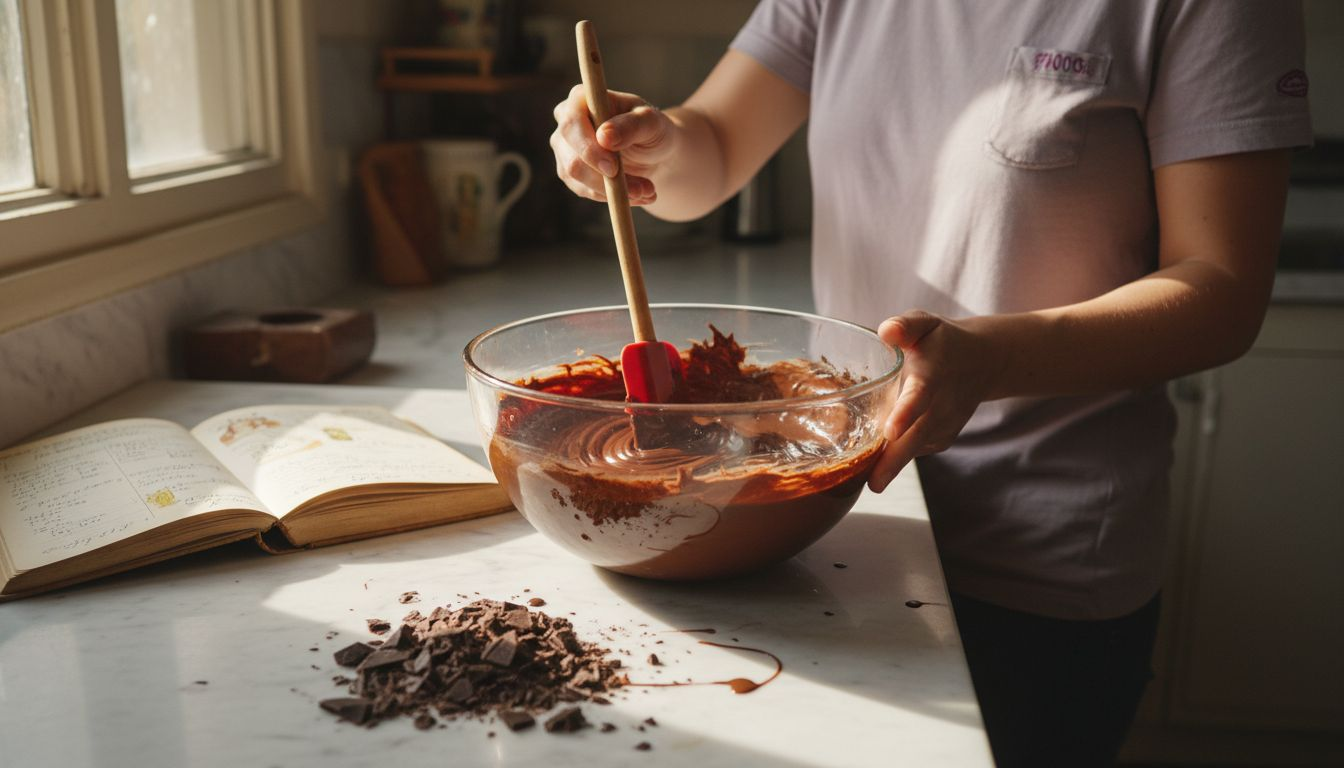
The key to smooth combination lies in a gradual, patient approach. Pour warm cream over chopped chocolate in a steady, slow stream, allowing the heat to gently melt the chocolate. Avoid vigorous stirring - instead, use gentle circular folding motions that create a seamless emulsion.
Chocolate Combining Techniques:
- Chop chocolate into small, uniform pieces
- Use a flexible spatula for folding
- Start mixing from the centre of the bowl
- Stir until chocolate is completely melted
- Stop mixing as soon as the ganache looks glossy and smooth
Temperature plays a critical role in achieving the perfect ganache consistency. The cream should be warm enough to melt the chocolate completely, but not so hot that it burns or separates the mixture.
Patience and gentle technique transform simple ingredients into a luxurious ganache.
Professional bakers know that the last few stirs can make or break your ganache. Watch for a glossy, unified mixture that has no visible chocolate chunks or oil separation.
Top tip: Let your ganache rest for 10-15 minutes after mixing to allow it to reach the ideal spreading consistency.
Step 5: Test and Adjust Ganache Consistency
Mastering ganache involves understanding its nuanced texture and learning how to adjust its consistency for different cake decorating needs. Food quality testing ensures perfect results every single time you prepare this luxurious chocolate mixture.

Testing ganache consistency requires both visual and physical assessments. Perform the spoon test by dipping a spatula or spoon into the ganache and observing how it drips and sets. The ideal consistency depends on your intended use - whether you’re creating a smooth glaze, a thick filling, or a spreadable frosting.
Ganache Consistency Indicators:
- Glaze consistency: Thin and pourable
- Filling consistency: Thick but spreadable
- Frosting consistency: Firm and holds shape
- Temperature affects spreadability
To adjust the ganache, you have two primary methods. Add warm cream to thin it out or allow it to cool and set if it’s too runny. Conversely, incorporate more chopped chocolate if the mixture seems too liquid.
Patience and precise technique transform basic ingredients into bakery-quality ganache.
Professional bakers understand that ganache’s consistency can change dramatically with temperature. Allow the mixture to rest at room temperature, stirring occasionally to achieve the perfect texture for your specific cake decorating needs.
This table summarises common ganache uses and how to adjust consistency:
| Use Case | Desired Texture | Adjustment Method | Final Characteristic |
|---|---|---|---|
| Cake Glaze | Thin, easily pours | Add warm cream | Shiny, fluid finish |
| Cake Filling | Thick, yet spreadable | Chill briefly, stir gently | Holds shape, smooth layering |
| Frosting | Firm, holds peaks | Melt more chocolate | Stable, decorative edges |
Top tip: Cool your ganache in short 2-3 minute intervals, checking consistency between each chilling period to prevent over-setting.
Achieve Ganache Perfection with The Vanilla Valley Baking Essentials
Creating the perfect ganache every time requires precision, quality ingredients, and the right tools. This article highlights challenges such as choosing premium chocolate, measuring ingredients accurately, and mastering the ideal cream temperature — all critical factors for a glossy, smooth ganache that transforms your cakes. Avoid common pitfalls like inconsistent texture and unwanted separation by equipping yourself with trusted supplies designed specifically for bakers who demand consistency and excellence.

Explore a curated selection of professional-grade cake decorating supplies and precision baking tools at The Vanilla Valley. Whether you need scales for exact measurements or high-quality decorations to showcase your ganache creations, we offer products that empower both amateurs and experts to elevate every cake. Discover helpful guides and special offers that make baking both inspiring and efficient. Start perfecting your ganache today by visiting our online store: Shop Now.
Frequently Asked Questions
What type of chocolate is best for ganache?
Choosing high-quality chocolate with a cocoa content of 55-70% is ideal for ganache. Opt for dark chocolate, preferably single-origin, for richer flavour and smoother texture.
How should I accurately measure my ingredients for ganache?
Use a digital kitchen scale to weigh your ingredients precisely, as this ensures consistency in your ganache. Measure chocolate and cream according to the specific weights in your recipe to avoid variations in texture.
At what temperature should I heat the cream for ganache?
Heat the cream to just below boiling point, around 80-85°C, to achieve optimal consistency. Use a thermometer to monitor the temperature closely for the best results.
How do I combine chocolate and cream without clumps?
Pour warm cream over chopped chocolate gradually, using gentle circular folding motions to create a smooth emulsion. Avoid vigorous stirring to prevent the mixture from becoming grainy.
How can I adjust the consistency of my ganache?
Test your ganache using the spoon method and adjust as needed. Add warm cream to thin it out or incorporate more chopped chocolate to thicken it, ensuring it reaches your desired texture for use.
What are some common uses for ganache and their ideal consistencies?
Ganache can be used as a glaze, filling, or frosting, each requiring different textures. For a glaze, aim for a thin, pourable consistency; for filling, a thick yet spreadable texture; and for frosting, a firm mix that holds its shape.