
How to Use Cake Dowel for Tiered Cake Stability
Many british home bakers admit their tiered cakes have collapsed at least once. That frustration is familiar to anyone striving for picture perfect layers and professional presentation. The secret to a stunning multi tier cake often lies in choosing and handling the right dowels for support. This guide breaks down each step, helping british bakers create stable cakes that wow every guest and survive the trip to the party table.
Table of Contents
Quick Summary
| Essential Insight | Clarification |
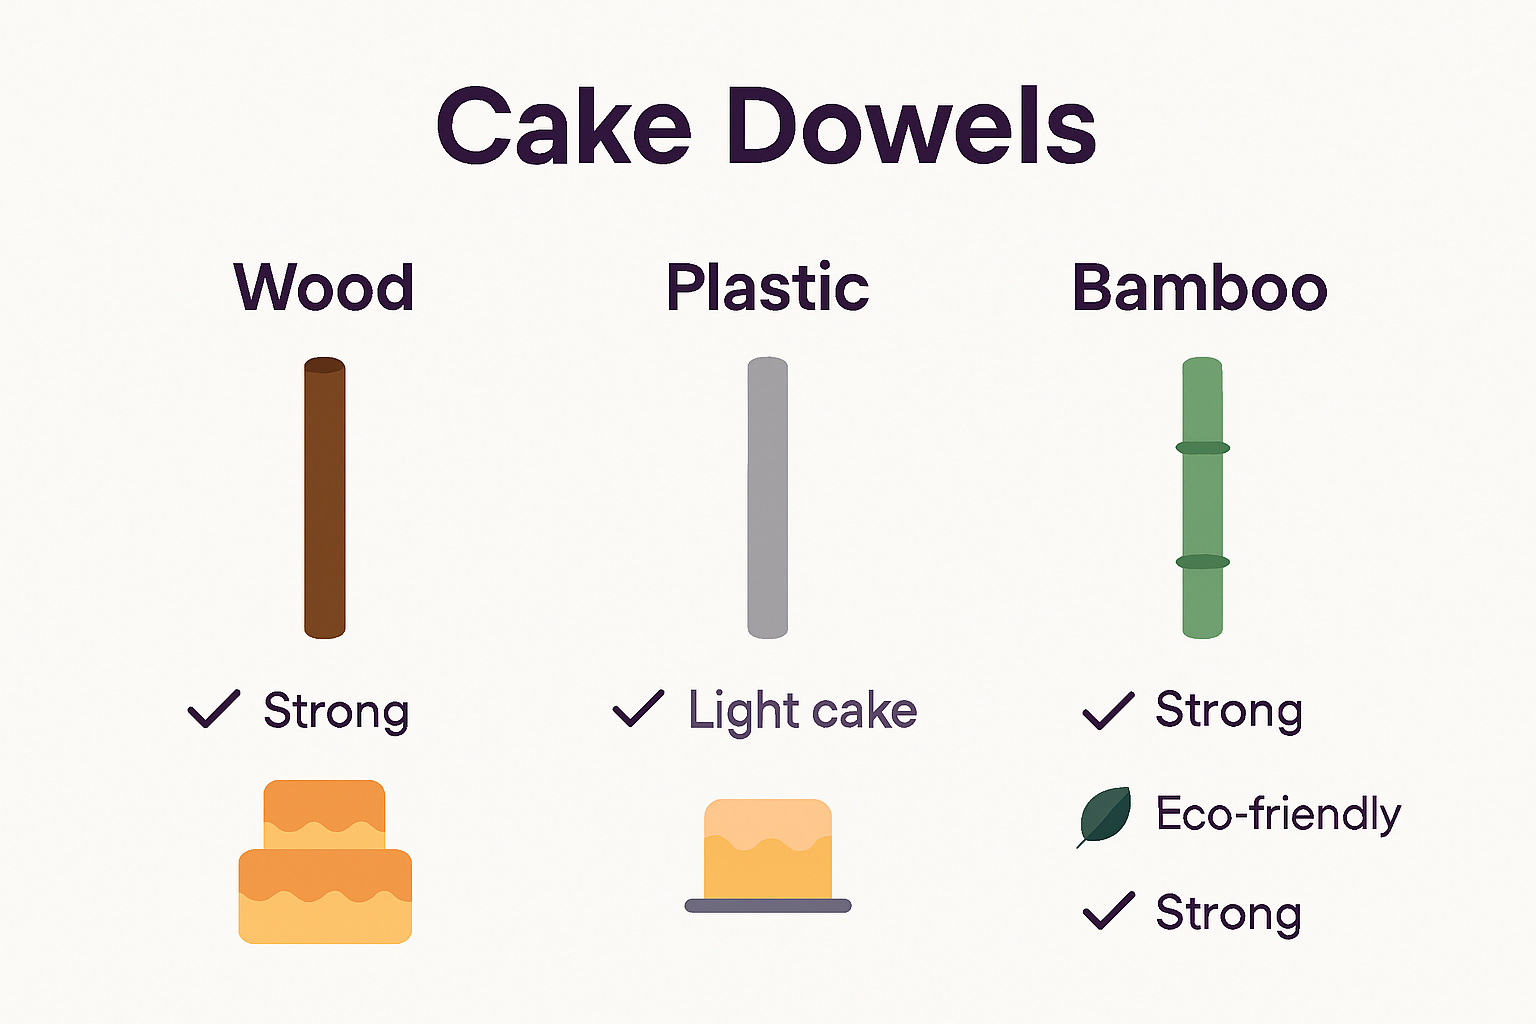
| 1. Choose suitable dowel materials | Select between wood, plastic, or bamboo according to cake weight and type for optimal support. |
| 2. Calculate dowel quantity accurately | Use one dowel per inch of cake diameter; add a central dowel for enhanced stability and weight distribution. |
| 3. Trim dowels precisely before usage | Measure and cut dowels accurately to avoid structural weaknesses; ensure cuts are straight and clean. |
| 4. Position dowels effectively for support | Distribute dowels evenly around the cake circumference and use a central dowel for added integrity. |
| 5. Assemble with care to ensure stability | Use cake boards and frosting between tiers; verify stability post-assembly by checking for any wobble. |
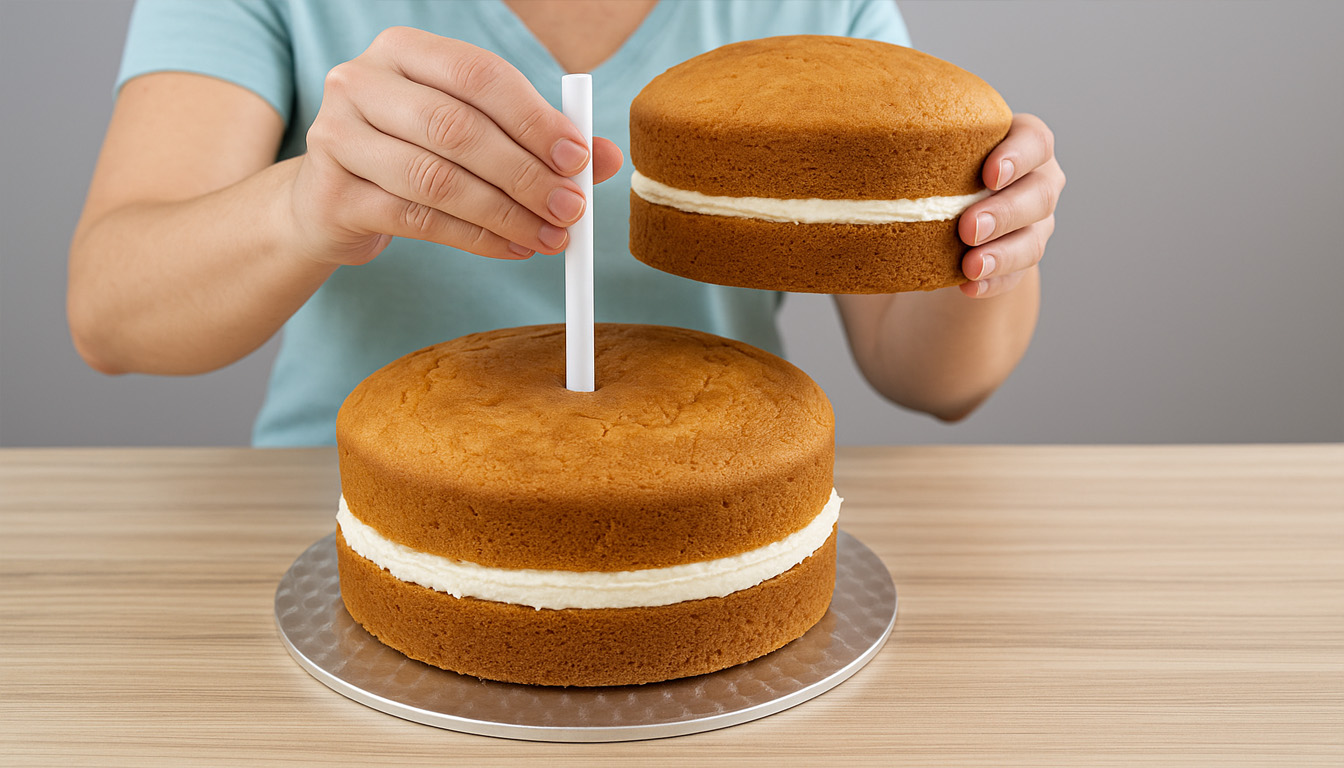
Step 1: Select the right cake dowel type and brand
Choosing the perfect cake dowel is crucial for creating stable and professional tiered cakes. Understanding the different materials and brands will help you select the best support for your baking masterpiece.
According to Cakepedia, cake dowels come in three primary materials: wood, plastic, and bamboo. Wooden dowels offer robust strength and work brilliantly for heavy, dense cakes like fruit or mud cake layers. Plastic dowels provide flexibility and lightweight support ideal for lighter sponge or buttercream cakes. Bamboo dowels present an eco friendly alternative with balanced strength and sustainability.
As Romance University highlights, plastic dowels are particularly versatile and come in various sizes and lengths. Look for individually wrapped options like the DaTpuik 9.5 inch white plastic cake dowel rods with a precise 0.4 inch diameter. When selecting your dowels, consider the weight of your cake tiers and the overall structural requirements.
Pro tip: Always measure your cake tiers precisely and select dowels that are slightly shorter than the cake height to ensure a clean, professional finish. Test the stability of your dowel placement before the final assembly to prevent any potential cake catastrophes.
Next, you will learn how to correctly measure and insert your chosen dowels into your cake tiers.
Step 2: Calculate the number and thickness of dowels needed
Successfully supporting a tiered cake requires precise calculations to ensure stability and prevent structural collapse. Understanding how many dowels to use and their appropriate thickness will help you create a stunning cake that looks as good as it tastes.
According to Cakepedia, a reliable guideline is to use one support dowel per inch of the cake’s diameter. For instance, if you have a 6 inch top tier, you would typically need six supporting dowel skewers in the tier below. This approach ensures even weight distribution and prevents any potential sagging or tilting.
Icing Smiles recommends an additional technique for enhanced stability: inserting a central dowel through all cake tiers. This method helps prevent the cake from spinning or shifting during transportation or display. For extra security, consider using two dowels in each tier instead of just one.
When selecting dowel thickness, match the diameter to your cake’s weight and structure. Thicker dowels provide more support for heavier cakes, while thinner dowels work well for lighter sponge or buttercream creations. Always choose food safe materials and ensure your dowels are slightly shorter than the cake tier height for a clean, professional appearance.
Pro tip: Before final assembly, do a trial placement of your dowels to confirm they provide adequate support and are positioned symmetrically. This quick check can save you from potential cake disasters on the big day.
Next, you will learn the precise techniques for inserting dowels into your cake tiers.
Step 3: Trim dowels using specialised cake tools
Trimming cake dowels precisely is a critical skill that ensures your tiered cake remains stable and visually stunning. Having the right tools and technique will make this process smooth and professional.
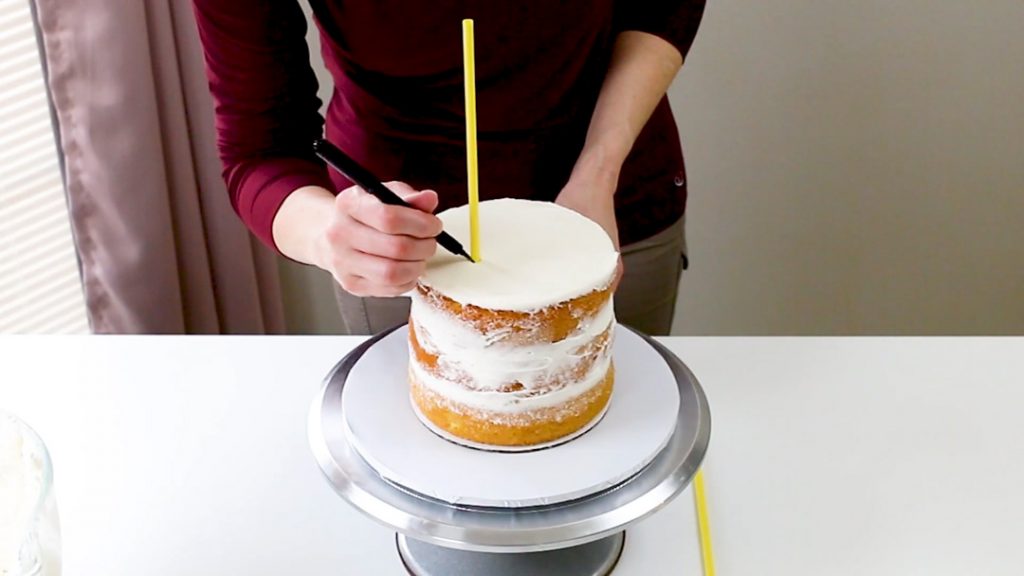
According to Cakepedia, the process begins by carefully measuring the height of your cake and marking each dowel with a pencil at the exact correct height. Use a sharp knife to cut the dowel, ensuring the cut is straight. This precision is crucial for maintaining the cake’s balance and preventing any potential structural weaknesses.
Skills USA recommends bringing a variety of specialised tools for dowel trimming. Professional bakers typically use pallet knives, offset spatulas, serrated knives, and paring knives to achieve clean and accurate cuts. Each tool offers unique advantages depending on the dowel material and cake design.
When trimming your dowels, work on a clean cutting board and measure twice before making any cuts. Remember to cut the dowels slightly shorter than the cake tier height to ensure a neat final appearance. This prevents dowel edges from peeking out and disrupting the smooth surface of your cake.
Pro tip: Always use food safe tools and clean them thoroughly before and after use to maintain hygiene standards. Invest in a good quality ruler or measuring tape to guarantee precision in your dowel cutting.
Next, you will learn how to correctly insert the trimmed dowels into your cake tiers.
Step 4: Position dowels for optimal cake support
Positioning dowels correctly is the secret to creating a stable and professional tiered cake that can withstand transportation and display. Understanding the precise placement techniques will transform your cake from potentially precarious to perfectly supported.
According to Cakepedia, the key is to insert dowels into each cake layer with careful consideration. Aim to distribute the dowels evenly to ensure balanced weight distribution and prevent layer collapse. A strategic approach involves placing multiple dowels around the cake’s circumference and including a central dowel that runs through all layers for additional structural integrity.
Icing Smiles recommends an even more precise method. Professional bakers suggest placing dowels in a symmetrical pattern ensuring they are completely straight and reach the bottom of each cake layer. This approach guarantees maximum stability during both preparation and transportation.
When positioning your dowels, imagine dividing your cake into an imaginary grid. For circular cakes, think of the dowel placement like the numbers on a clock face, ensuring equal spacing. For square or rectangular cakes, create an evenly spaced grid pattern that supports the entire surface area.
Pro tip: Before adding your final cake tier, do a practice placement of dowels. Gently press them into position to confirm they are perfectly vertical and provide uniform support across the entire cake base.
Next, you will learn the final steps of assembling your perfectly supported tiered cake.
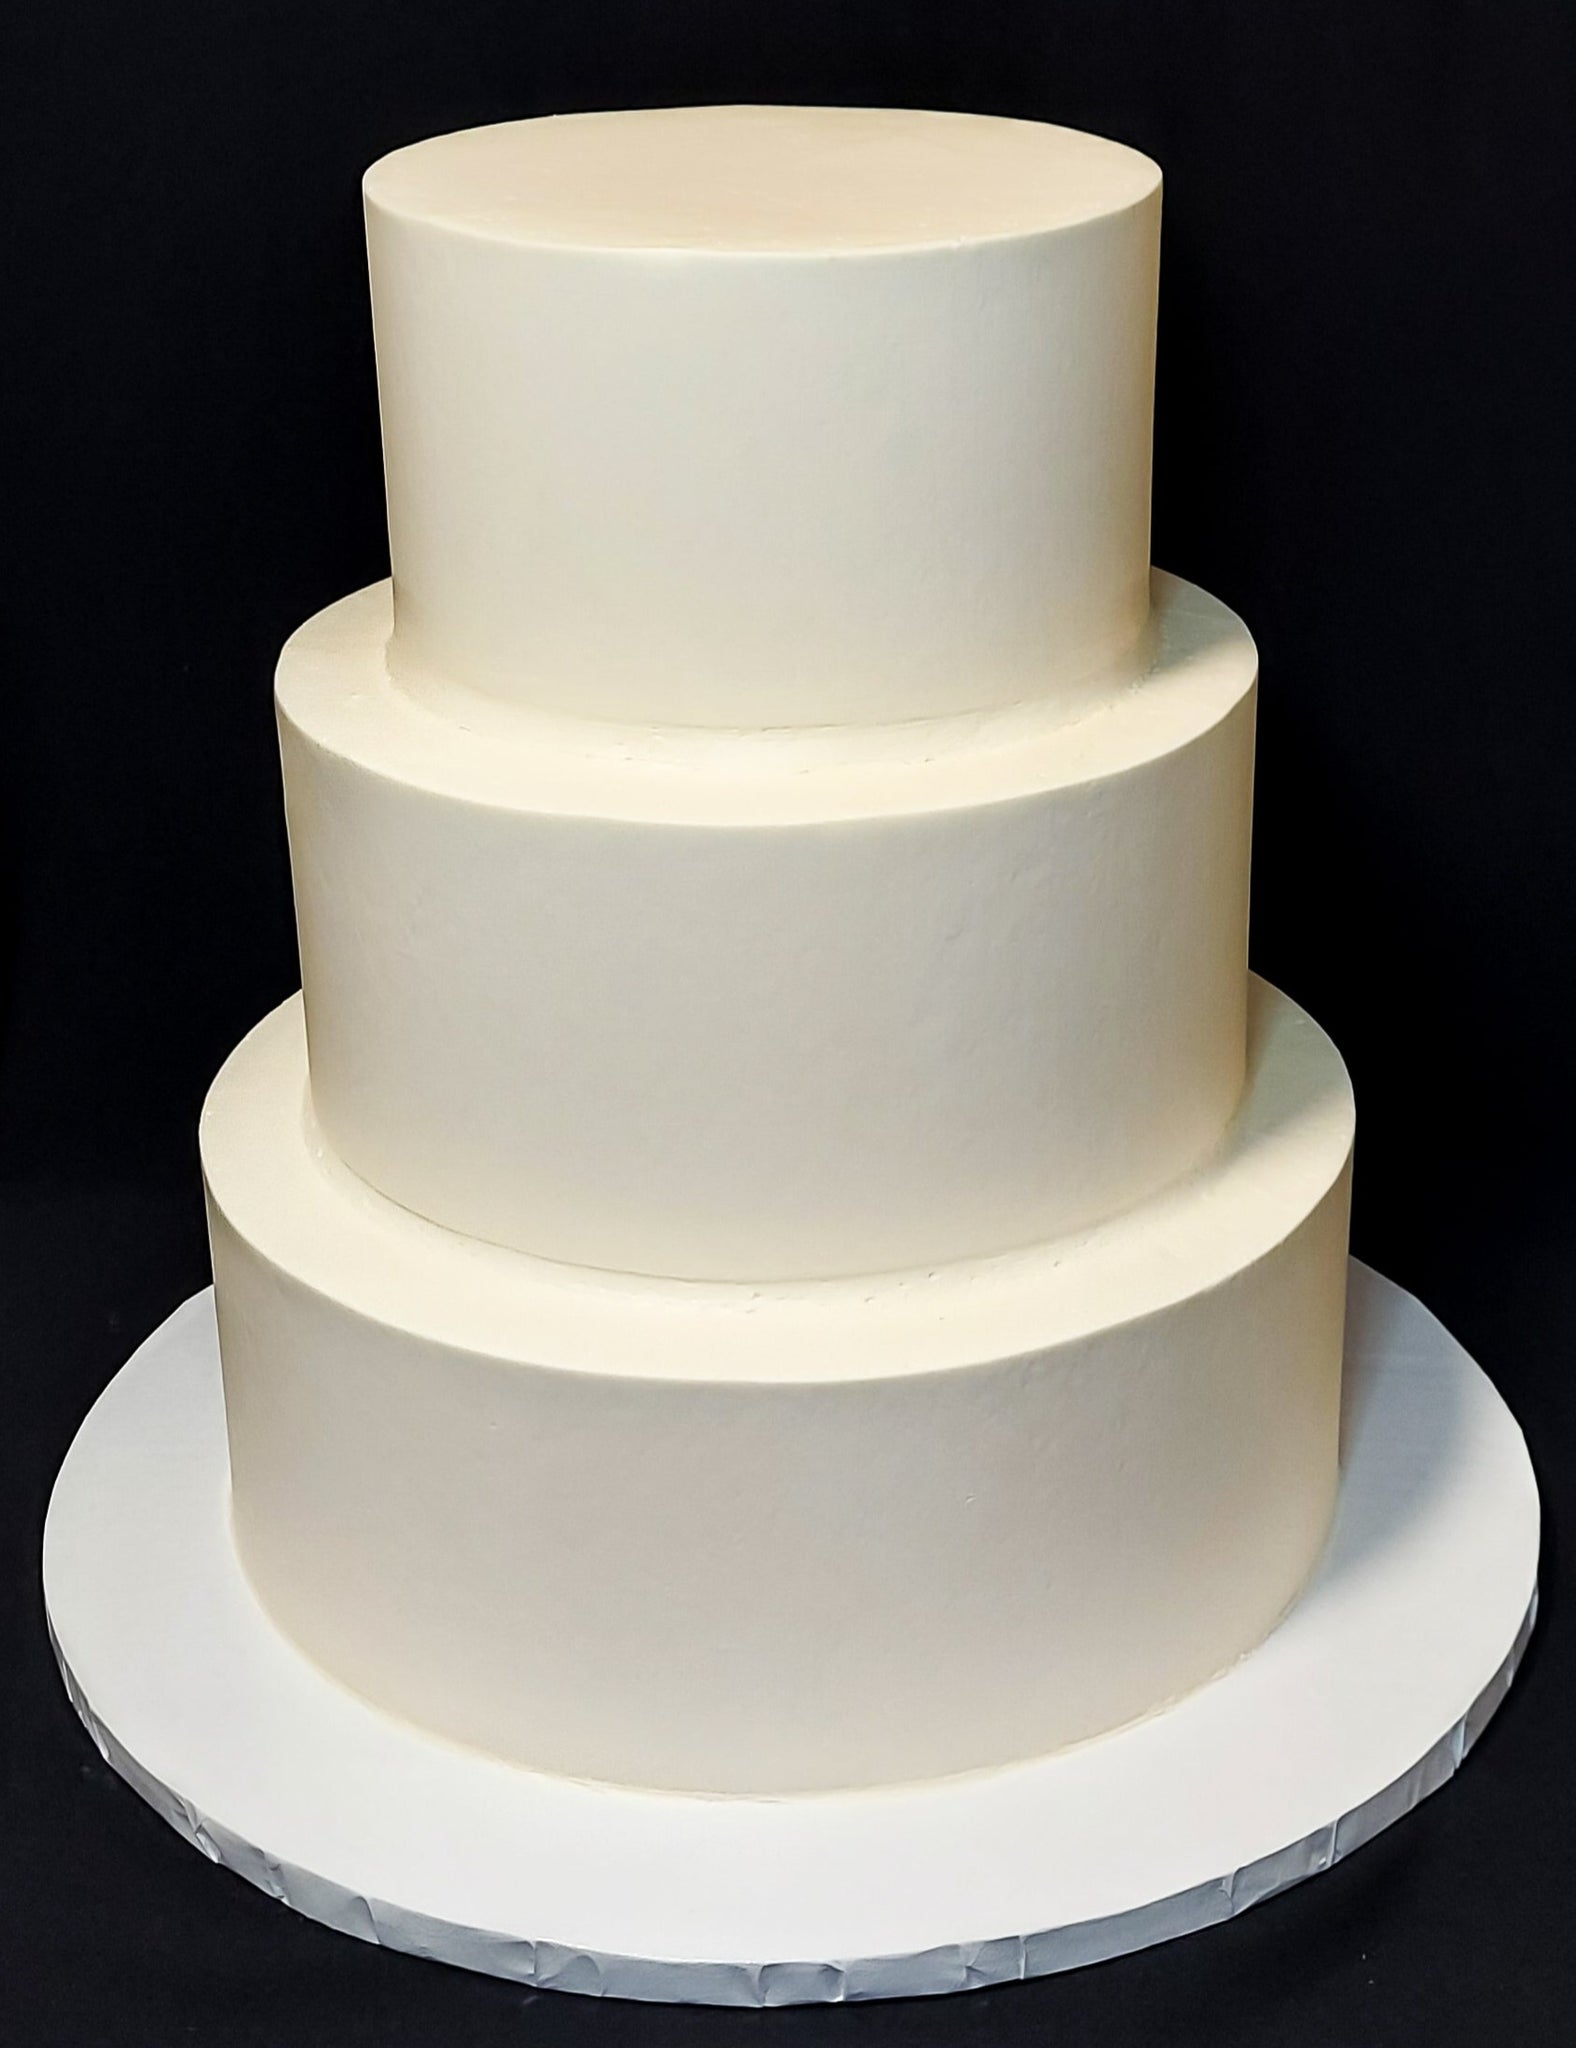
Step 5: Assemble and verify stability of your tiered cake
The final stage of creating a spectacular tiered cake requires precision, patience, and a systematic approach to ensure your masterpiece stands tall and secure. Proper assembly is the difference between a professional looking cake and a potential structural disaster.
According to Cakepedia, the key to successful assembly is using cake boards between each tier and applying a small amount of frosting or ganache to adhere the layers together. This technique not only provides additional support but also creates a secure bond between each cake tier, preventing unwanted movement or potential collapse.
Icing Smiles recommends an extra stabilisation technique by inserting a long skewer through the centre of the entire cake from top to bottom. This central anchor runs through all tiers and into the bottom board, creating an invisible structural support that prevents any potential shifting during transport or display.
To verify stability, gently test each tier after assembly. Check that the cake stands level and does not wobble when lightly touched. If you notice any movement or instability, carefully readjust the dowels or add additional support before the final decorating stage.
Pro tip: Always assemble your tiered cake on a sturdy cake stand or board that can support the entire weight. Avoid moving the cake after final assembly to prevent any accidental structural damage.
Congratulations. Your perfectly supported tiered cake is now ready for the final decorative touches.
Ensure Your Tiered Cake Stands Tall and Stunning with Expert Supplies
Struggling to keep your tiered cakes stable and flawless can be frustrating. From selecting the right cake dowels to trimming and positioning them perfectly your goal is a cake that not only looks beautiful but holds its shape throughout celebration. The Vanilla Valley understands these challenges and offers everything you need to master cake stability with confidence including high quality cake boards, specialised tools for trimming dowels and reliable support accessories designed for both amateur and professional bakers.
Make your tiered cake dreams a reality by exploring our trusted selection of baking supplies at The Vanilla Valley. Benefit from our experience since 2009 and enjoy special offers with free and next day delivery options. Don’t risk cake collapse on your special day act now and find the perfect tools to support every beautiful layer at The Vanilla Valley online store. Learn more about achieving flawless cake construction in our inspiring cakespiration articles and join countless happy customers who trust us for their cake decorating success.
Frequently Asked Questions
How do I choose the right type of cake dowel for my tiered cake?
To choose the right cake dowel, consider the weight and type of your cake tiers. Use wooden dowels for heavy cakes, plastic dowels for lightweight cakes, and bamboo dowels for an eco-friendly option. Assess your cake’s weight and select the dowel material that offers the best support.
How many dowels do I need to use for each layer of my tiered cake?
A good rule of thumb is to use one dowel per inch of your cake’s diameter. For example, if your cake layer measures 8 inches across, insert eight dowels to ensure even distribution and stability. Use additional dowels if you have heavier tiers to enhance support.
What is the best way to trim cake dowels for a professional finish?
Trim dowels using a sharp knife for a clean, straight cut. Measure the height of your cake, mark the dowel at the correct height, and then cut slightly shorter than this measurement to keep dowel edges hidden. This will maintain your cake’s polished appearance while ensuring stability.
How do I position dowels for optimal support in my cake?
Insert dowels evenly around each layer, aiming for balanced weight distribution. Consider an imaginary grid for placement, ensuring dowels are straight and even for maximum support. This strategic arrangement will prevent shifting or collapsing during transportation and display.
How can I verify the stability of my assembled tiered cake?
Test each tier by gently pressing down to check for wobbling or instability. If any movement occurs, carefully adjust the dowels or add more as needed for additional support. This step is crucial before proceeding to decorate your tiered cake to avoid potential disasters.
Can I use a central dowel for added stability in my tiered cake?
Yes, inserting a central dowel that runs through all layers is a highly effective method for enhancing stability. This creates a solid anchor that prevents any shifting during transport or display, giving you peace of mind with your beautifully assembled cake.