
How to crumb coat a cake properly
TL;DR:
- Mastering the crumb coat is essential for achieving a smooth, professional cake finish by sealing in crumbs and creating a stable base. Proper tools, frosting consistency, and chilling between coats are key factors to ensure a flawless result, especially for layered cakes. Skipping or rushing the crumb coating process often leads to uneven surfaces and more difficult final decorating, making patience and preparation crucial.
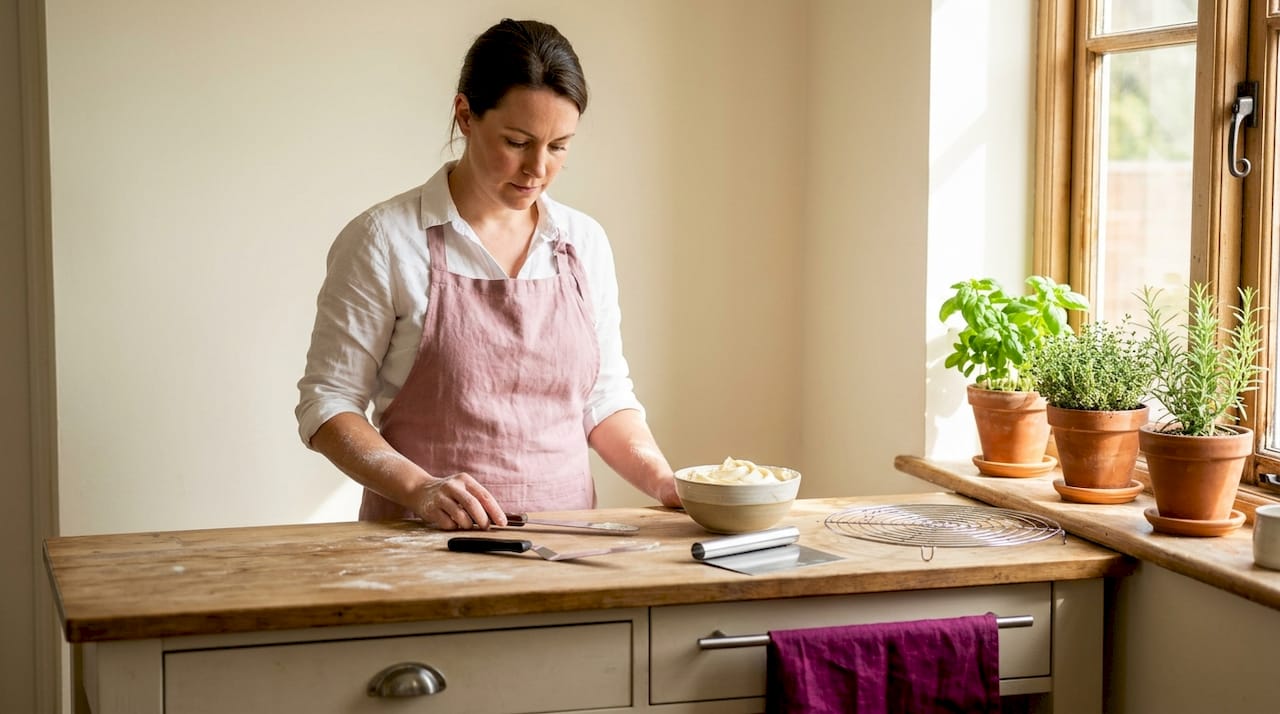
You’ve spent hours baking a beautiful cake, only to find crumbs tearing through your final frosting layer and ruining the finish. Sound familiar? Learning to crumb coat a cake properly is the single skill that separates a messy, crumb-speckled result from a clean, professional-looking cake. A crumb coat is a thin layer of frosting applied before the final coat to trap loose crumbs and create a smooth, even base. Get this right, and everything that follows becomes so much easier.
Table of Contents
- Key takeaways
- What you need to crumb coat a cake properly
- Step-by-step: applying the crumb coat
- Common crumb coat mistakes to avoid
- From crumb coat to flawless finish
- My honest take on crumb coating
- Get the right supplies from The Vanilla Valley
- FAQ
Key takeaways
| Point | Details |
|---|---|
| Chill between coats | Refrigerate the crumb-coated cake for at least 30 minutes before applying the final layer. |
| Keep it thin | A crumb coat should be a barely-there layer, not a full frosting coat. |
| Tools matter | A palette knife and a turntable make the whole process faster and far more controlled. |
| Fragile cakes need more | Delicate or crumb-heavy cakes may benefit from two to three crumb coats. |
| Cold cake is best | Freeze or chill your layers before stacking to stabilise the structure and simplify frosting. |
What you need to crumb coat a cake properly
Before you even open your buttercream, having the right tools and ingredients ready makes a huge difference. This is true whether you are attempting crumb coating for beginners or revisiting the technique after a few wobbly attempts.
Tools you will need
Here is what to have on hand before you start:
- Turntable. This lets you spin the cake smoothly as you frost, giving you consistent coverage without awkward repositioning.
- Palette knife (or offset spatula). A must for spreading frosting evenly. An offset spatula gives you better control at an angle and keeps your knuckles out of the frosting.
- Bench scraper. Used to smooth the sides of the cake. Look for one with a straight edge that is taller than your cake.
- Cake board. Keeps the cake stable and easy to move in and out of the fridge.
- Cling film or a cake box. For covering the cake properly while it chills.
You can find a detailed breakdown of the best tools for decorating on The Vanilla Valley blog, which is worth bookmarking if you are building out your kit.
What frosting works best?
The perfect crumb coat method relies heavily on getting your frosting consistency right. Buttercream is the most widely used choice and works brilliantly for most layer cakes. It should be spreadable but not so soft that it slides off. Think peanut butter consistency: smooth, slightly firm, holds its shape.
Swiss meringue buttercream and American buttercream both work well. Ganache is another popular option, particularly if you are planning to cover the cake in fondant, as it sets firmer and gives a very flat surface.
Pro Tip: If your buttercream feels too stiff, add a teaspoon of milk or warm water and mix briefly. If it is too soft, pop it in the fridge for 10 to 15 minutes before using.
| Frosting type | Best for | Sets firm? |
|---|---|---|
| American buttercream | General use, beginners | Moderately |
| Swiss meringue buttercream | Smooth finishes | Yes |
| Ganache | Fondant-covered cakes | Yes, very firm |
Note that crumb coating is typically needed for layer cakes rather than sheet or loaf cakes, which tend to have fewer exposed crumbs to manage.
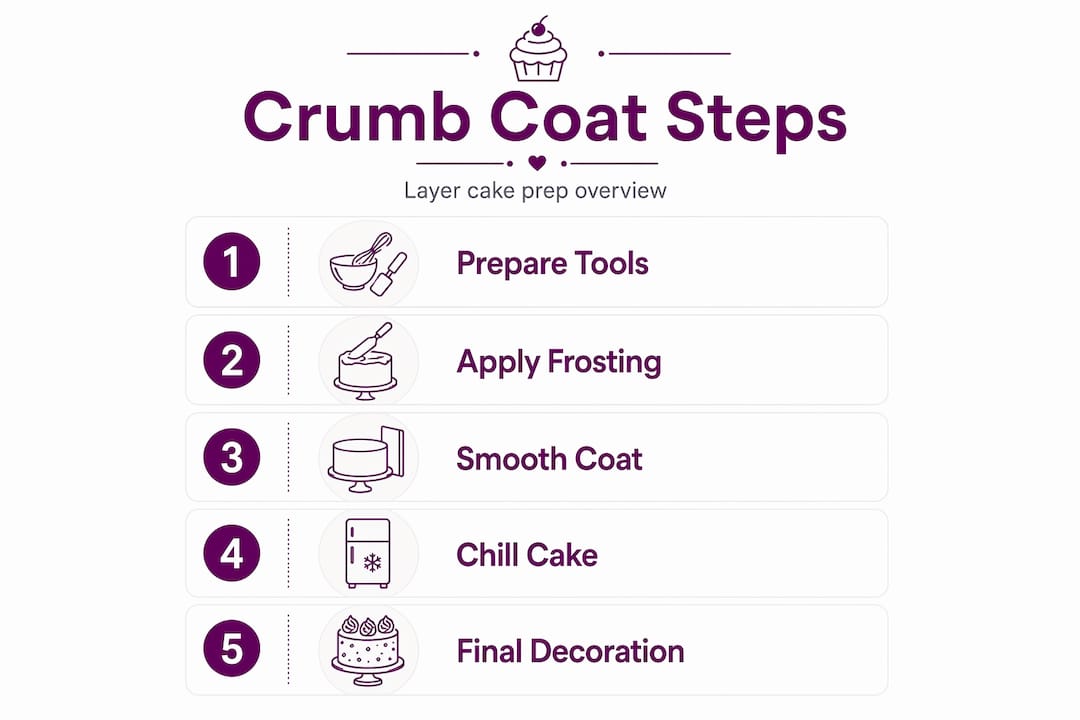
Step-by-step: applying the crumb coat
This is where the best crumb coat technique really comes to life. Follow these steps and you will have a beautifully prepped cake, ready for its final coat.
-
Chill or freeze your layers first. Freezing cake layers before stacking stabilises the structure and makes spreading much easier. You do not need them rock solid. Thirty minutes in the freezer after cooling completely is plenty.
-
Stack and fill your cake. Place your first layer on a cake board and apply your filling. Press the next layer on top and repeat. Make sure the layers are level. If the cake leans, use a serrated knife to trim.
-
Apply a thin layer of frosting to the top. Use your palette knife to spread a small amount of frosting across the top of the cake. You are not trying to make it perfect yet. You are just sealing the surface.
-
Work frosting down the sides. Push a little frosting from the top over the edges and spread it around the sides. Use your palette knife in short, upward strokes. The goal is coverage, not perfection. Crumbs will mix in. That is absolutely fine.
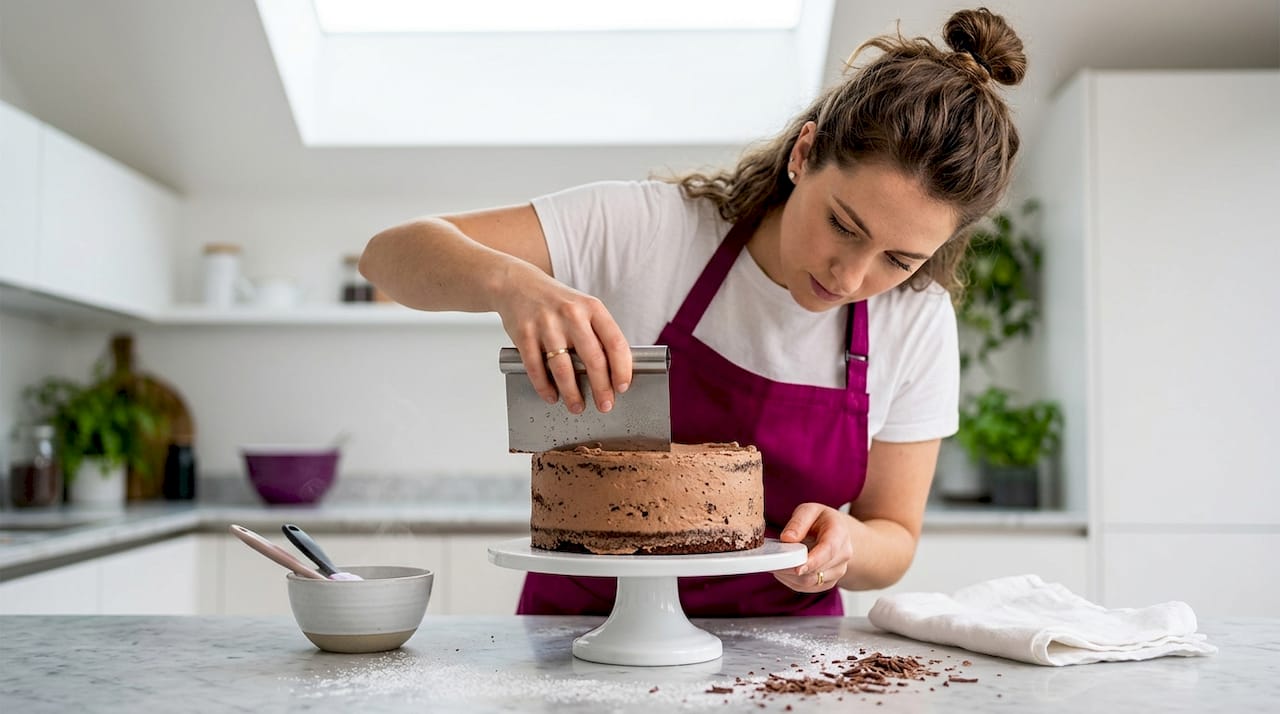
-
Use your bench scraper to smooth. Hold the scraper flat against the side of the cake and rotate the turntable slowly. This removes excess frosting and leaves a thin, even layer. Do not worry about every imperfection at this stage.
-
Smooth the top. Pull any excess frosting from the sides back across the top using your palette knife. Use gentle, sweeping strokes toward the centre.
-
Chill the cake. This is the step many people rush and really should not. Refrigerating the crumb-coated cake for at least 30 minutes sets the frosting firmly and makes applying the final layer so much simpler. Do not skip this.
Pro Tip: A scraper warmed under hot water can smooth the crumb coat more effectively. Dry it quickly before use, then glide it along the surface for a noticeably cleaner finish.
For crumb-heavy or particularly fragile cakes, professionals often recommend two to three crumb coats, chilling between each one. It feels like extra work but it absolutely pays off in the final result. Check out this step-by-step crumb coating guide from The Vanilla Valley for more visual guidance on each stage.
Common crumb coat mistakes to avoid
Even when you know the process, a few common pitfalls can catch you out. Here is what to watch for.
-
Applying too much frosting. The crumb coat should be thin, almost see-through in places. If you are layering it on thick, you are adding unnecessary bulk and making the final coat harder to control.
-
Not chilling long enough. This is probably the most common issue. If you apply your final coat before the crumb coat has set, the two layers will drag together and pull up crumbs. Patience genuinely pays here.
-
Using warm cake. Applying a crumb coat to slightly warm cake is possible but it requires care. Warm layers cause frosting to slide and melt. Always allow your cake to cool completely before starting. If in doubt, chill it.
-
Frosting that is too stiff. Thick frosting drags across the cake surface and tears crumbs loose. If your buttercream is pulling at the cake, it needs loosening.
-
Skipping the turntable. Frosting a cake without a turntable is like painting a room without a roller. You can do it, but you will work twice as hard for a worse result.
If crumbs are still showing through after the final coat, do not panic. Add a thin patch of frosting over the problem area, let it chill briefly, then smooth over the top. It is an easy fix once the crumb coat underneath is firm.
You can find more troubleshooting advice and crumb coating tips in The Vanilla Valley’s guide on fixing crumb coat issues, which covers a range of common fixes for both beginners and more experienced bakers.
From crumb coat to flawless finish
Once your crumb coat has chilled and set, you are in brilliant shape. Here is how to carry that momentum through to a genuinely stunning finished cake.
-
Wait until the crumb coat is firm to the touch. If your finger leaves a mark, it needs more time. A properly set crumb coat will feel slightly dry and will not smear when you gently press it.
-
Apply the final coat generously but evenly. Use the same technique as the crumb coat but with more frosting. Build it up on the sides and top, then use your bench scraper and palette knife to smooth everything out.
-
The crumb coat supports decorating and transport. Crumb coating seals the base of the cake, preventing ganache or final coating from seeping underneath and improving overall stability. This matters especially if you are transporting the cake or adding heavy decorations on top.
-
For fondant coverage, the crumb coat creates the flat, even surface that fondant needs to drape smoothly. Any bumps or imperfections in the crumb coat will show through. Take extra care to smooth it properly before chilling.
-
For ganache finishing, apply the ganache over a fully chilled crumb coat. It will set cleanly and give you those sharp, professional edges that look so striking on celebration cakes.
Crumb coating truly is the foundation of great cake decorating tips. It also improves cake handling significantly, making transport far less stressful by adding structural stability for final frosting adhesion.
My honest take on crumb coating
I will be straight with you. When I started decorating cakes, I absolutely skipped the crumb coat. It felt like unnecessary extra effort when I just wanted to get to the fun bit. And every single time, I ended up with a crumby, uneven mess that no amount of extra frosting could fix.
What I have learned is that the crumb coat is not an optional extra. It is the moment you either set yourself up for success or set yourself up for frustration. A good crumb coat takes ten minutes. A bad final layer because you skipped it can take an hour to fix, and sometimes you cannot fix it at all.
My biggest lesson? Do not rush the chill time. I know it is tempting to carry straight on, especially when you are excited about the finished cake. But that half hour in the fridge is genuinely transformative. You come back to a cake that feels stable, handles beautifully, and takes a final coat like an absolute dream.
Start with a simple two-layer vanilla sponge and practise your crumb coat on that. Once you feel confident with the technique, you will bring that same calm control to every cake you make after. That is where the real buzz of cake decorating kicks in.
— steven
Get the right supplies from The Vanilla Valley
Getting your crumb coat right starts with having the proper tools and ingredients at hand. Whether you are just getting started or looking to upgrade your kit, The Vanilla Valley has everything you need.

From offset spatulas and bench scrapers to a full range of buttercream-friendly cake decorating supplies, The Vanilla Valley has been helping bakers across the UK create amazing cakes since 2009. The shop stocks everything from cake boards and boxes to fondant, food colours, and decorations, all available with free delivery options. If you want to bake and decorate with confidence, this is the place to start.
FAQ
What is a crumb coat on a cake?
A crumb coat is a thin, initial layer of frosting applied to a cake before the final coat. It traps loose crumbs so they do not show through the finished surface.
How long should I chill a crumb-coated cake?
Refrigerate for at least 30 minutes after applying the crumb coat. The frosting should feel firm and dry to the touch before you apply the final layer.
Can I crumb coat a warm cake?
It is possible but not recommended. Warm cake causes frosting to slide and melt. Allow the cake to cool completely, or chill it briefly, before starting your crumb coat.
Do all cakes need a crumb coat?
Crumb coating is most useful for layer cakes. Sheet cakes and loaf cakes tend to have fewer exposed crumbs, so a crumb coat is often unnecessary for those.
How thick should the crumb coat be?
Very thin. The crumb coat should be barely visible in places, almost transparent. Think of it as a seal rather than a full frosting layer.
Recommended
- Master crumb coating for flawless cake finishes: A step-by-step guide - The Vanilla Valley
- Beginner Cake Decorating Tips for Stunning Results - The Vanilla Valley
- Make your cakes look more professional: step-by-step guide - The Vanilla Valley
- How to get a perfect crumb coat every time: flawless cakes - The Vanilla Valley