
How to Pipe Perfect Buttercream Hearts for Cakes
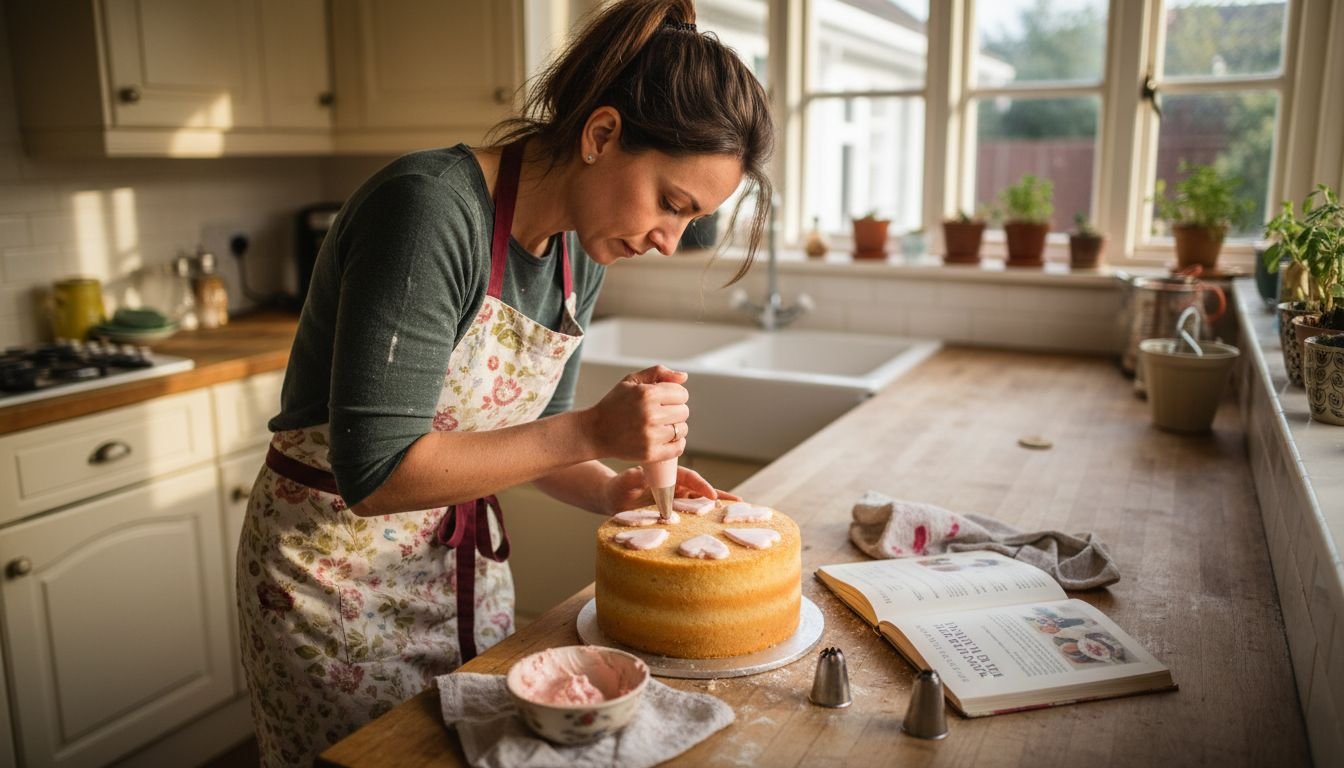
Decorating celebration cakes in South Wales can feel daunting when you want to achieve flawless buttercream hearts for birthdays or anniversaries. Choosing the right piping bags and nozzles is the foundation for crisp, professional results, especially if you are just starting out. With practical guidance on assembling essential equipment, preparing the perfect buttercream consistency, and mastering smooth heart shapes, you can transform any homemade cake into a special centrepiece everyone will remember. Focus on practising the right piping techniques and refining your approach for impressive, polished decoration.
Table of Contents
- Stage 1: Prepare The Right Piping Supplies And Buttercream
- Stage 2: Select And Fill An Appropriate Piping Bag
- Stage 3: Practise Piping Smooth Heart Shapes On A Surface
- Stage 4: Pipe Perfect Buttercream Hearts On Your Cake
- Stage 5: Check And Refine Your Heart Shapes For Neat Results
Quick Summary
| Key Insight | Explanation |
|---|---|
| 1. Choose the right piping supplies | Gather essential tools like piping bags, nozzles, and a turntable for effective buttercream decoration. |
| 2. Proper buttercream consistency is key | Achieve a smooth and firm buttercream by mixing unsalted butter, icing sugar, and vanilla extract. |
| 3. Practice on a flat surface | Develop piping technique by practising heart shapes on a clean surface before decorating the cake. |
| 4. Maintain controlled pressure when piping | Keep a steady hand and consistent pressure to achieve even, defined buttercream hearts. |
| 5. Refine shapes for a polished finish | Assess symmetry and smooth edges after piping; chill the cake briefly for better handling and refinement. |
Stage 1: Prepare the right piping supplies and buttercream
Baking enthusiasts know that achieving perfect buttercream hearts requires carefully selected equipment and proper preparation. Getting started means assembling the right piping tools and accessories, which are fundamental to creating beautifully decorated cakes.
First, gather your essential piping equipment: professional piping bags, sturdy nozzles in heart shapes, a reliable spatula, and a turntable for smooth rotating movements. Select disposable heat resistant piping bags or reusable cotton bags depending on your preference. When choosing nozzles, opt for stainless steel tips specifically designed for heart shapes with clean, crisp edges that will help you create defined buttercream designs.

For the buttercream itself, ensure you prepare a consistency that holds shape perfectly. Use unsalted butter at room temperature, icing sugar, and a splash of vanilla extract. Beat the ingredients until smooth and glossy, checking that the mixture is firm enough to hold intricate piping details but soft enough to flow through your chosen nozzle smoothly.
Kitchen Insight: Always test your buttercream consistency on a small plate before starting your cake decoration to ensure perfect piping results.
Stage 2: Select and fill an appropriate piping bag
Mastering buttercream heart piping begins with selecting the right equipment and understanding how to correctly fill your piping bag. The success of your cake decoration depends significantly on your technique and preparation.
Choose between disposable and reusable piping bags based on your specific needs. Disposable bags offer convenience and hygiene, while reusable cotton bags provide sustainability and durability. When selecting your bag, ensure it is sturdy enough to withstand the pressure of squeezing buttercream and large enough to accommodate your desired quantity of icing.
Here’s a quick comparison of disposable and reusable piping bags to guide your selection:
| Characteristic | Disposable Bags | Reusable Bags |
|---|---|---|
| Hygiene | Single use, highly hygienic | Washed after use, sustainable |
| Durability | Can burst with pressure | Withstands repeated use |
| Convenience | No cleaning required | Needs thorough cleaning |
| Environmental Impact | Generates more waste | Reduces plastic waste |
| Initial Cost | Lower upfront expense | Higher one-time cost |
To fill the bag effectively, fold the top over by about four inches to create a clean margin. This prevents messy spillovers and gives you better control. Use your weaker hand to hold the folded top of the bag steady, and your dominant hand to guide and squeeze the buttercream. Fill the bag only partially to maintain optimal control and prevent unnecessary pressure that could cause uneven piping or unexpected bursts.
Kitchen Insight: Always keep a clean kitchen towel nearby to wipe the bag’s edge and prevent any buttercream from dripping during the filling process.
Stage 3: Practise piping smooth heart shapes on a surface
Learning to pipe perfect buttercream hearts requires patience and consistent practice. Before decorating your final cake, you will want to develop your technique on a flat surface using beginner cake decorating tips that help you build confidence and precision.
Start by laying out a clean baking sheet or a piece of parchment paper on a flat surface. This will serve as your practice canvas. Hold your piping bag at a 45-degree angle, keeping steady pressure and maintaining an even hand movement. Begin by creating the top of the heart by piping two symmetrical curved lines that meet at a point, then connect the bottom with a smooth curved base. Focus on maintaining consistent pressure and keeping your movements fluid and controlled.
To improve your technique, practice multiple heart shapes in different sizes. Pay attention to the symmetry and smoothness of your lines. If a heart does not meet your expectations, simply scrape off the buttercream and start again. Each attempt will help you develop muscle memory and increase your precision.
Kitchen Insight: Chill your practice surface in the refrigerator for 10 minutes before piping to help the buttercream hold its shape more effectively.
Stage 4: Pipe perfect buttercream hearts on your cake
With your practice complete, you are now ready to transform your cake into a masterpiece of buttercream artistry. Drawing from buttercream piping techniques that professional bakers swear by, you will create stunning heart decorations directly on your cake surface.
Begin by selecting a star or round nozzle that best suits your desired heart style. Position your piping bag at a precise 45-degree angle above the cake, keeping your hand steady and movements controlled. Start by outlining the heart shape with a light, consistent pressure, creating two symmetrical curved lines that meet at a sharp point. Once you have the outline, fill in the heart using smooth, even squeezes that maintain uniform thickness and crisp edges.
Work methodically across your cake, spacing the hearts evenly and maintaining a consistent size. If a heart does not meet your expectations, gently scrape away the buttercream and restart. Remember that precision comes with practice, and each heart you pipe brings you closer to professional cake decorating skills.
Kitchen Insight: Rotate your cake turntable slowly as you pipe to ensure smooth, uniform heart shapes without straining your wrist.
Stage 5: Check and refine your heart shapes for neat results
After completing your buttercream heart piping, the final crucial step is ensuring professional quality and visual perfection. Understanding piping refinement techniques will transform your cake from good to extraordinary.
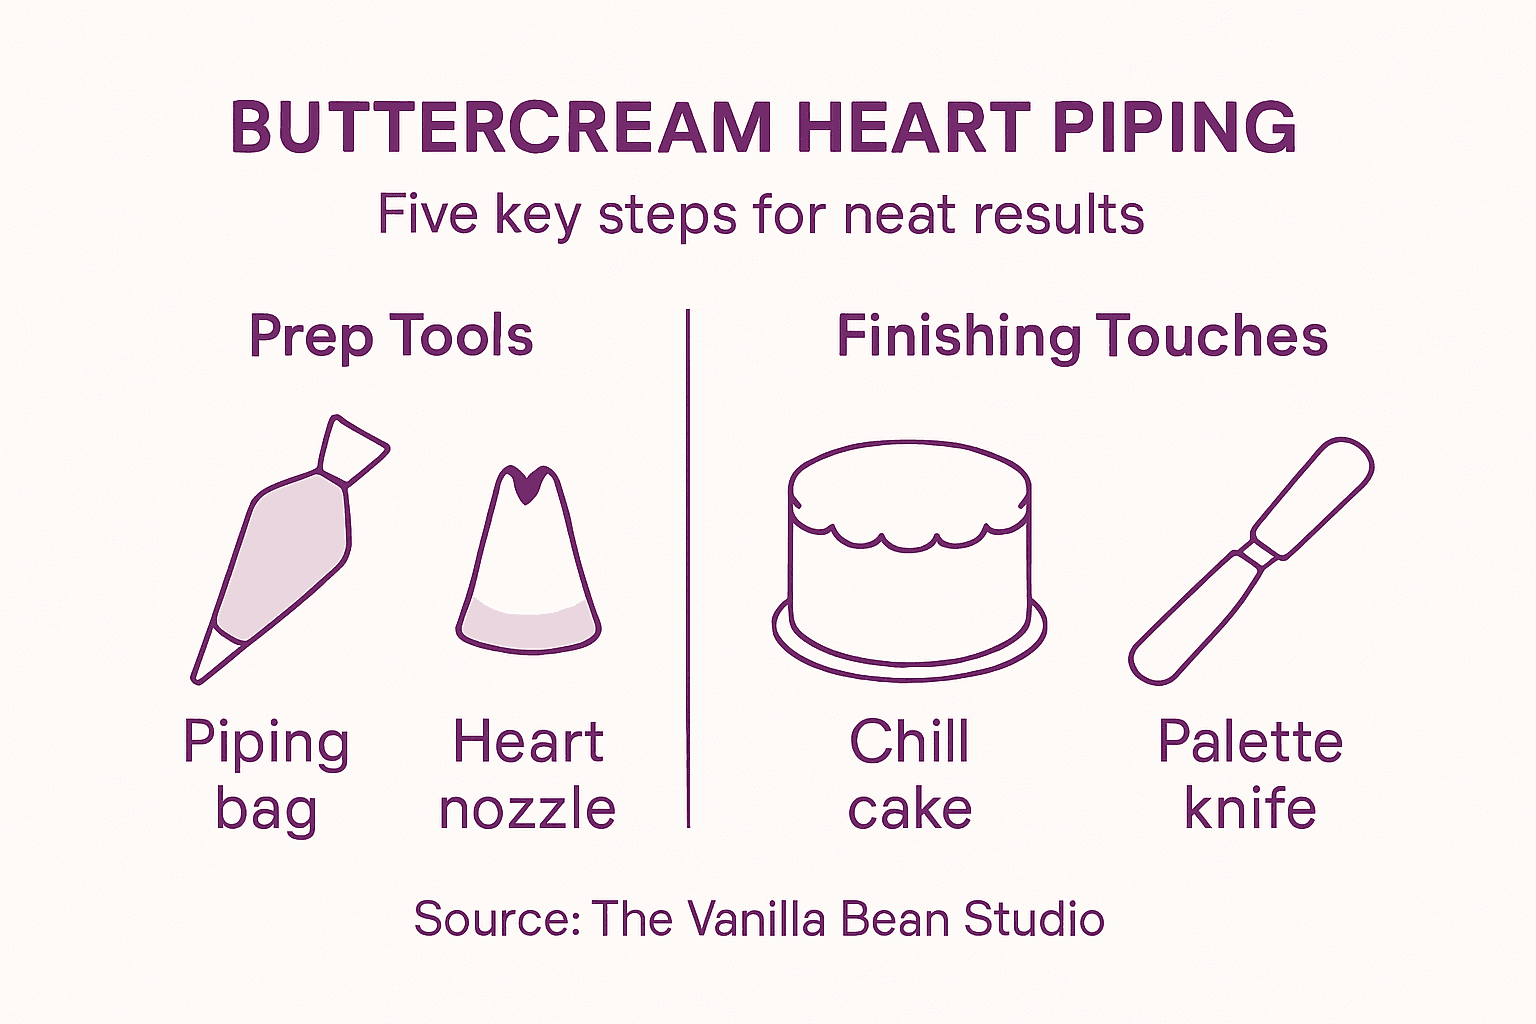
Scan each heart carefully for symmetry, comparing size and shape across the cake surface. Look for consistency in the curve of each heart and check that the points are sharp and well defined. If you notice any irregular edges or uneven lines, use a small offset spatula or a damp pastry brush to gently smooth and reshape the buttercream. Work carefully and patiently, making minor adjustments to create a polished finish.
To help set the buttercream and maintain your carefully crafted shapes, briefly chill the cake in the refrigerator for 5 to 10 minutes. This brief cooling period will help stabilise the buttercream, making any final refinements easier and ensuring your hearts retain their crisp, clean lines.
Below is a summary of refinement techniques for achieving professional-looking buttercream hearts:
| Refinement Step | Purpose | Tool/Tip |
|---|---|---|
| Assess symmetry | Ensure all hearts match | Careful visual scan |
| Smooth rough edges | Create neat, crisp outlines | Offset spatula or brush |
| Chill briefly | Sets buttercream for easier handling | Refrigerate 5–10 minutes |
| Finishing touches | Perfect sharp edges and points | Warmed palette knife |
Kitchen Insight: Work with cool hands and use a small palette knife warmed briefly under hot water to create silky smooth buttercream heart edges.
Elevate Your Buttercream Hearts with Professional Tools and Supplies
Perfecting buttercream hearts demands not only skill but the right tools and ingredients. The challenges of achieving smooth, crisp edges and consistent heart shapes can be overcome by choosing the correct piping bags, nozzles, and buttercream provided by trusted suppliers. Whether you struggle with uneven lines or difficulty controlling your piping bag’s pressure, using high-quality equipment makes a significant difference in final results.
Discover a wide range of essential cake decorating supplies designed for both beginners and professionals at The Vanilla Valley. Our collection includes durable piping bags, precise nozzles, and premium buttercream ingredients that help you master those beautifully refined buttercream hearts.

Start transforming your cake decorating today by exploring our expert-approved tools and inspirational guides. Visit The Vanilla Valley now to shop our selection and access helpful cake decorating tips that complement your piping skills perfectly. Don’t wait to bring your sweetest ideas to life with confidence and ease.
Frequently Asked Questions
How can I achieve the perfect consistency for my buttercream when piping hearts?
To achieve the perfect buttercream consistency for piping hearts, mix unsalted butter, icing sugar, and vanilla extract until smooth and glossy. Ensure the mixture is firm enough to hold shape but soft enough to flow easily through your chosen piping nozzle.
What type of piping bag should I use for piping buttercream hearts?
Use a sturdy piping bag that can withstand pressure; either disposable or reusable options work well. Fill the bag partially to maintain control, and test it with a few practice squeezes before working on your cake.
How do I improve my piping technique for creating heart shapes?
To improve your technique, practice on a flat surface like a baking sheet or parchment paper before piping on a cake. Use a 45-degree angle with consistent pressure to create smooth, symmetrical curves when forming hearts.
What tools can help refine my buttercream heart shapes after piping?
Use a small offset spatula or a damp pastry brush to smooth out any rough edges and refine the shapes of your buttercream hearts. This final touch will enhance the overall appearance and neatness of your design.
How long should I chill my cake after piping buttercream hearts?
Chill your cake in the refrigerator for about 5 to 10 minutes to help set the buttercream and stabilise the shapes. This cooling period makes it easier to make any final adjustments and helps maintain the crisp edges of your hearts.