
Master Easter egg cheesecake: Fun recipes and tips
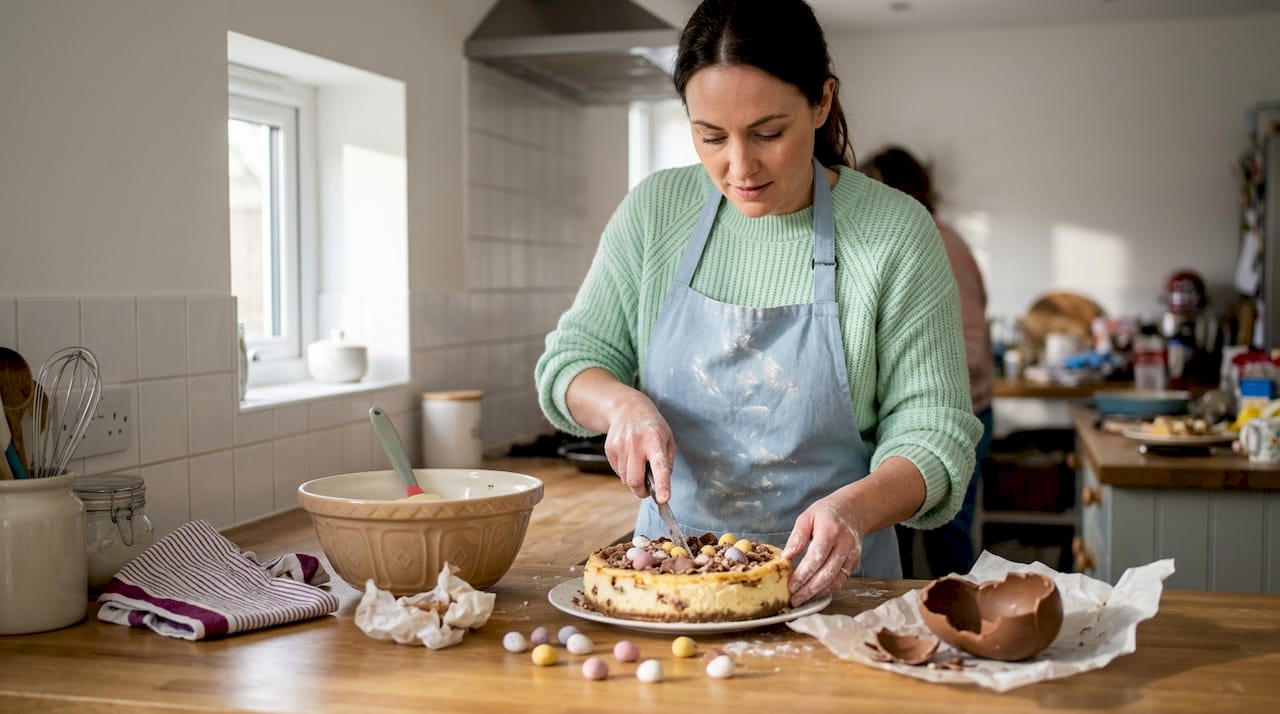
Easter is the perfect excuse to go all out in the kitchen, and an Easter egg cheesecake is one of those desserts that looks seriously impressive but is far more achievable than you might think. Whether you fancy a no-bake version loaded with Mini Eggs or a rich, baked classic topped with chocolate nests and piped cream, there is something here for every skill level. This guide walks you through everything: the different styles, both methods, decoration ideas, and clever ways to customise your cheesecake for any crowd.
Table of Contents
- What is an Easter egg cheesecake?
- No-bake Easter egg cheesecake: Simple and stress-free
- Baked Easter egg cheesecake: Classic flavour, impressive texture
- Baked vs. no-bake: Which Easter egg cheesecake is best for you?
- Decorating your Easter egg cheesecake: Toppings, swirls and creative flair
- Variations, dietary swaps, and make-ahead planning
- Shop supplies for your show-stopping Easter egg cheesecake
- Frequently asked questions
Key Takeaways
| Point | Details |
|---|---|
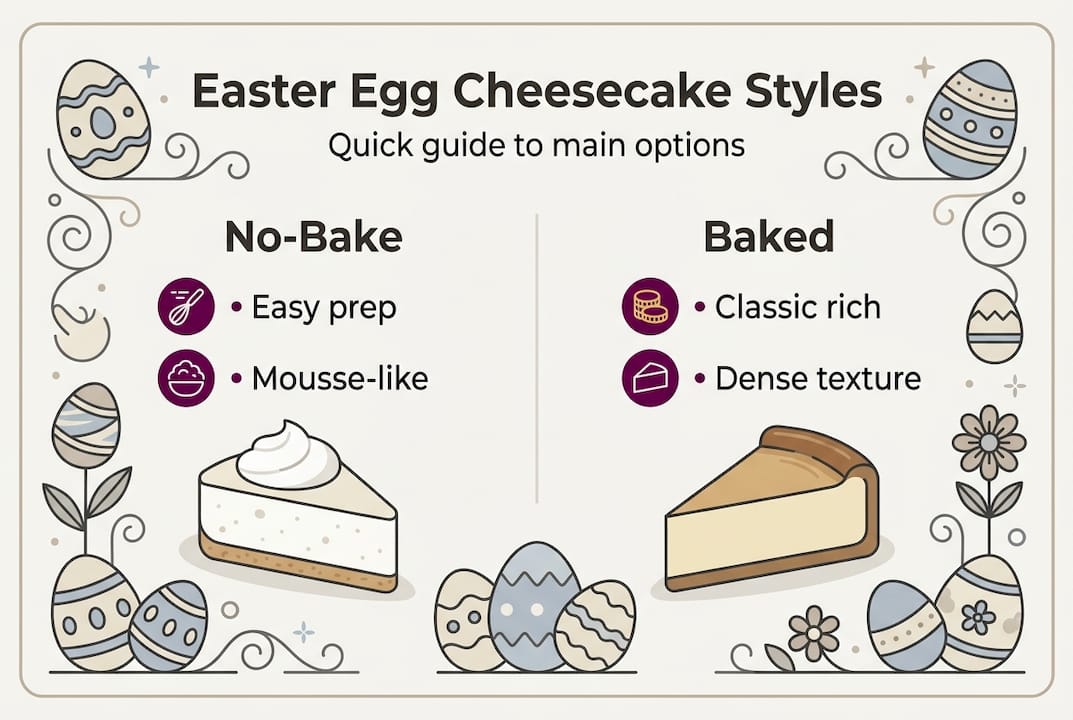
| Two main styles | Choose between no-bake (easy, mousse-like) or baked (rich, classic) versions for Easter egg cheesecakes. |
| Creative decorating | Use nests, swirls, and Mini Eggs to make your cheesecake a festive centrepiece. |
| Beginner success tips | Chill no-bake overnight for firmness and avoid cracks in baked by using a water bath. |
| Plan ahead | Cheesecakes can be made days in advance, stored in the fridge, or frozen undecorated. |
What is an Easter egg cheesecake?
The term covers quite a few different things, which is part of the fun. At its simplest, it is a classic cheesecake (baked or no-bake) decorated with Easter-themed toppings like Mini Eggs, chocolate nests, or pastel swirls. At its most creative, it involves hollow chocolate Easter eggs filled with a creamy cheesecake mixture, served individually as edible cups.
Easter egg cheesecakes predominantly feature Cadbury Mini Eggs, hollow chocolate eggs filled with cheesecake, or decorative candy eggs on no-bake or baked bases. You can also find no-bake cheesecake inspiration that leans into mousse-like textures and vibrant colours. For more creative ideas, our mini egg cake ideas article is packed with seasonal inspiration.
Here is a quick look at the main styles:
| Style | Base | Filling | Best for |
|---|---|---|---|
| Classic topped cheesecake | Biscuit crumb | Cream cheese | Sharing at Easter gatherings |
| Hollow egg cups | Chocolate Easter egg | Cream cheese mousse | Individual portions or gifts |
| Mini egg no-bake | Digestive or Oreo | Whipped cream cheese | Beginners and kids |
| Swirl baked cheesecake | Biscuit crumb | Egg and cream cheese | Confident bakers |
What makes these cheesecakes so perfect for Easter is the combination of colour, portionability, and playfulness. They suit a crowd, look stunning on a table, and can be adapted to suit almost any dietary need.
No-bake Easter egg cheesecake: Simple and stress-free
For most amateur bakers, the no-bake route is the obvious starting point. There is no oven to worry about, no risk of cracking, and the results are genuinely delicious. No-bake versions set via refrigeration over 4 to 12 hours using whipped cream or condensed milk for structure, making them ideal for anyone avoiding oven-related stress.
Here is how to make a basic no-bake Easter egg cheesecake:
- Make the base. Crush digestive biscuits (or Oreos) and mix with melted butter. Press firmly into a lined springform tin and refrigerate for 30 minutes.
- Whip the filling. Beat full-fat cream cheese until smooth, then fold in whipped double cream and icing sugar. Fold gently to keep the air in.
- Add flavour. Stir in vanilla extract, lemon juice, or melted white chocolate for extra depth.
- Pour and smooth. Spoon the filling over the chilled base and level the top with a palette knife.
- Chill. Refrigerate for at least 4 hours, though overnight is strongly recommended.
- Decorate. Add Mini Eggs, piped cream, and chocolate nests just before serving.
The biggest mistakes beginners make are overmixing the filling (which makes it runny) and not chilling for long enough. Use full-fat cream cheese and fold gently to maintain the air in the whipped cream. For ideas on using Mini Eggs as toppings, we have a dedicated guide. This method is also brilliant for baking activities with kids since there is no hot oven involved.
Pro Tip: Chill your no-bake cheesecake for a full 12 hours overnight. This gives the filling time to fully set and makes slicing clean and easy. Rushing this step is the number one reason no-bake cheesecakes collapse when cut.
For more creative no-bake formats, check out these Easter egg cheesecake ideas that use hollow chocolate eggs as edible serving vessels.
Baked Easter egg cheesecake: Classic flavour, impressive texture
If you want that dense, velvety richness that only a baked cheesecake delivers, it is absolutely worth the extra effort. Baked versions use low temperatures between 225 and 325°F (around 110 to 165°C), a water bath, and eggs for a custard-like set. The texture is denser and more satisfying, though the process requires a little more patience.
Here is how to approach a baked Easter egg cheesecake:
- Prepare the base. Press a buttered biscuit crumb into a springform tin and bake for 10 minutes at 180°C. Allow to cool.
- Make the filling. Beat room-temperature cream cheese with sugar until just combined. Add eggs one at a time on low speed. Stir in soured cream and a teaspoon of cornstarch for stability.
- Colour the batter. Divide into portions and add gel food colour for a pastel swirl effect.
- Set up a water bath. Wrap the tin in foil and place it in a roasting tray filled with hot water. This prevents cracking.
- Bake low and slow. Bake at around 150°C for 50 to 60 minutes until the edges are set but the centre has a slight jiggle.
- Cool gradually. Turn off the oven, crack the door open, and leave the cheesecake inside for an hour before moving to the fridge.
To prevent cracks in cheesecake, use room-temperature ingredients, mix on low speed to avoid incorporating too much air, and always cool gradually. Running a knife around the edge of the tin as soon as it comes out of the oven also helps. Our guide on how to avoid cake cracks covers this in more detail.
“Baked cheesecakes reward patience. Get the temperature right, use a water bath, and you will end up with something truly special. The texture alone makes it worth mastering.”
Pro Tip: Always use room-temperature cream cheese and eggs. Cold ingredients do not blend smoothly and can cause lumps or uneven baking. Take everything out of the fridge at least an hour before you start.

Baked vs. no-bake: Which Easter egg cheesecake is best for you?
Not sure which method suits you? Here is a clear comparison to help you decide.
| Factor | No-bake | Baked |
|---|---|---|
| Equipment needed | Mixing bowl, tin, fridge | Oven, roasting tray, foil |
| Set time | 4 to 12 hours | 1 to 2 hours baking, plus cooling |
| Texture | Light and mousse-like | Dense and rich |
| Crack risk | None | Possible without care |
| Skill level | Beginner-friendly | Intermediate |
| Freezer-friendly | Yes | Yes |
No-bake is lighter and mousse-like versus the dense richness of baked, and it carries no crack risk, making it the easier choice for beginners. For a deeper look at baked vs. no-bake options, there are some great resources available.
Choose no-bake if: you are short on time, baking with children, making individual portions, or new to cheesecakes.
Choose baked if: you want a showstopper centrepiece, you enjoy the process, or you are catering for guests who love a classic, rich dessert.
For troubleshooting either method, our cheesecake troubleshooting tips are a handy reference.
Decorating your Easter egg cheesecake: Toppings, swirls and creative flair
This is where the real fun begins. Decoration transforms a good cheesecake into a genuine Easter centrepiece. Decoration options include chocolate nests made with melted chocolate and shredded coconut, coloured batter swirls, layered white and blue fillings, piped whipped cream, and whole or crushed Mini Eggs scattered on top.
Here are some ideas to inspire you:
- Chocolate nests: Melt dark or milk chocolate, mix with desiccated coconut or shredded wheat, shape into small nests, and place Mini Eggs inside. Arrange on top of the cheesecake for a classic Easter look.
- Pastel swirls: Divide your cheesecake batter into two or three portions, colour each with a different gel food colour, then swirl together with a skewer before setting. Gel colours give vibrant results without thinning the batter.
- Piped cream rosettes: Use a star nozzle and piping bag to add whipped cream rosettes around the edge, then top each with a Mini Egg or small chocolate.
- Layered cross-sections: Pour alternating layers of plain and coloured batter for a stunning effect when sliced.
- Edible glitter and sprinkles: A dusting of edible glitter or pastel sprinkles adds instant festivity with minimal effort.
For a full gallery of ideas, our Easter cake decorating ideas article is brilliant for inspiration. If you are making individual cheesecakes as gifts, our Easter treat box ideas guide has some lovely packaging suggestions. For swirl-specific techniques, this swirl cheesecake recipe is worth bookmarking.
Variations, dietary swaps, and make-ahead planning
One of the best things about Easter egg cheesecake is how easy it is to adapt. All versions store well in the fridge for 4 to 5 days, and you can freeze undecorated cheesecakes for up to 1 to 3 months, making them ideal for planning ahead.
Here are some popular variations and swaps:
- Dairy-free: Swap cream cheese for a coconut cream-based alternative and use dairy-free butter in the base. Dairy-free subs like coconut cream work well in both baked and no-bake versions.
- Gluten-free: Use gluten-free biscuits for the base. Most fillings are naturally gluten-free.
- Lower sugar: Reduce icing sugar and use a naturally sweetened chocolate for toppings.
- Alternative bases: Try Oreos for a chocolatey crunch, ginger nuts for warmth, or a coconut and oat base for something different.
- Individual portions: Make cheesecake cups in a muffin tin or fill hollow chocolate Easter eggs with the filling for a gorgeous individual treat. A cheesecake cup recipe is a great place to start.
- Make-ahead planning: Bake or set your cheesecake two days before Easter, store in the fridge, and decorate on the day for the freshest finish.
For advice on storing cakes and fondant properly, we have a helpful guide that covers wrapping, freezing, and keeping your bakes in top condition.
Shop supplies for your show-stopping Easter egg cheesecake
Now that you have got the ideas and the know-how, the right supplies make all the difference. A good springform tin, a reliable piping bag, and quality edible decorations can take your cheesecake from homemade to genuinely impressive.

At The Vanilla Valley, we stock everything you need: piping bags, nozzles, gel food colours, edible glitter, sprinkles, and a brilliant range of Easter decorations. We have been helping bakers across the UK since 2009, and we offer free and next-day delivery options so your supplies arrive in time for Easter. Browse our full range online and check out our more Easter decorating inspiration for even more ideas to make your cheesecake truly special.
Frequently asked questions
Do I need to use Mini Eggs in an Easter egg cheesecake?
Not at all. While Mini Eggs are popular, you can use any chocolate, candy eggs, fresh fruit, or even edible flowers for a personalised and equally festive finish.
How long does no-bake Easter egg cheesecake need to set?
For best results, chill for at least 4 hours, but overnight is ideal. No-bake versions set fully between 4 and 12 hours, and the longer you leave it, the cleaner your slices will be.
Can you freeze Easter egg cheesecake?
Yes, absolutely. Freeze undecorated cheesecakes for up to 1 to 3 months, then defrost in the fridge overnight and add your toppings fresh before serving.
Why did my baked cheesecake crack and how can I prevent it?
Cracking usually happens when the batter is overmixed or the cheesecake cools too quickly. Mix on low speed, use a water bath, and always cool gradually in the oven with the door ajar to keep the surface smooth and crack-free.
Recommended
- Creative mini egg cake ideas to elevate Easter baking - The Vanilla Valley
- Easy baking activities with Easter eggs for kids - The Vanilla Valley
- Creative Easter treat box ideas for amateur bakers - The Vanilla Valley
- Creative Easter cake decorating ideas for 2026 - The Vanilla Valley
- Unlock the Power of Effortless, High-Protein Cooking with Two Chicks and Eazy Egg Free Range Liquid Egg Whites – MyGymSupplements