
Master Textured and Embossed Cake Decorating Techniques

Over eighty percent of British home bakers say textured and embossed designs make their cakes stand out at celebrations. If you are an amateur baker in South Wales, mastering these techniques can help you impress friends and family while expressing your creativity. Discover how to choose the right tools, perfect your skills, and source professional supplies from a local supplier trusted by British baking enthusiasts who truly value quality in every detail.
Table of Contents
- Step 1: Gather Essential Decorating Tools and Materials
- Step 2: Prepare Cakes and Apply a Smooth Base Layer
- Step 3: Select and Use Textured Mats or Embossing Tools
- Step 4: Apply Texture or Emboss Designs to Fondant
- Step 5: Refine and Highlight Decorative Details
Quick Summary
| Key Point | Explanation |
|---|---|
| 1. Invest in Quality Tools | Use professional-grade texture tools and mats to improve cake design precision and detail. |
| 2. Achieve a Smooth Base | A level cake with a proper crumb coat is essential for a flawless decoration application. |
| 3. Use Appropriate Textures | Select the right textured mats for desired effects, balancing detail and surface area correctly. |
| 4. Refine with Highlights | Enhance textures with lustre dusts to add depth and elegance to your cake designs. |
| 5. Practice Before Applying | Always experiment on a small piece of fondant to perfect your techniques before decorating the final cake. |
Step 1: Gather Essential Decorating Tools and Materials
Preparing for textured and embossed cake decorating requires carefully selecting the right tools and materials. Your arsenal will determine the quality and intricacy of your final design, so investing in proper equipment is crucial.
Start by collecting fundamental tools that enable precise textural work. You will need a range of silicone mats, embossing rollers, texture sheets, and specialised spatulas. Cake decorating techniques benefit immensely from having the correct implements. Consider purchasing professional grade sets that include multiple embossing patterns and graduated sizes of rolling tools. Key items should include fondant smoothers, impression mats with geometric and floral designs, and precision cutters for intricate detailing.
Quality matters significantly when selecting your decorating materials. Choose food-safe silicone mats with clear, defined patterns that will transfer cleanly onto your cake’s surface. Opt for flexible yet sturdy materials that can create crisp impressions without tearing. Pastry-grade fondant or modelling chocolate works best for achieving sharp textural details.
Here is a comparison of popular cake texturing tools and their best uses:
| Tool Type | Best For | Advantages |
|---|---|---|
| Silicone Mat | Large surface textures | Easy to clean, flexible |
| Embossing Roller | Continuous patterns | Quick application, uniform repeat |
| Texture Sheet | Intricate, detailed areas | Fine designs, varied motifs |
| Precision Cutter | Creating sharp edges | Accurate, neat finishes |
Helpful Hint: Always test your embossing tools on a small fondant sample before applying to your entire cake design to ensure the pattern transfers cleanly and consistently.
Step 2: Prepare Cakes and Apply a Smooth Base Layer
Creating a flawless textured cake decoration begins with preparing a perfectly smooth base. Professional cake decorators understand the critical importance of this foundational step in achieving a stunning final design.
Start by ensuring your cake layers are level and evenly stacked. Use a long serrated knife to trim any domed tops, creating flat surfaces that will provide a stable foundation for your decoration. Apply a thin layer of buttercream or ganache as a crumb coat, which seals in any loose cake particles and creates a smooth surface for your final layer. Refrigerate the cake for 15 to 20 minutes to allow this initial coat to set firmly.
Once the crumb coat has chilled, apply your final smoothing layer of buttercream or fondant. For buttercream, use a bench scraper or offset spatula to create perfectly straight sides and a sharp top edge. When working with fondant, roll it out to an even thickness slightly larger than your cake, then carefully drape and smooth it over the surface, trimming excess around the base. Take your time during this stage, as a perfectly smooth base is essential for achieving crisp and clean textural details in your final design.
Helpful Hint: Use a turntable and smooth, consistent pressure when applying your final layer to prevent air bubbles and achieve a professional finish.
Step 3: Select and Use Textured Mats or Embossing Tools
Choosing the right textured mats and embossing tools is crucial for creating stunning cake decorations. Cake decorating techniques offer a world of creative possibilities when you select the appropriate tools for your design.
Start by examining the variety of textured mats available. Silicone mats come in numerous patterns including geometric, floral, lace, and architectural designs. Consider the scale of your cake and the specific effect you want to achieve. Smaller, intricate mats work brilliantly for detailed areas, while larger mats can create bold background textures. When selecting embossing tools, look for sets with multiple sizes and profiles to give you flexibility in creating depth and interest.

To use textured mats effectively, roll out your fondant or modelling chocolate to an even thickness slightly larger than the mat. Carefully press the mat onto the surface with consistent, gentle pressure. Roll a smooth acrylic roller over the mat to ensure a crisp, clean impression. For embossing tools, practise applying different levels of pressure to create varying depths of texture. Some tools work best when used with a gentle rocking motion, while others require a more direct, firm press.
Helpful Hint: Always keep a small amount of cornflour or icing sugar nearby to prevent sticking when working with textured mats and embossing tools.
Step 4: Apply Texture or Emboss Designs to Fondant
Adding texture and embossed designs transforms an ordinary fondant surface into an extraordinary artistic statement. Artistic texture techniques reveal the incredible creative potential of surface manipulation.
Begin by ensuring your fondant surface is smooth and slightly chilled to maintain its shape during texturing. Select your chosen textured mat or embossing tool, and position it carefully over the fondant area you want to decorate. Apply consistent, even pressure using a gentle rolling motion or a firm press, depending on the effect you want to achieve. For intricate designs, work in smaller sections to maintain precision and control. Geometric patterns work wonderfully for structured looks, while organic, flowing designs can create a more natural and elegant appearance.
Experiment with combining different texturing techniques to create unique visual effects. Try layering multiple textures by using different mats or embossing tools in complementary patterns. You can create depth by varying the pressure or using tools with different profile heights. Remember that subtle variations in application can dramatically change the final look of your cake decoration.
Helpful Hint: Practice your texturing techniques on a small piece of fondant before applying to your final cake to perfect your approach and build confidence.
Step 5: Refine and Highlight Decorative Details
Precision is the hallmark of exceptional cake decorating. Meticulous artistic details transform a good cake design into an extraordinary masterpiece.
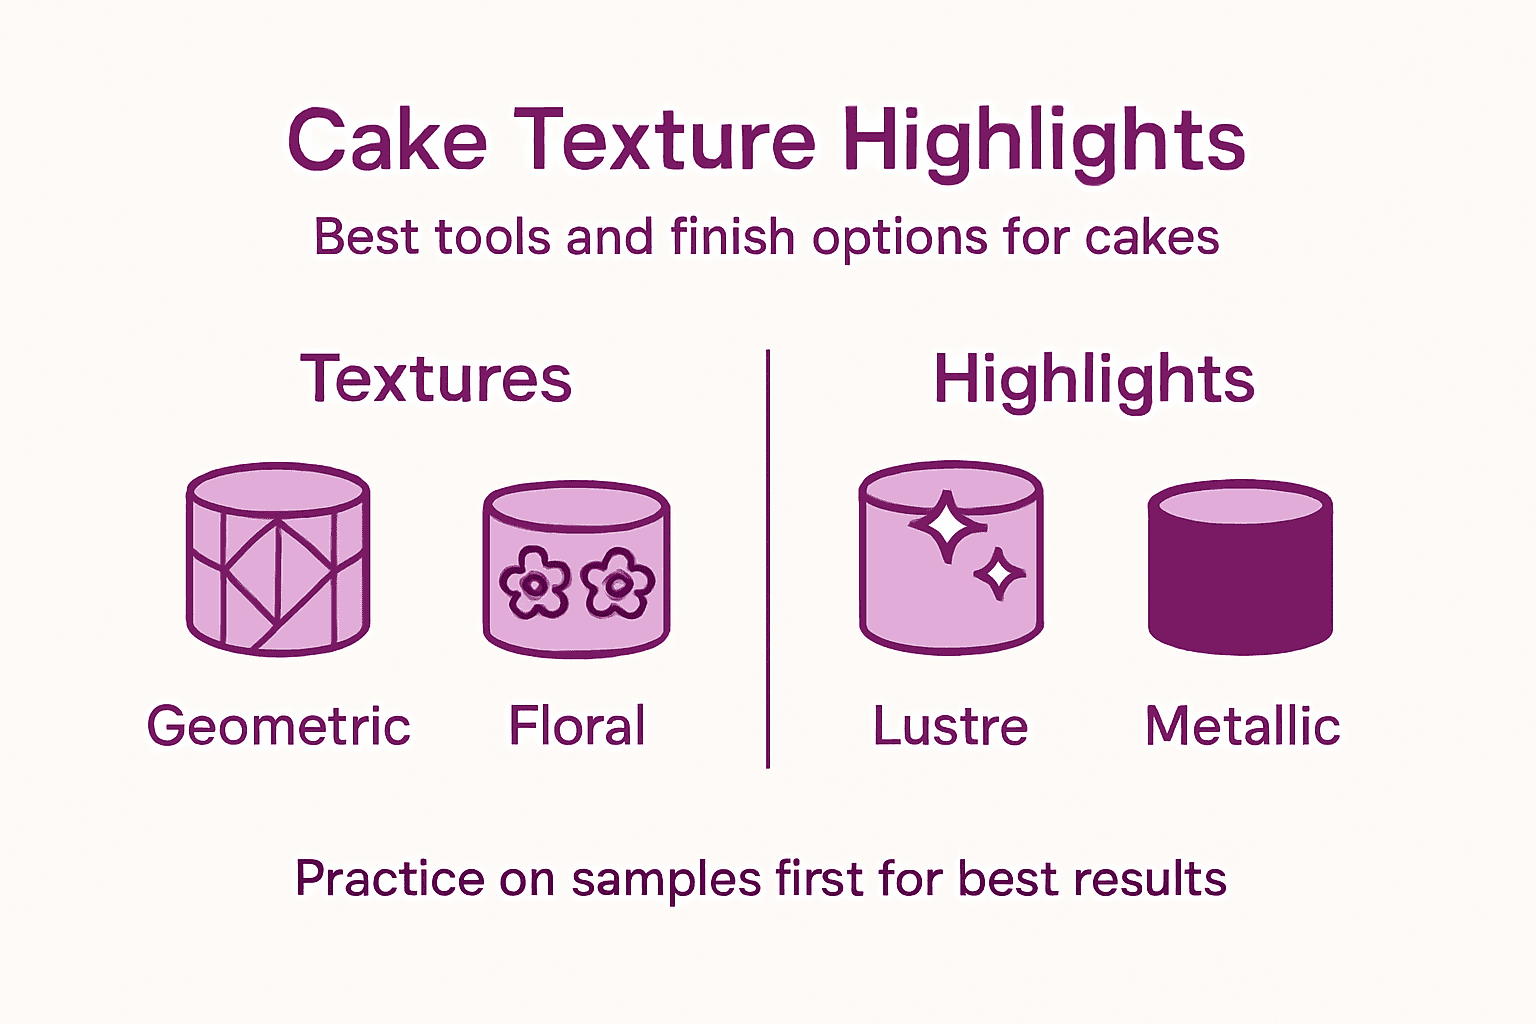
To elevate your textured cake design, use edible lustre dusts and metallic colours to enhance the depth and dimensionality of your embossed patterns. Apply these subtle highlights using a soft brush, gently sweeping colour into the recessed areas of your texture. Work with a light hand and build colour gradually to avoid overwhelming the intricate design. Metallic gold or silver can add elegance to geometric patterns, while soft pearl dust can create a subtle shimmer on more organic textures.
Carefully inspect your cake from multiple angles, ensuring the texture and highlights are consistent and balanced. Use a small precision brush to clean up any stray dust or uneven colour application. For complex designs, consider using a fine paintbrush with a tiny amount of clear alcohol to help colour pigments adhere smoothly without disturbing the underlying texture.
This table highlights common textural effects and recommended highlighting methods:
| Texture Effect | Recommended Highlight | Ideal Colour Use |
|---|---|---|
| Geometric Impressions | Metallic dust | Gold or silver |
| Floral Patterns | Soft pearl shimmer | Pearl or gentle pink |
| Architectural Details | Subtle brushed accent | Silver or bronze |
| Organic Textures | Gradient lustre finish | Pearl or pastel hues |
Helpful Hint: Test your colour application technique on a small fondant sample first to perfect your highlighting approach before working on the final cake design.
Elevate Your Cake Decorating With Expert Tools and Quality Supplies
Mastering textured and embossed cake decorating is all about precision and the right materials. As the article highlights, achieving crisp patterns and flawless finishes depends on having reliable embossing rollers, silicone mats, and premium fondant. Without these, creating those intricate geometric or organic designs can be frustrating and uneven. If you have struggled with tools that fail to produce sharp impressions or fondant that tears under pressure, you are not alone.
Discover the difference exceptional cake decorating supplies can make. At The Vanilla Valley, we stock a professional range of embossing mats, rollers, food colours, and decorating accessories to bring your creative visions to life. Whether you are refining your texturing techniques or preparing a smooth, flawless fondant base, our trusted products empower both hobbyists and seasoned decorators. Plus, you can benefit from free and next day delivery options to get your essentials exactly when you need them.

Don’t let the challenge of imperfect tools or materials hold back your artistry. Explore our collection today and take the first step towards striking, professional textured cake designs. Visit The Vanilla Valley homepage now and unlock exclusive offers that make your decorating journey even sweeter. For tips and inspiration, engage with our expert resources and community here Cake decorating techniques or learn more about becoming a professional with helpful insights at Professional cake decorators.
Your perfect textured cake starts with the right tools and support. Shop now and transform your decorating dreams into showstopping reality.
Frequently Asked Questions
How do I select the right tools for textured and embossed cake decorating?
To choose the right tools, look for a range of silicone mats, embossing rollers, texture sheets, and specialised spatulas. Start by collecting professional-grade sets that include various patterns and sizes to suit your design needs.
What is the best way to prepare my cake for texturing?
Prepare your cake by ensuring it is level and neatly stacked. After applying a thin layer of buttercream or ganache as a crumb coat, refrigerate for 15 to 20 minutes to create a smooth, stable base for your textured decoration.
How can I effectively use textured mats and embossing tools?
To use textured mats, roll out your fondant to the appropriate thickness and carefully press the mat onto its surface. For a crisp impression, roll a smooth acrylic roller over the mat, ensuring even coverage without air bubbles.
What techniques can I use to refine and highlight the details of my embossed cake?
To enhance your cake, use edible lustre dust or metallic colours in recessed areas of your texture. Apply highlights gently with a soft brush, building colour gradually for a balanced look, ensuring even application across your design.
Can I combine different texturing techniques on my cake?
Yes, combining different texturing techniques can create unique visual effects. Layer multiple textures by using various mats or embossing tools and vary the pressure applied to generate depth and interest in your designs.