
How to Choose the Right Cake Board for Your Cake Easily
Every cake you create deserves a strong foundation that matches the effort you put into decorating. Choosing the right cake board means more than just picking a size off the shelf, it can transform how your finished cake looks and travels across South Wales. If you want your next baking project to look truly polished, understanding how to select the perfect board for your cake’s shape, weight, and style makes all the difference in showcasing your skills.
Table of Contents
- Step 1: Assess Your Cake’s Size and Shape
- Step 2: Select The Best Board Material And Thickness
- Step 3: Match Board Colour To Your Cake Design
- Step 4: Confirm Stability And Presentation Quality
Quick Summary
| Key Point | Explanation |
|---|---|
| 1. Measure cake dimensions accurately | Proper measurements ensure your board complements your cake size for stability and an appealing presentation. |
| 2. Choose appropriate board material | Match your board’s material to your cake’s weight and design complexity for better support and appearance. |
| 3. Select the right board colour | The colour of your board enhances your cake’s design, making it appear intentional and cohesive. |
| 4. Ensure board stability before use | Conduct stability checks to confirm your cake sits flat and secure on the board, preventing mishaps. |
| 5. Invest in varied board thicknesses | Having different thickness options prepares you for various cake weights and designs, enhancing stability. |
Step 1: Assess Your Cake’s Size and Shape
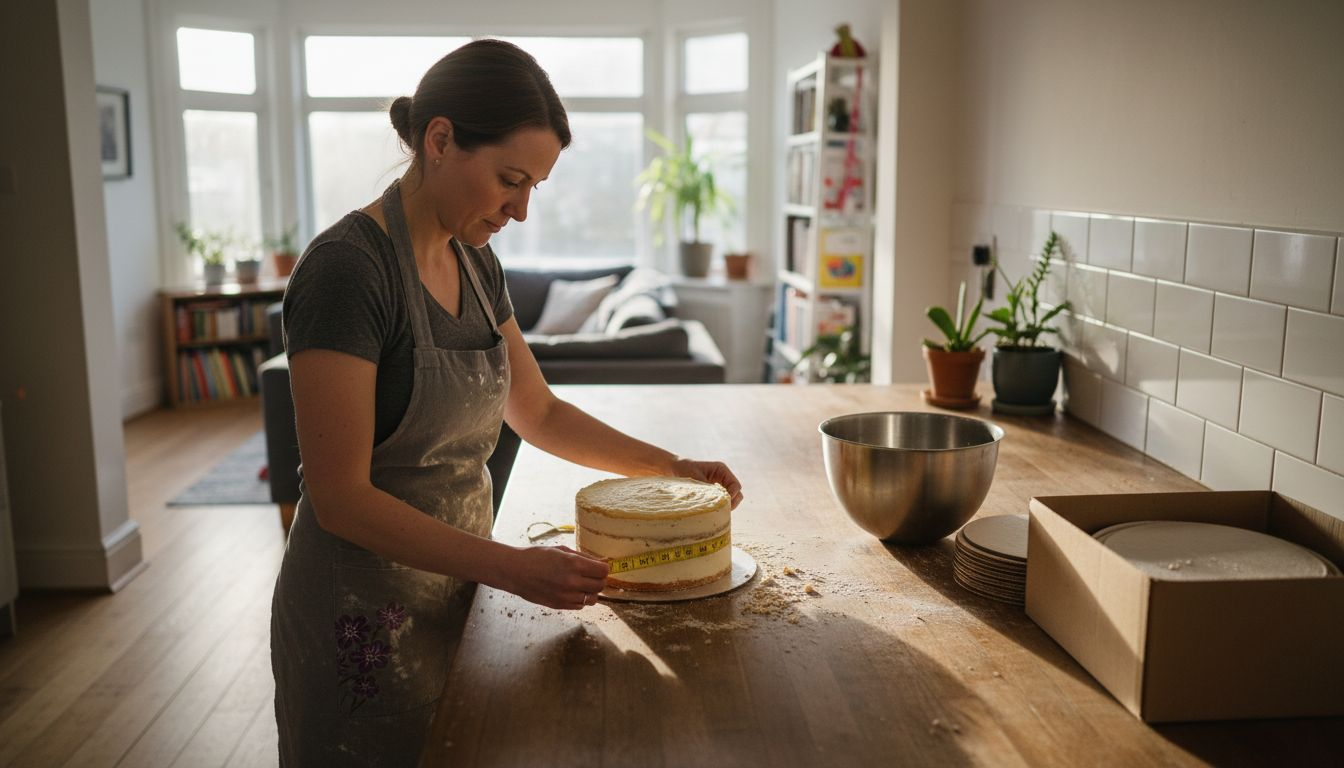
Before you pick up a cake board, you need to know exactly what you’re working with. Getting your cake’s dimensions right is the foundation for choosing a board that looks professional and keeps your creation stable. Take a few minutes to measure properly and you’ll save yourself headaches later.
Start by measuring your cake’s diameter across the widest point. Use a ruler or measuring tape and place it straight across the centre of your cake. If you’re baking a round cake, one measurement is all you need. For square or rectangular cakes, note both the length and width.
Next, check the height of your finished cake, including any layers and frosting. This matters because a board that’s too shallow might not provide enough stability, especially if your cake is tall or heavily decorated. A general rule: your board should extend about 2 to 3 centimetres beyond your cake’s edge on all sides.
Consider what shape works best for your design:
- Round boards suit traditional round cakes and create an elegant, timeless look
- Square boards work well for modern designs and stack neatly
- Rectangular boards are ideal for sheet cakes and showcase decorations beautifully
- Hexagonal or irregular shapes suit specialty cakes and bolder presentations
When planning your cake’s size, factors like the occasion, number of guests, and your decorating style all play a role. Understanding what size cake box you need can also help you grasp how much space your finished cake will occupy.
Don’t forget to account for any decorative elements you’re adding. Tall sugar flowers, tiered designs, or elaborate toppers all change how your cake sits on the board visually. A cake that appears balanced in your head might look cramped if your board is too small.
A board that extends 2 to 3 centimetres beyond your cake’s edge creates stability and gives your decoration room to shine.
Pro tip: Write down your exact measurements and keep them handy when shopping for boards, as it’s easy to misjudge size by eye alone and end up with something too small or unnecessarily large.
Step 2: Select the Best Board Material and Thickness
Now that you know your cake’s dimensions, it’s time to choose a board that will support it properly and look fantastic. The material and thickness of your board directly affect stability, appearance, and how well your cake presents. Getting this right makes all the difference between a cake that wobbles and one that stands proud.
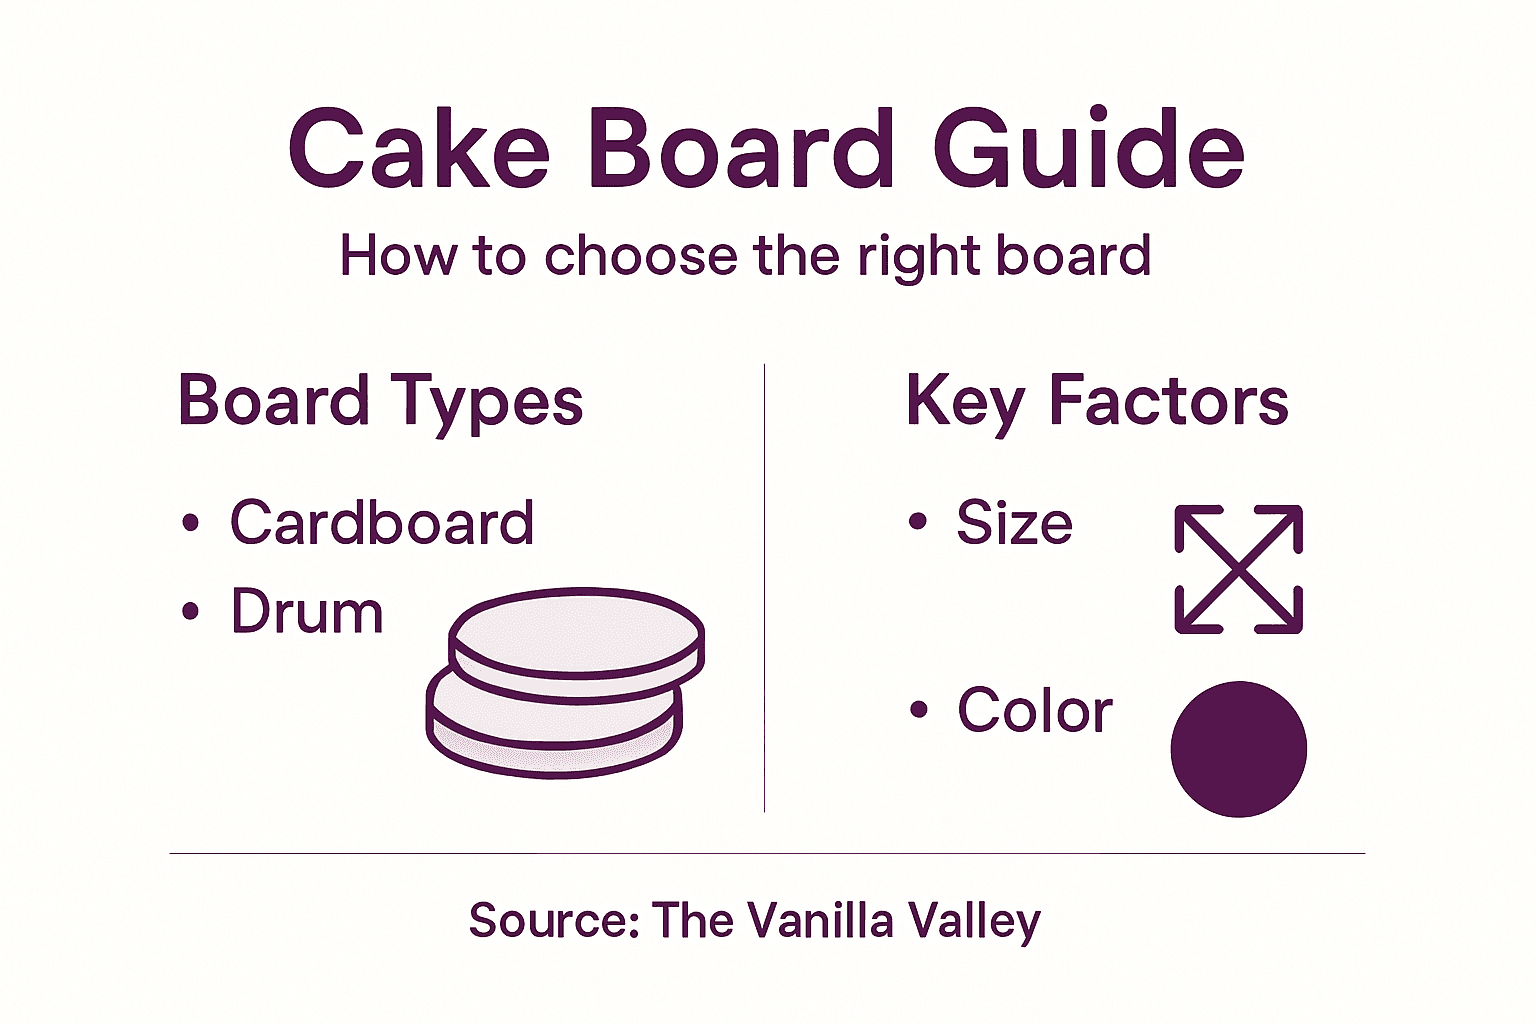
Most cake boards fall into a few main categories. Cardboard boards are lightweight, affordable, and perfect for home bakers. They work brilliantly for single-layer cakes and small designs. Drum boards, which are thicker and often made with a wooden or sturdy cardboard core, provide superior stability for heavier cakes and tiered creations. Cake drums typically measure around 12 millimetres thick, making them ideal when you need extra support.
Thickness matters more than you might think. A thin board works fine for light cakes under 2 kilograms, but anything heavier risks bending or warping. For tiered cakes or heavily decorated designs, aim for boards at least 6 millimetres thick. Thicker boards also look more professional and create a sturdier base for transport.
Consider these material options for different situations:
- Cardboard boards suit small cakes, practice runs, and budget-conscious decorating
- Cake drums work best for heavy cakes and multi-tiered designs
- Wooden boards offer a rustic aesthetic and excellent durability
- Metallic or patterned boards add visual interest and sophistication
When deciding between materials, think about your cake’s weight and decoration style. Understanding different cake board types and their uses helps you match the right board to your specific project needs.
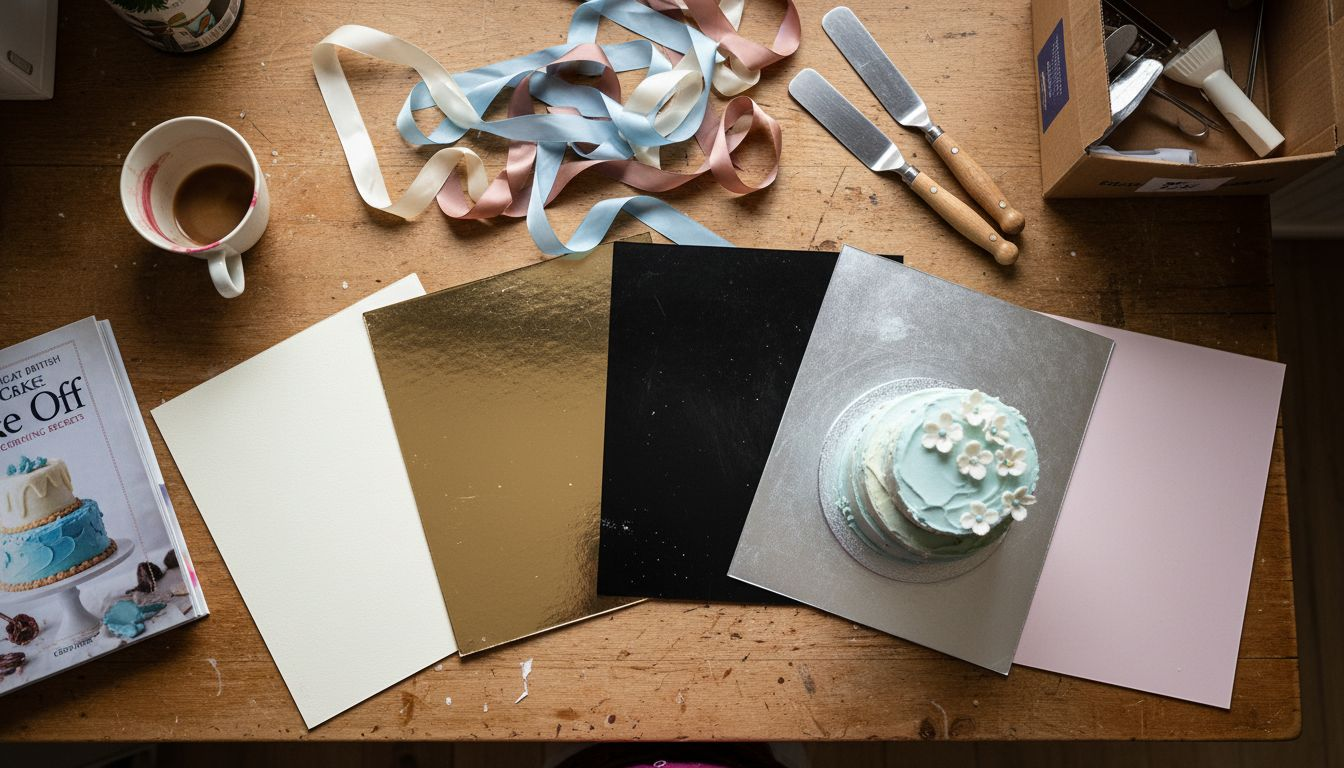
Colour and finish also influence your final presentation. Choose a board colour that complements your cake’s design. White or cream boards work with almost any cake, whilst gold or silver creates elegance. Dark boards suit modern or dramatic designs beautifully.
Here’s a summary highlighting which cake board materials suit different types of cakes:
| Board Material | Best For | Key Advantage |
|---|---|---|
| Cardboard | Light, single-layer cakes | Inexpensive and easy to cut |
| Drum | Heavy or tiered cakes | Excellent support and durability |
| Wooden | Rustic cakes and display | Reusable, very sturdy |
| Metallic/Patterned | Show cakes and events | Adds decorative flair |
Thicker boards prevent wobbling and warping, especially when your cake is heavy or sits in a warm environment during events.
Pro tip: Invest in a few different board thicknesses and materials so you’re always prepared, regardless of whether you’re creating a delicate two-layer sponge or an elaborate four-tier wedding cake.
The following table helps you quickly select the ideal board thickness based on your cake’s weight:
| Cake Weight | Recommended Board Thickness | Why This Works |
|---|---|---|
| Up to 2 kg | 3 mm to 4 mm | Adequate for light sponges |
| 2 kg to 5 kg | 6 mm | Prevents flexing and bends |
| Over 5 kg | 12 mm (drum) | Ensures full stability |
| Tiered/multi-layer | 6 mm to 12 mm | Supports complex structures |
Step 3: Match Board Colour to Your Cake Design
Your board colour is more than just a background, it’s the frame for your cake’s presentation. The right colour enhances your design and makes your cake look intentional and polished. Picking the wrong shade can diminish even the most beautiful decoration, so this choice deserves thought.
Start by considering your cake’s dominant colours. If your cake features pastels or soft tones, a white or cream board provides a neutral backdrop that lets your design shine. For vibrant, bold cakes, darker boards in black, navy, or charcoal create stunning contrast and drama. Matching your board to one of your cake’s accent colours creates cohesion without competing for attention.
Think about the occasion and setting. Wedding cakes typically pair beautifully with white or champagne boards that feel elegant and timeless. Birthday cakes for children can handle fun colours like gold, rose gold, or pastel shades. Corporate events often suit sophisticated choices like deep burgundy or slate grey.
Here are practical colour combinations to consider:
- White or cream boards work with nearly any cake design and feel versatile
- Gold or rose gold boards add luxury and warmth to elegant designs
- Black boards create modern sophistication and make pastels pop
- Coloured boards matching your cake’s theme tie everything together visually
- Metallic finishes add dimension and reflect light beautifully
Exploring colour palettes for cake decorating can inspire you with trending combinations and seasonal colour schemes that work brilliantly with board selection.
Don’t overlook the practical side. Board colour affects how your cake photographs. Light boards brighten the entire image, whilst dark boards create moodier, more dramatic photos. If you’re selling cakes or posting online, test how your chosen board looks in your typical lighting conditions.
The right board colour frames your cake like a picture frame frames artwork, making the entire presentation feel complete and intentional.
Pro tip: Keep a small collection of different coloured boards on hand so you can hold them next to your finished cake before committing, ensuring the colour combination truly works in person before presentation day.
Step 4: Confirm Stability and Presentation Quality
Before your cake leaves your kitchen, it’s time to do a final check. A stable cake board ensures your creation stays perfectly level during transport and display. Taking a few moments now prevents disaster later and guarantees your presentation looks professional.
Start by placing your cake on the board and checking it sits completely flat. Press gently on different areas of your cake to test for wobbling or movement. The board should feel solid beneath your cake with no give or flex. If you notice any movement, your board is too thin or your cake needs adjustment.
Next, examine the board’s edges and surface. Look for any dents, warping, or imperfections that might show once your cake is displayed. Run your finger along the board to check for rough spots or splinters. A professional presentation means every detail counts, including what’s underneath.
Test your setup with these practical checks:
- Place your cake on the board and gently tilt it to test stability
- Check that the board extends evenly on all sides of your cake
- Inspect the board for any visible damage or discolouration
- Ensure decorations don’t overhang the board’s edges
- Verify the board can support your cake’s total weight without bending
When finalising your board choice, referring to a comprehensive cake board selection guide helps you confirm you’ve made the right decision for your specific cake design and weight requirements.
Consider your transport plan too. Will your cake travel in a box, on a stand, or by hand? A slightly thicker board adds confidence during movement. If you’re stacking multiple boards for tiered cakes, ensure each board properly supports the layer above it without flexing.
A stable board is invisible to your guests, but an unstable one ruins the entire presentation in seconds.
Pro tip: Do a full stability test at least two hours before serving or displaying your cake, giving you time to make adjustments if anything feels uncertain or unstable.
Find the Perfect Cake Board with Confidence
Choosing the right cake board can feel overwhelming with so many sizes, materials and colours to consider. Whether you struggle with finding the ideal thickness to support your cake’s weight or worry about selecting a board that complements your design, you are not alone. This article highlights how critical it is to measure carefully, select the right board material and thickness, and pick a colour that makes your cake stand out while ensuring absolute stability.
At The Vanilla Valley, we understand these challenges and are here to help bakers like you create flawless presentations. From sturdy cake drums for tiered creations to elegant coloured boards that frame your decoration perfectly, our extensive range covers every need.

Explore our carefully curated selection to find cake boards that match your cake’s size and style. Act now and benefit from free next day delivery plus expert advice tailored for both amateur and professional bakers. Discover how easy it is to transform your cake into a masterpiece by visiting our website. You can also learn more about choosing the best boards in our cake board types and uses guide and understand what size cake box you need for perfect transportation.
Make your next bake secure, beautiful and unforgettable with The Vanilla Valley today.
Frequently Asked Questions
How do I determine the right size cake board for my cake?
To determine the right size cake board, measure the diameter of your cake at its widest point and add 2 to 3 centimetres for stability. This ensures that the board extends beyond your cake, providing ample support and a polished look.
What thickness should my cake board be based on the weight of my cake?
The thickness of your cake board should vary based on your cake’s weight. For cakes weighing up to 2 kilograms, a board thickness of 3 to 4 millimetres is adequate, while cakes over 5 kilograms should use a drum board of at least 12 millimetres for maximum stability.
Which materials are best for cake boards?
The best materials for cake boards depend on your cake’s design and weight. Cardboard boards are great for light cakes, while cake drums provide superior support for heavier or tiered cakes, ensuring that your creation remains stable during transport and display.
How can I choose the right colour for my cake board?
Choosing the right colour for your cake board involves considering your cake’s dominant colours and the occasion. Opt for neutral colours like white or cream for pastel cakes, and use darker boards for vibrant cakes to create striking contrast and enhance the overall presentation.
What should I check to ensure my cake board is stable before serving?
To ensure your cake board is stable, place your cake on it and gently test for any wobbling. Make sure the board sits flat, extends evenly around the cake, and can support its weight without bending, which ensures a professional presentation.
How can I prepare my cake board for transport?
To prepare your cake board for transport, confirm that the board is thick enough to support your cake’s weight without flexing. You might also consider using a sturdy box for added security and ensure that any decorations do not overhang the board’s edges.