
How to transport cakes safely in warm weather
TL;DR:
- Warm weather poses major risks to cakes during transport, including melting, slippage, and decorative damage.
- Using supportive methods like semi-assembled transport and proper chilling significantly reduces these hazards.
You’ve spent hours perfecting every swirl, petal, and panel on your cake. It looks absolutely stunning on the kitchen counter. Then you load it into the car on a warm summer’s day, drive thirty minutes, and open the box to find buttercream sliding off the sides and fondant going shiny and soft. Sound familiar? It happens to even experienced bakers more often than you’d think. The good news is that warm-weather cake transport doesn’t have to be a disaster. With the right preparation, the right kit, and a flexible mindset, you really can arrive with a cake that looks just as beautiful as when it left home.
Table of Contents
- Understanding the risks of transporting cakes in warm weather
- Comparing popular cake transport methods
- Preparing your cake for the journey
- During transport: essential tips and troubleshooting
- Finishing and rescuing cakes at the venue
- What most bakers miss about cake transport in heat
- Get the right supplies for heat-proof cake delivery
- Frequently asked questions
Key Takeaways
| Point | Details |
|---|---|
| Finish decor at venue | Finalising decoration on site prevents heat damage during transport. |
| Support and cool cakes | Chill cakes and use boards or dowels for structure to reduce risk of collapse. |
| Choose best transport method | Semi-assembled or deconstructed cakes travel safest in hot conditions. |
| Prepare a repair kit | Carrying emergency supplies allows quick fixes for on-site mishaps. |
Understanding the risks of transporting cakes in warm weather
Warm weather is genuinely one of the biggest threats a cake faces outside the kitchen. Most bakers focus on the bake itself and the decoration, but the journey is where things can go badly wrong surprisingly fast.
Heat affects every layer of a cake. Buttercream softens and loses its shape at temperatures above around 21°C. Fondant becomes sticky and can develop an unpleasant sheen. Fresh flower arrangements wilt. Chocolate decorations melt and smear. Even the sponge itself can become fragile if it warms up too quickly after being chilled.
The top three consequences of heat during transport are:
- Melting: Buttercream, ganache, and chocolate decorations are especially vulnerable. Within minutes in a hot car, even a well-set buttercream can start to slide.
- Slippage: When icing or filling softens, cake tiers can shift. This is particularly risky for tall or multi-tiered cakes where gravity is already working against you.
- Decorative damage: Handmade sugar flowers, piped details, and delicate toppers can warp, crack, or collapse when exposed to heat and vibration combined.
One of the most common mistakes is transporting a cake fully assembled and boxed on the back seat of a car, sitting at an angle or wobbling with every turn. As expert bakers advise, it’s often safest to stack layers and finish decor at the venue, and to carry the cake on a lap or a flat stable surface during travel.
Our step-by-step cake transport guide covers the full safety picture, but understanding the why behind these risks is the first step to stopping them in their tracks.
Comparing popular cake transport methods
Not all transport strategies are created equal, especially when the temperature is climbing. Broadly speaking, there are three main approaches you can take.
| Method | Description | Heat suitability | Risk level |
|---|---|---|---|
| Fully assembled | Cake complete with all decor before travel | Low | High |
| Semi-assembled | Tiers supported and stacked, decor added at venue | Medium to high | Medium |
| Deconstructed | Tiers and elements packed separately, full assembly on site | High | Low |
Each method has genuine trade-offs. Transporting a fully assembled cake is convenient and saves time at the venue, but in warm weather it’s the riskiest option by far. Every bump in the road becomes a threat to your fondant panels or your delicate piped roses.
Semi-assembled transport is the sweet spot for most bakers. You dowel and board your tiers at home for stability, stack them carefully, and then add any loose decorations, flowers, or toppers on arrival. As experienced decorators recommend, transporting a supported structure with dowels and boards and finishing the decor at the venue significantly reduces risk from both heat and road vibration.
Deconstructed transport is the most protective option but demands the most time and skill at the other end. It works brilliantly for competition cakes or very elaborate wedding cakes, but it does require you to be confident assembling on site, often under pressure.
Pro Tip: If you’re storing cakes for freshness before a warm-weather journey, chill each tier separately in the fridge for at least two hours before you stack and travel. A cold cake is a much more stable cake.
For tall or heavily decorated cakes, reviewing our cake stability tips before you even begin transport planning can save you a world of stress.
Preparing your cake for the journey
Preparation is everything. The thirty minutes you spend getting your cake properly travel-ready at home is worth far more than any amount of panicked fixing at the venue.
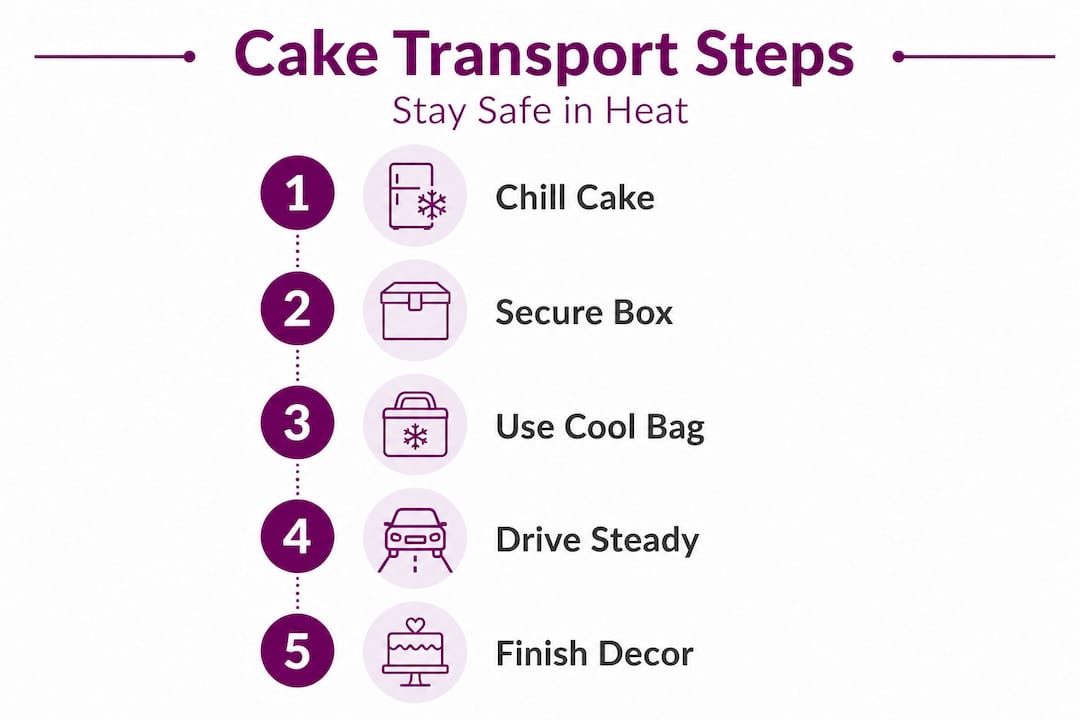
Here’s a practical step-by-step approach:
- Chill the cake thoroughly. Refrigerate fully iced or crumb-coated cakes for at least two hours before packing. A firm, cold cake handles movement far better than a room-temperature one.
- Dowel every tier properly. For tiered cakes, structural support is essential. Wooden or plastic dowels combined with sturdy cake boards between each tier prevent layers from sinking into one another during travel.
- Use a drum board as your base. A thick, heavy drum board creates a stable platform. Anchor your bottom tier to the board with a small amount of royal icing or buttercream so it doesn’t slide.
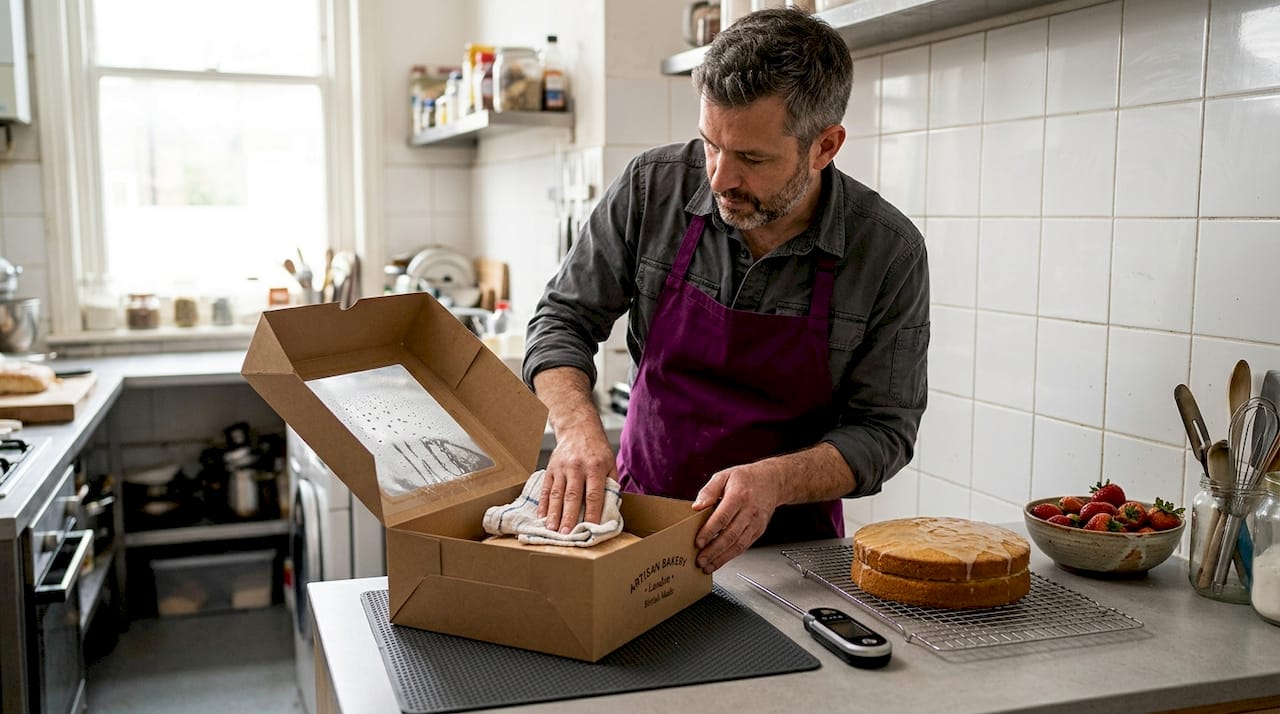
- Box it correctly. Use a cake box that fits snugly. Too much space inside a box means the cake can shift during cornering or braking. Anti-slip matting on the car floor helps too.
- Separate delicate elements. Sugar flowers, toppers, and piped decorations should travel in their own small boxes or containers and be added at the venue. This applies especially to fragile handmade pieces that took hours to create.
- Avoid direct sunlight on the box. Even a well-boxed cake sitting in a patch of sun through the car window can warm up surprisingly quickly.
Pro Tip: Cut a piece of non-slip mat (the kind used for kitchen shelves) to fit the boot of your car. Place the cake box on top of it. This simple trick dramatically reduces vibration and sliding, and it costs almost nothing.
Common mistakes that bakers make include placing a warm cake straight into a sealed box (condensation forms and can damage sugar work), or not taping the cake board to the box base. Both are easy to avoid with a little forward planning. Our guide on avoiding cake disasters has even more on what to watch out for before you leave the house.
During transport: essential tips and troubleshooting
Even the best-prepared cake needs careful handling on the road. Here’s where to focus your attention.
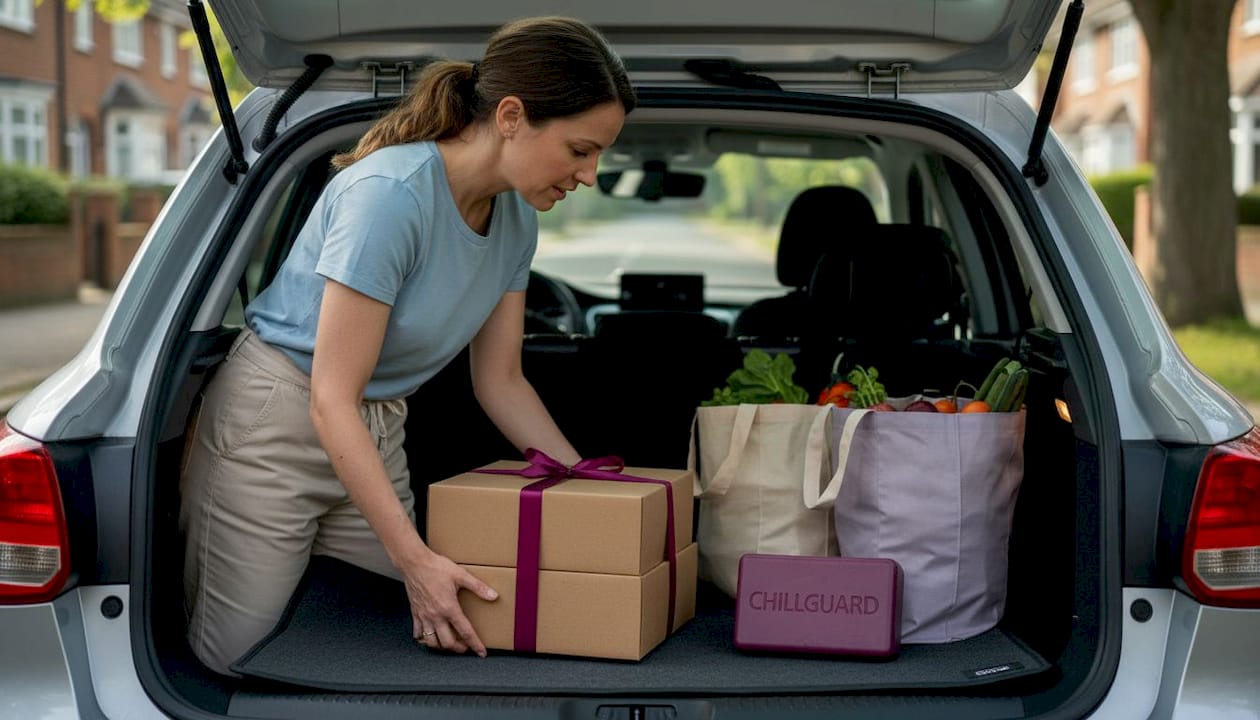
Car placement matters enormously. The boot of the car is often the safest option because it’s flat and stable, as long as your air conditioning can reach it or you have a cool bag setup. Alternatively, a front passenger lap is genuinely a great option for smaller or single-tier cakes, as the person can absorb movement and keep the box level.
Your temperature management toolkit should include:
- Running the car air conditioning for at least ten minutes before loading the cake
- Using a large cool bag or insulated cake carrier for the journey
- Placing ice packs beside (not directly under) the cake box to keep the air cool without introducing moisture
- Planning the most direct route, avoiding unnecessary stops or sitting in traffic
| Condition | Recommended action |
|---|---|
| Short journey under 20 minutes | Chill cake, cool bag optional |
| Journey 20 to 60 minutes | Chill cake, cool bag with ice packs essential |
| Journey over 60 minutes | Consider deconstructed transport, maximum cooling measures |
| High humidity as well as heat | Extra chilling and avoid fondant if possible |
As baking experts advise, separating delicate toppers from the main cake and adding them at the venue reduces risk of heat and vibration damage during transport. It genuinely is that simple, and it takes only a few extra minutes to reassemble on site.
Your on-the-road emergency kit should live in the car alongside the cake. Include a small piping bag with reserved buttercream, a palette knife, a few spare decorations, a clean brush, and some kitchen roll. You’ll hopefully never need it, but you’ll be very glad you have it if you do.
For full guidance on cake delivery safety, our dedicated resource covers everything from vehicle choice to professional courier tips.
Finishing and rescuing cakes at the venue
Arriving at the venue is not the finish line. For semi-assembled or deconstructed cakes, it’s actually the final creative act. And for any cake, this is the moment where things can either come together beautifully or go sideways quickly.
Finishing on site: a step-by-step approach
- Allow a few minutes for the cake to settle after transport before touching it. Vibration can make fillings shift slightly, and giving it a moment helps.
- Set up a stable table at a comfortable working height before you begin adding decor.
- Add toppers, fresh flowers, or any separated sugar work carefully, using a little royal icing or floral tape as needed.
- Finish decor at the venue to reduce risk from heat and bumps, and take your time. Rushing at this stage causes more damage than the journey itself.
- Do a final check from all angles before stepping back.
Emergency fixes for heat damage:
- Sliding fondant: Gently press back into position and use a cake smoother to re-seal edges. Work quickly and calmly.
- Sweating buttercream: Blot very gently with kitchen roll, then allow to cool for a few minutes in a shaded spot. Re-pipe any areas that have lost definition.
- Melted chocolate decorations: Remove and replace from spares if possible. If not, a little powdered sugar or cocoa can disguise minor smearing.
- Leaning tier: Support and re-dowel if accessible. If the cake is for display only, a hidden wedge of card can correct a slight lean.
Pro Tip: Take a photo of the finished cake at home before transport. If you need to recreate any details at the venue, you’ll have a reference right there on your phone.
For inspiration on beautiful presentation once everything is assembled, our wedding dessert presentation ideas and finishing cupcake decor guides are full of creative finishing touches.
What most bakers miss about cake transport in heat
Here’s something we’ve noticed over many years of talking to bakers, both at our shop in North Cardiff and through our community online. Most transport guides focus heavily on technique, which is brilliant and necessary. But they often skip one crucial thing: managing expectations, including your own.
No checklist can account for everything. We’ve heard stories of venues with broken air conditioning on the hottest day of the year. Cars breaking down on the motorway in August. A wedding venue that turned out to be up three flights of stairs with no lift. These things happen, and they happen to experienced professionals too.
The bakers who handle these moments best are the ones who’ve already accepted that warm-weather transport involves variables outside their control. They carry spares. They communicate with clients. They say, before the day, “here’s what I’ll do to protect your cake, and here’s what we’ll do together if something unexpected happens.” That conversation almost always builds trust rather than undermining it.
We’d also say this: building your knowledge of structural tips for tall cakes isn’t just about tall cakes. It’s about understanding how cakes behave under stress, which is exactly what warm-weather transport creates. The more you understand structure, the better your instincts become when something goes slightly wrong on the road.
Adaptability is the real skill here. Technique gets you most of the way there. A readiness mindset gets you the rest.
Get the right supplies for heat-proof cake delivery
Warm-weather cake transport is so much easier when you have the right tools from the start. Whether you’re looking for sturdy cake drums, quality dowels, snug-fitting cake boxes, or the little extras that make your repair kit genuinely useful, we’ve got you covered at The Vanilla Valley.

We’ve been supplying bakers across the UK since 2009, and we know exactly what makes the difference between a journey that works and one that doesn’t. Pop over to our cake transport essentials and browse everything you need for safe, confident cake delivery in any weather. From cake boards and boxes to specialist decorating tools, it’s all there waiting for you. And if you’re not sure what you need, our friendly team is always happy to help.
Frequently asked questions
What is the safest way to move a tiered cake in hot weather?
Transport supported tiers separately and finish the decor at the venue to reduce risk from both heat and road movement. Dowels and boards between tiers are non-negotiable for stability.
How do I keep buttercream cakes from melting during transport?
Chill the cake thoroughly before packing, use a cool bag with ice packs placed beside (not under) the box, and keep the cake on a flat, stable surface away from direct sunlight throughout the journey.
Should I assemble my cake fully before travel or finish at the venue?
For best results in warm weather, transport your main tiers semi-assembled with proper supports and complete delicate decoration at the venue to protect fragile elements from heat and vibration.
What emergency supplies should I bring for last-minute cake repairs?
Pack reserved buttercream in a small piping bag, a palette knife, spare decorations, a clean brush, and kitchen roll. These basics cover the vast majority of on-site fixes you’re ever likely to need.
Recommended
- How to store cakes for lasting freshness and flavour - The Vanilla Valley
- 7 Best Cake Boxes for Tall Cakes and Top Tips for UK Bakers - The Vanilla Valley
- Cake Boxes: Ensuring Safe and Stylish Bakes - The Vanilla Valley
- 7 Mistakes to Avoid with Cake Boards and Boxes for Bakers - The Vanilla Valley
- 11 consejos para personalizar pasteles y lograr eventos inolvidables