
Master silicone moulds for stunning cake decorating
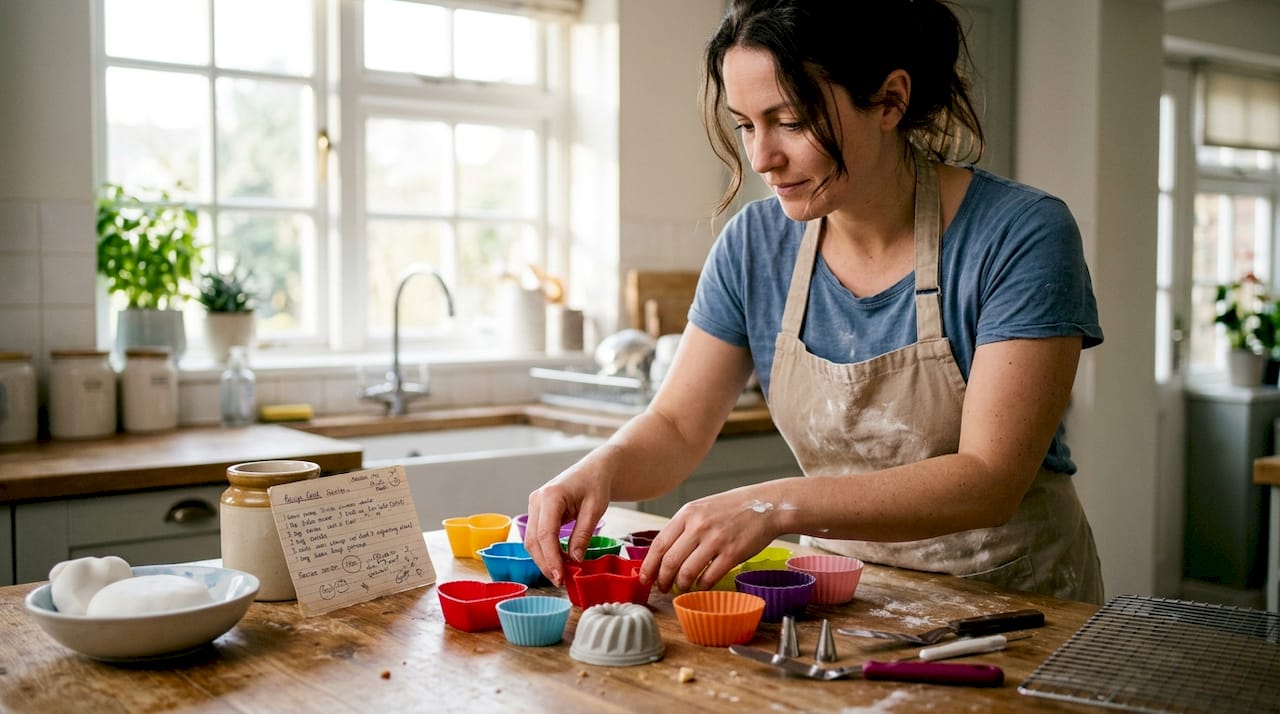
If you’ve ever wrestled with a metal tin that refuses to release your carefully crafted sponge, or watched a fondant decoration tear apart as you try to lift it free, you’ll know exactly how frustrating traditional cake decorating tools can be. Silicone moulds change all of that. Flexible, non-stick, and capable of capturing the finest details, they’ve become a favourite for bakers at every level. In this guide, we’ll walk you through everything: what silicone moulds are, how to prepare them properly, a step-by-step process for fondant and batter, and expert tips to troubleshoot any hiccups along the way.
Table of Contents
- What are silicone moulds and why use them?
- Essential tools and materials for using silicone moulds
- Preparing your silicone moulds for perfect results
- Step-by-step: Using silicone moulds for fondant and cake batter
- Troubleshooting and expert tips for best results
- Find the perfect moulds and expert supplies
- Frequently asked questions
Key Takeaways
| Point | Details |
|---|---|
| Prep for success | Wash and cure new silicone moulds before your first use to prevent sticking or odours. |
| Adjust your baking | Add 5–10 minutes to bake times due to silicone’s insulation and always cool before unmoulding. |
| Choose the right release | Grease only for low-fat recipes or intricate moulds and dust for fondant as needed. |
| Get creative | Silicone moulds enable you to easily achieve professional, intricate designs at home. |
What are silicone moulds and why use them?
Silicone moulds are baking and decorating tools made from food-grade silicone, a flexible rubber-like material that can withstand temperatures from freezing cold right up to around 230°C. Unlike rigid metal or plastic alternatives, silicone bends and flexes, which makes releasing even the most intricate shapes a genuine pleasure rather than a nerve-wracking ordeal.
The benefits are hard to ignore:
- Flexibility means you can peel the mould away from your decoration rather than forcing the decoration out
- Natural non-stick surface reduces the need for heavy greasing in most cases
- Fine detail replication captures delicate textures, lace patterns, and sharp edges beautifully
- Versatility across fondant, modelling paste, chocolate, jelly, and cake batter
- Durability with proper care, a good silicone mould lasts for years
Silicone moulds come in an enormous range of shapes: flowers, geometric tiles, letters, animals, themed designs, and full cake moulds. Some are shallow and flat, ideal for fondant toppers. Others are deep and structured, designed to hold batter for shaped sponges.
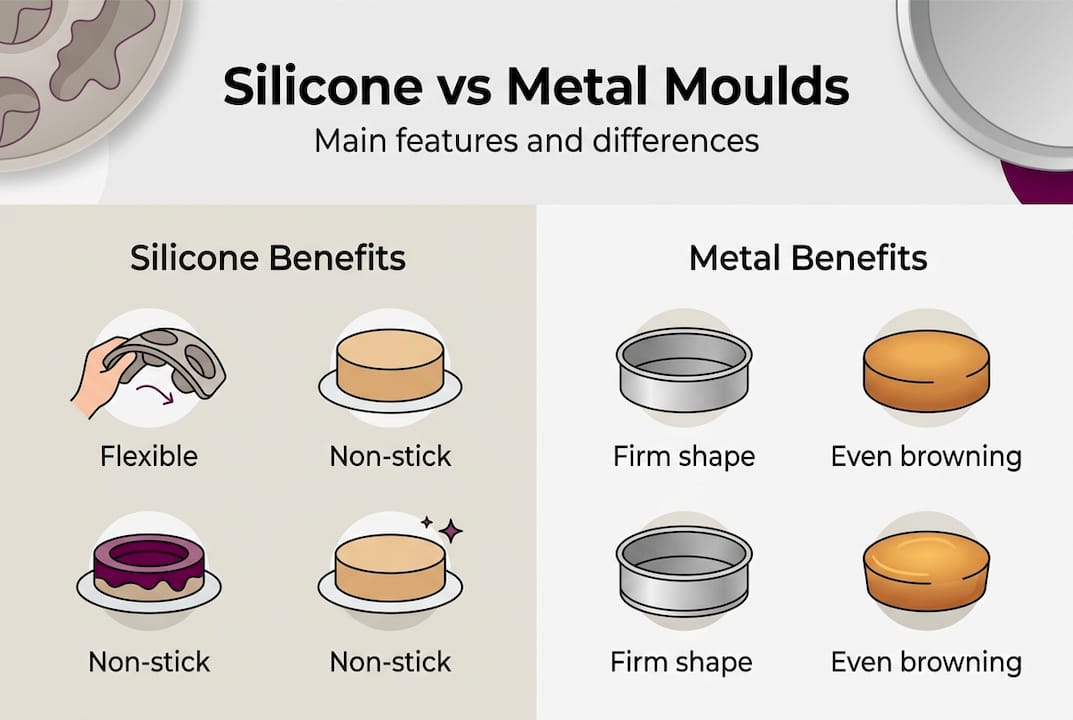
When compared to metal tins, silicone moulds excel for intricate shapes and produce moister results with less browning. Metal conducts heat more aggressively, which can be great for a crisp crust but disastrous for a delicate butterfly wing or a fine lace border. Plastic moulds, meanwhile, are rigid and prone to cracking under pressure. For creative decorating with silicone moulds, there really is no better material.
| Mould type | Pros | Cons |
|---|---|---|
| Silicone | Flexible, non-stick, detail-rich | Can wobble; needs support tray |
| Metal | Excellent heat conduction, sturdy | Sticks easily, less detail |
| Plastic | Cheap, widely available | Rigid, cracks, limited detail |
Essential tools and materials for using silicone moulds
Before you press a single piece of fondant or pour a drop of batter, it pays to have everything ready. Rushing in without the right tools is one of the most common reasons bakers run into trouble.
Here’s what you’ll want to have on hand:
- Silicone moulds suited to your project (fondant, chocolate, or batter)
- Baking sheet or flat tray to support flexible moulds in the oven
- Piping bags for filling small or intricate cavities neatly
- Small palette knife or spatula for levelling off excess fondant or batter
- Soft pastry brush for applying cornflour or release spray
- Cornflour or icing sugar for dusting fondant moulds
- Release spray or unsalted butter for greasing when needed
- Cooling rack for resting baked pieces before unmoulding
Choosing the right mould for your goal matters enormously. A deep, structured mould suits sponge batter. A shallow, detailed mould is perfect for fondant or chocolate work. If you’re working with modelling paste, look for moulds with crisp, defined edges to get the sharpest results.
Preparation of new silicone moulds involves washing them thoroughly and completing an initial empty bake to cure the material before first use. It’s a small step that makes a big difference. You’ll also want to think about lining and preparing moulds correctly depending on what you’re making, and if you’re working with paste, our guide to colouring modelling paste is well worth a read before you start.
| Use case | Recommended mould type | Key material |
|---|---|---|
| Fondant toppers | Shallow, detailed silicone | Fondant or modelling paste |
| Shaped sponge | Deep structured silicone | Cake batter |
| Chocolate decorations | Polycarbonate or silicone | Tempered chocolate |
| Jelly or mousse | Flexible silicone | Set desserts |
Preparing your silicone moulds for perfect results
With your tools assembled, it’s time to get your moulds ready. Skipping this stage is one of the biggest mistakes bakers make, and it almost always leads to sticking or lost detail.
Follow these steps for first-time use:
- Wash the mould in hot soapy water and rinse thoroughly
- Dry completely with a clean cloth or leave to air dry
- Cure by placing the empty mould in the oven: new moulds should be baked empty at 180°C for 20 minutes to prepare the surface
- Cool before using for the first time
For ongoing use, the question of whether to grease often trips people up. The answer depends on what you’re making. Baking favours a light grease for new moulds, but experienced pastry chefs advise skipping it unless the recipe is low in fat or the design is particularly intricate.
For fondant and modelling paste, dust the mould lightly with cornflour using a soft brush. This prevents sticking without adding unwanted moisture. For sponge batter with a standard fat content, you can often skip greasing entirely. For very detailed or low-fat recipes, a light spray of release oil does the job beautifully.
Common mistakes to avoid:
- Skipping the curing step on a brand-new mould
- Over-greasing, which fills in fine details and blurs your design
- Not drying the mould thoroughly before use, which causes uneven results
- Rushing to unmould before the piece has cooled
Always make sure your oven is properly ready too. Preheating the oven correctly is just as important as mould preparation, and avoiding common mould mistakes from the start will save you a lot of heartache.
“The single most important thing is patience. Let the mould cool completely before you try to release anything. Rush it, and you’ll lose all that beautiful detail you worked so hard to create.”
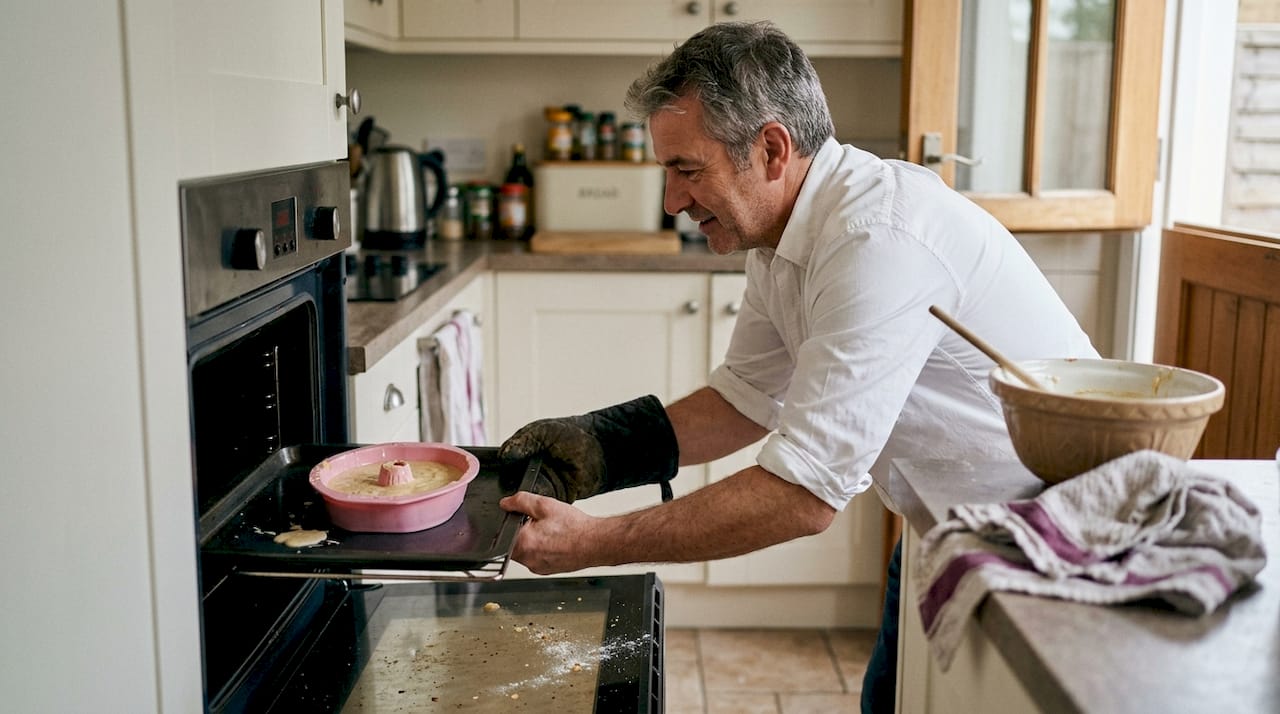
Pro Tip: Always place your silicone mould on a flat baking sheet before putting it in the oven. This keeps it stable and prevents the batter from sloshing as you move it.
Step-by-step: Using silicone moulds for fondant and cake batter
Now for the exciting part. Whether you’re pressing fondant into a delicate flower mould or filling a shaped cake mould with batter, the process is straightforward once you know the steps.
For fondant and modelling paste:
- Dust the mould lightly with cornflour, tapping out any excess
- Press your fondant or paste firmly into the mould, working it into all the corners
- Use a palette knife to level off the back, removing any excess
- Place in the freezer for 5 to 10 minutes to firm up
- Flex the sides of the mould gently and ease the decoration free
- Leave to dry fully before painting or dusting with lustre
For cake batter:
- Lightly grease the mould if the recipe is low in fat or the design is intricate
- Use a piping bag to fill intricate moulds neatly, avoiding air pockets
- Place the filled mould on a baking sheet for support
- Add 5 to 10 minutes to your usual bake time, as silicone insulates more than metal
- Check doneness with a skewer; it should come out clean
- Cool in the mould for at least 15 to 30 minutes before unmoulding
- Flex the sides gently and invert onto a cooling rack
For baking evenly with silicone, the support tray is non-negotiable. Without it, the mould can flex in the oven and cause uneven rising. Pastry chefs recommend piping batter into moulds rather than spooning, as it gives you far more control and reduces air bubbles.
For baking cakes in silicone moulds, the result is a moister crumb with less browning on the outside compared to metal. This is brilliant for intricate shaped cakes where you want a soft, even finish. If you do want a deeper golden crust, invert the cake directly onto the baking sheet for the final few minutes of baking.
Pro Tip: Once you’ve mastered the basics, try creating edible toppers using silicone moulds for a truly professional finish on any celebration cake.
Troubleshooting and expert tips for best results
Even with the best preparation, things don’t always go to plan. Here are the most common issues and how to fix them.
Common problems and solutions:
- Decoration sticking: Dust more generously with cornflour, or chill the mould longer before releasing
- Blurry details: You’ve over-greased. Use less next time, or switch to cornflour dusting
- Uneven bake: Always use a support tray and make sure your oven is fully preheated
- Mould wobbling in the oven: Place on a flat, rigid baking sheet before filling
- Cake too pale: Silicone moulds require time and temperature tweaks compared to metal; try increasing the temperature by 10°C or finishing the bake uncovered
“Never use sharp tools to pry a decoration out of a silicone mould. Always flex the sides gently. A sharp tool will tear the mould and ruin the decoration in one go.”
Between uses, wash your moulds in warm soapy water and dry them completely before storing flat or rolled loosely. Never fold them sharply, as this can cause creasing that affects future results.
Pro Tip: If a fondant decoration is proving stubborn, pop the mould in the freezer for an extra five minutes. The cold firms up the paste and makes it release cleanly every time.
For more inspiration on what to make, explore unique decorating ideas using silicone moulds, and if you’re working with fondant in advance, our guide to storing fondant will help you keep it in perfect condition until you’re ready to use it.
Find the perfect moulds and expert supplies
You’ve got the knowledge. Now it’s time to put it into practice with the right tools by your side. At The Vanilla Valley, we’ve been helping bakers like you create amazing things since 2009, and we know exactly what makes the difference between a good result and a brilliant one.

Our cake decorating supplies include everything you need to get started or level up your silicone mould work, from fondant and modelling paste to dusting powders, piping bags, and release sprays. Whether you’re a weekend baker or running a small cake business, we’ve got you covered. Pop over and browse silicone mould ideas for your next project. We can’t wait to see what you create.
Frequently asked questions
Do you always need to grease silicone moulds for cake decorating?
Not always. Grease only low-fat recipes or highly intricate designs; for most standard recipes, the natural non-stick surface of silicone is sufficient on its own.
What is the best way to unmould a cake or fondant from a silicone mould?
Allow your cake or fondant to cool completely first, then flex the sides gently to ease the piece free without damaging any fine details.
How do you cure a new silicone mould for first-time use?
Wash it in hot soapy water, dry it thoroughly, then bake it empty at 180°C for around 20 minutes before using it with food for the first time.
Why is my cake less browned when baked in silicone than in metal?
Silicone insulates heat rather than conducting it, which means moister cakes with less browning compared to metal; invert the cake onto a baking sheet for the final few minutes if you want a deeper colour.
Recommended
- 7 Best Baking Tools for Home Bakers to Master Cake Decorating - The Vanilla Valley
- Silicone Moulds for Cupcakes: Creative Decorating Techniques - The Vanilla Valley
- How to Create Edible Toppers for Stunning Cakes - The Vanilla Valley
- Beginner Cake Decorating Tips for Stunning Results - The Vanilla Valley