
Why lining your tin matters: baking secrets for perfect cakes
TL;DR:
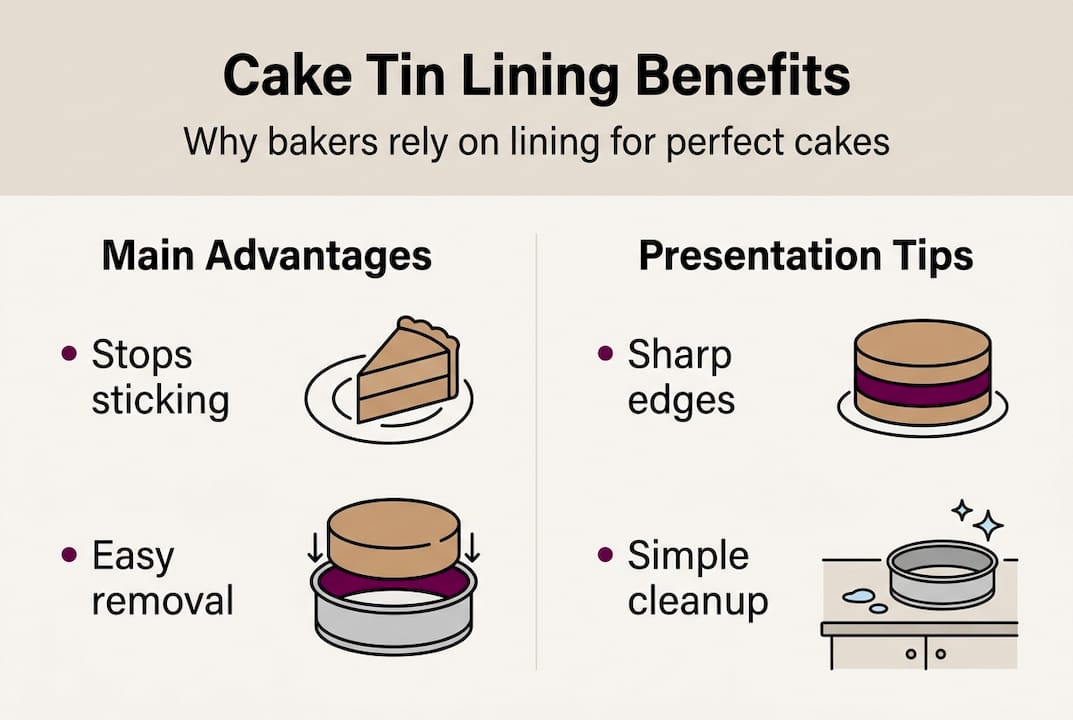
- Lining cake tins prevents sticking, tearing, and ensures easy removal of baked goods.
- Parchment paper is the most versatile, non-stick, and requires no greasing.
- Proper lining is essential for professional decorating, even layers, and high-quality presentation.
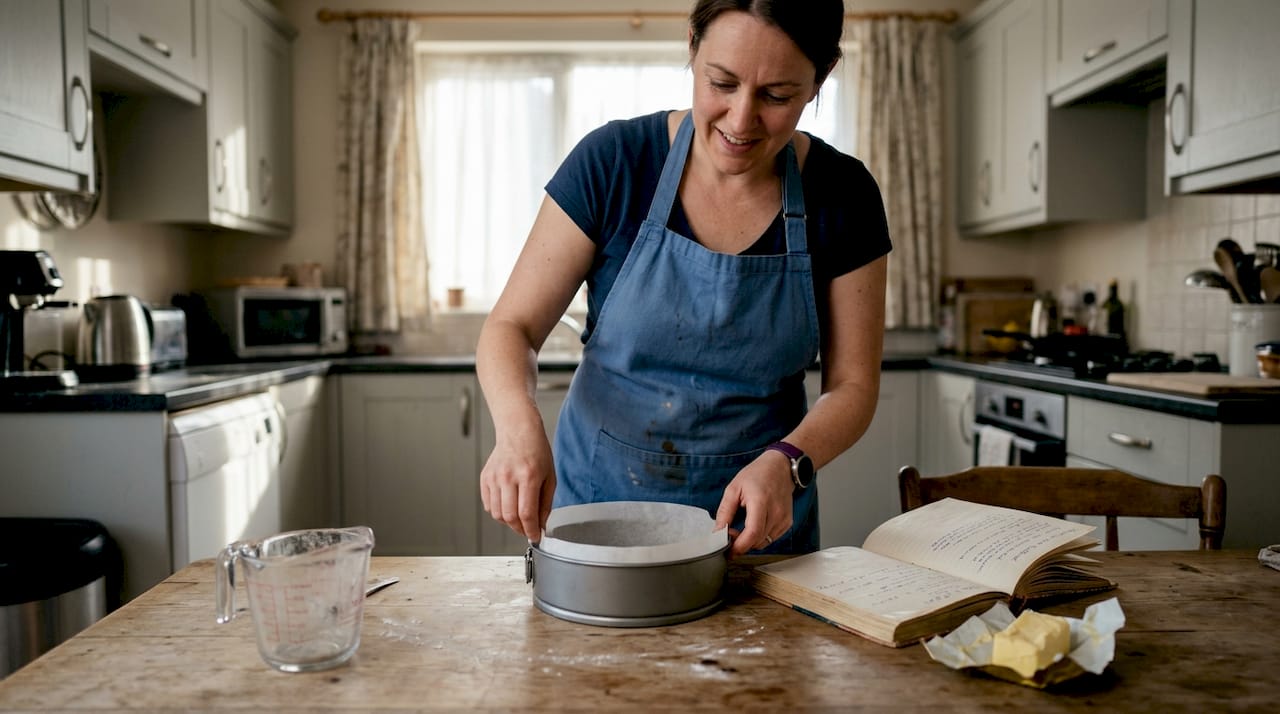
You’ve greased the tin, poured in the batter, and waited patiently. Then it happens. The cake tears on the way out, leaving half of it stubbornly stuck to the base. Sound familiar? Lining cake tins prevents sticking and ensures easy removal, yet so many of us still skip this step. Whether you’re a weekend baker or someone who decorates cakes professionally, lining your tin is one of those quiet game-changers that separates a good bake from a stunning one. In this article, we’ll walk through the science, the best materials, and the practical know-how to get it right every time.
Table of Contents
- What is tin lining and why does it matter?
- Choosing between parchment, foil and other liner materials
- Why lining is crucial for decorating and perfect presentation
- Special cases: when lining really makes a difference
- Step-by-step: how to line your tin for pro results
- Why traditional advice about tin lining needs an update
- Take your baking and decorating to the next level
- Frequently asked questions
Key Takeaways
| Point | Details |
|---|---|
| Lining prevents sticking | Using a liner makes sure your cake releases cleanly from the tin every time. |
| Material choice matters | Selecting the right liner—parchment, foil, or double layer—impacts your cake’s bake and presentation. |
| Decorating needs a perfect base | Properly lined tins create sharp cake edges and surfaces, essential for stunning decoration. |
| Some cakes need special lining | Delicate, high-sugar, or slow-bake cakes benefit most from careful lining and sometimes double layers. |
| Don’t rely solely on non-stick tins | Even non-stick tins may require lining for the best and most consistent cake results. |
What is tin lining and why does it matter?
Tin lining simply means placing a barrier, usually parchment paper or aluminium foil, inside your cake tin before you pour in the batter. It sounds like a small thing. But it makes a big difference.
The most obvious benefit is that lining prevents sticking and ensures easy removal of your baked goods. Even tins that look perfectly smooth have tiny imperfections. Batter seeps into those gaps, bakes solid, and clings. A liner creates a clean, smooth surface that the cake simply slides away from.
There’s also the cleanup factor. Lining facilitates easy cleanup because the liner lifts out with the cake, leaving the tin spotless. No scrubbing baked-on crumbs. No soaking. Just peel and go.
Beyond convenience, lining affects the way your cake bakes. Parchment acts as a gentle insulator, helping to regulate heat around the edges. This means more even browning, fewer crispy corners, and a more consistent crumb throughout. For how to line a cake tin in a way that maximises these benefits, the technique matters as much as the material.
Key benefits of lining your cake tin:
- Prevents sticking and tearing during removal
- Promotes even heat distribution and baking
- Protects delicate sponge structures
- Makes cleaning up faster and easier
- Keeps the cake’s shape intact for decorating
| Benefit | With liner | Without liner |
|---|---|---|
| Sticking risk | Very low | High |
| Cleanup time | Minimal | Significant |
| Edge browning | Even | Can be uneven |
| Cake integrity | Preserved | Risk of tearing |
| Decorating readiness | Excellent | Variable |
“A well-lined tin is the first step to a cake worth decorating.” It’s a simple principle, but it holds true every single time.
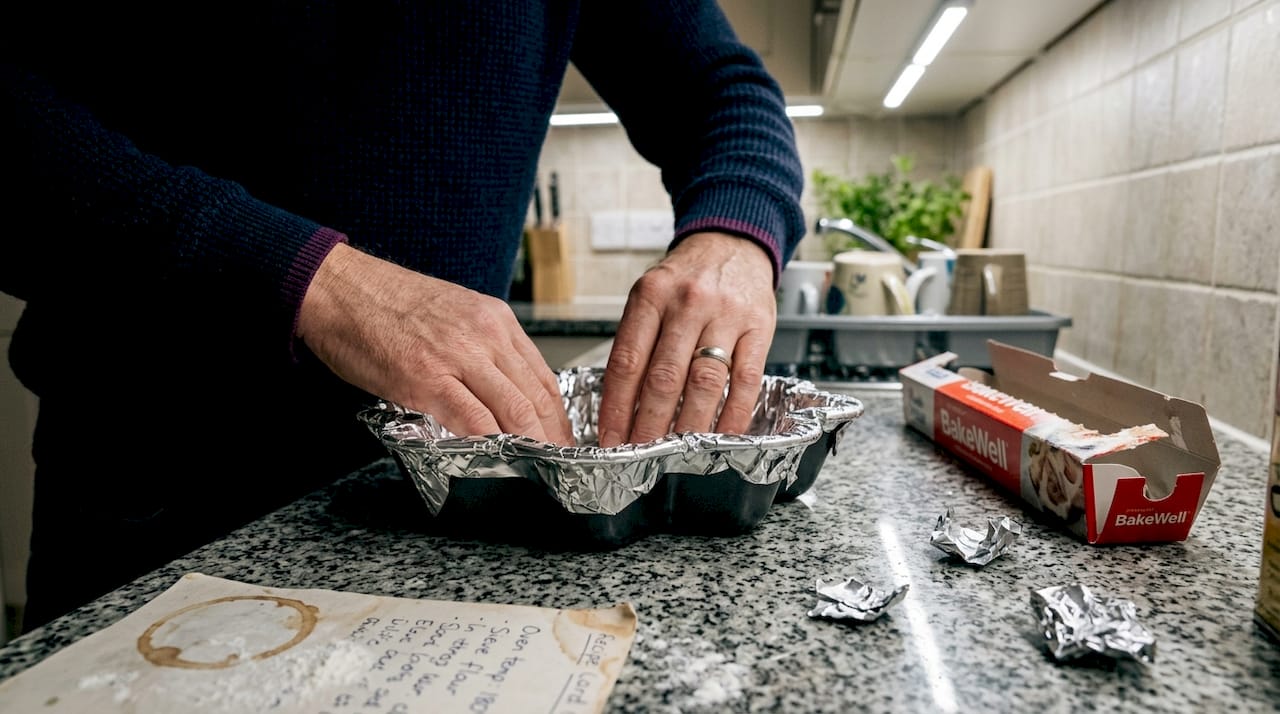
Choosing between parchment, foil and other liner materials
Once you understand why lining matters, the next question is which material to use. Each option behaves differently in the oven and suits different types of bake.
Parchment paper is the go-to for most bakers. It’s naturally non-stick, meaning you often don’t need to grease it at all. Parchment is non-stick, reducing the need for extra greasing, whereas foil always requires a spray or butter coat to stop batter sticking to it. Parchment handles moderate oven temperatures brilliantly and won’t transfer any metallic taste to your cake.
Aluminium foil is more flexible and clings tightly to the pan’s shape, making it a strong choice for tins with unusual angles or detailed moulding. However, foil clings better to pan shapes than parchment, but parchment remains the preferred choice where zero grease and food safety are priorities. There are some concerns around foil reacting with acidic batters at high temperatures, so it’s worth keeping that in mind.
Silicone mats are reusable and eco-friendly, but they’re best suited to flat trays rather than deep tins. Butter paper (also called greaseproof paper) is a thinner alternative to parchment. It works well for light sponges but benefits from a light grease coat.
Pro Tip: If you’re baking a rich chocolate cake or a dense carrot cake, always use parchment for the base and sides. For a delicate chiffon or an angel food cake, check the recipe first as some need the batter to grip the tin walls.
| Material | Non-stick | Needs grease | Best for | Reusable |
|---|---|---|---|---|
| Parchment paper | Yes | No | Most cakes | No |
| Aluminium foil | No | Yes | Shaped tins | No |
| Silicone mat | Yes | No | Flat trays | Yes |
| Butter paper | Partial | Yes | Light sponges | No |
For a look at the tins that pair best with each liner type, our best cake tins comparison breaks it down clearly.
Quick reference: choosing your liner:
- Standard sponge: parchment, no grease needed
- Shaped tin: foil, greased well
- Long or fruit bake: double parchment for insulation
- Reusable option: silicone mat on flat trays
Why lining is crucial for decorating and perfect presentation
Lining your tin isn’t just about getting the cake out cleanly. It’s about what comes next. Decorating starts the moment you pull the cake from the oven, and a rough, torn surface makes every step harder.
Proper lining preserves cake integrity for stacking and decorating, which is absolutely crucial for anyone working with tiered designs or intricate finishes. When the base layer cracks or crumbles during removal, no amount of buttercream will fix the damage underneath.
For anyone trying to make cakes look more professional, clean edges are everything. A properly lined tin produces sharp, defined sides that hold their shape as the cake cools. That means less carving, less patching, and a much smoother surface for fondant or ganache.
If you’re new to the decorating side of things, our beginner cake decorating tips explain how even small preparation steps like lining can transform your results. And if you’re curious about what cake decorating explained actually involves from start to finish, it all begins before the batter goes in.
How lining improves your decorating:
- Creates flat, even layers ideal for stacking
- Prevents crumbling edges that ruin fondant coverage
- Keeps the sponge moist and cohesive during cooling
- Allows clean transfer from tin to board without breakage
- Gives you a stable foundation for advanced designs
Pro Tip: When lining tins for intricate shaped cakes, cut small snips around the edges of your parchment so it moulds smoothly into corners. Crinkled paper creates bumps in the finished cake.
Special cases: when lining really makes a difference
Lining matters for all cakes, but there are certain bakes where skipping it is genuinely risky. These are the ones where the stakes are highest.
Delicate and high-sugar cakes are the most vulnerable. For high-sugar cakes, lining prevents burning and ensures a clean release. Sugar caramelises rapidly against a hot tin wall, creating a crust that sticks ferociously. A liner breaks that contact entirely.
Fruitcakes and long bakes are another special case. For fruitcakes or long bakes, double lining insulates and prevents over-browning around the edges. A second layer of parchment slows the transfer of heat, protecting the exterior while the dense centre continues to cook through.
For tips on getting your bake right through the middle, check out how to bake cake evenly using proper tools and techniques.
Now, here’s a counterintuitive one. Some cakes should not be lined. Some recipes require batter clinging to unlined sides for structure, and lining makes that impossible. Classic chiffon cakes and traditional Swiss rolls need grip on the tin walls to rise properly. Line those and you’ll end up with a sunken, dense result.
Common pitfalls from skipping liner in the wrong cakes:
- Rich fruit cake burns around the edges before the centre bakes through
- High-sugar sponge welds itself to the base of the tin
- Delicate layered cakes tear on removal, ruining the design
- Sticky batters leave chunks in the tin, wasting your bake
- Brownies crack down the middle when forced out of an unlined tin
“Double lining for a Christmas cake isn’t extra effort. It’s the only way to protect all those hours of soaking and patience.”
Step-by-step: how to line your tin for pro results
Knowing why and when to line is one thing. Doing it well is another. Here’s a reliable method that works for round, square, and most shaped tins.
Nonstick pans may still need lining for delicate batters, so don’t assume the pan’s coating will do all the work. Always follow your recipe’s specific preparation guidance first.
How to line any standard cake tin:
- For the base: Place the tin on your parchment, draw around it with a pencil, and cut just inside the line. This gives a snug fit with no overhang.
- For the sides: Cut a long strip of parchment, slightly taller than the tin’s sides. Make small diagonal cuts along the bottom edge so the paper sits flat into the corners.
- Grease first: Lightly butter or spray the inside of the tin before pressing the parchment in. This holds the liner in place while you pour the batter.
- Check coverage: Look down into the tin. There should be no exposed metal. Any gaps are an invitation for sticking.
- For square tins: Cut one large cross-shaped piece to cover the base and all four sides in a single sheet. Neat corners are easier with scissors and patience.
- For complex shapes: Foil is often easier here. Press it firmly into every groove and spray generously.
For a detailed visual walkthrough, our step-by-step tin lining guide covers every tin shape with clear instructions.
Even experienced bakers keep a roll of parchment and a pair of scissors beside the tin drawer. It takes two minutes. It saves heartbreak.
Why traditional advice about tin lining needs an update
For years, the standard advice was simple. Grease the tin and you’re good to go. We’ve seen firsthand, here at The Vanilla Valley, how many bakers still follow that thinking, and how many cakes pay the price for it.
The reality is that modern baking has moved on. Recipes are more ambitious, decorations are more intricate, and the expectations for a finished cake are far higher than they were a decade ago. Our cake tin lining guide reflects that shift. Lining isn’t a backup plan for when greasing fails. It’s the first decision you make, and it shapes everything that follows.
We also think lining gets undervalued as a creative tool. The right liner choice opens up possibilities: cleaner transfers, sharper edges, and the confidence to attempt more complex designs. Treat your liner choice as seriously as your flavour choice. It deserves that attention.
Take your baking and decorating to the next level
Now you know why lining makes such a difference, let’s make sure you have everything you need to put it into practice. At The Vanilla Valley, we’ve been supporting bakers and decorators since 2009, and we know that the right tools really do change your results.

Explore our full range of cake decorating supplies including everything from baking essentials to specialist decorating tools, all chosen with bakers like you in mind. Whether you’re just starting out or refining your technique, our beginner decorating tips are packed with honest, practical advice to help your cakes look as amazing as they taste. Come and see what’s possible when you start with the right foundation.
Frequently asked questions
Do I need to line non-stick cake tins?
Yes, lining is still recommended even for non-stick tins, especially with delicate or sticky batters, as nonstick coatings alone may not guarantee a clean release for every recipe.
Is parchment paper or foil better for lining cake tins?
Parchment is the preferred choice for most bakes because it’s naturally non-stick and requires no greasing, but foil clings more precisely to shaped tins and can be useful where a snug fit matters.
When should I double-line my cake tin?
Double lining is best reserved for long or dense bakes such as fruitcakes, where double lining insulates and prevents over-browning around the edges during extended cooking times.
Are there any cakes I shouldn’t line the tin for?
Yes, some classic recipes like chiffon cakes rely on the batter gripping the unlined tin sides for structure, so batter clinging to unlined sides is actually necessary for a proper rise. Always check your recipe first.
Recommended
- How to get a perfect crumb coat every time: flawless cakes - The Vanilla Valley
- Master crumb coating for flawless cake finishes: A step-by-step guide - The Vanilla Valley
- Baking Basics People Always Get Wrong – Explained - The Vanilla Valley
- How to preheat an oven properly for perfect cakes - The Vanilla Valley