
Cake boards and drums: choose the right base every time
TL;DR:
- Choosing the appropriate cake board or drum is vital for cake stability and presentation.
- Proper preparation, support, and transport techniques prevent cake damage and ensure a professional finish.
- Skilled bakers select and utilize boards based on cake weight, size, and travel distance for optimal results.
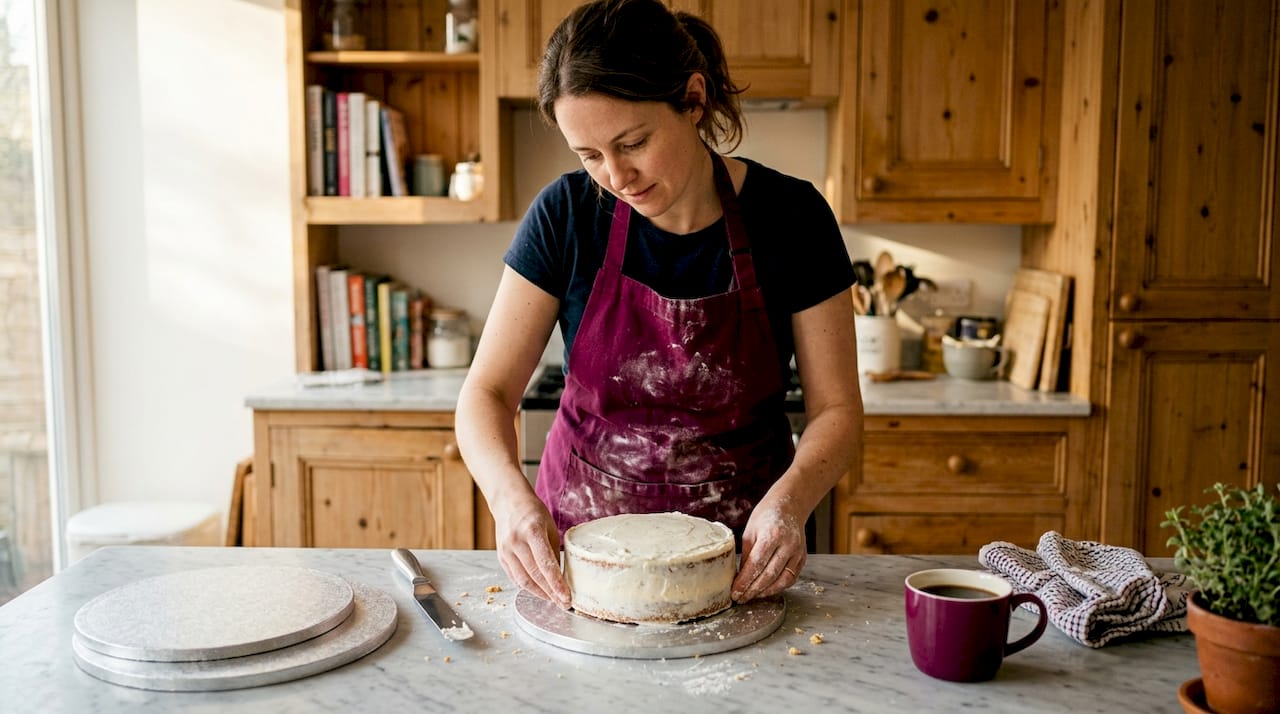
Picture this: you’ve spent hours crafting a stunning celebration cake. The fondant is smooth, the flowers are perfect, and the colour is absolutely spot-on. Then you try to lift it and the board buckles. Or it arrives at the venue looking slightly lopsided because the base couldn’t handle the weight. It’s genuinely gutting, and it happens more often than you’d think. The good news? It’s entirely preventable. By the end of this guide, you’ll know exactly which cake boards and drums to reach for, how to work with them confidently, and how to avoid the small mistakes that can undo even the most beautiful bake.
Table of Contents
- Understanding cake boards and drums: types and uses
- Choosing the right board or drum for your cake
- How to use cake boards and drums: step-by-step process
- Transporting and presenting your cake safely
- Why mastering cake boards and drums separates amateurs from professionals
- Get everything you need for perfect cake bases
- Frequently asked questions
Key Takeaways
| Point | Details |
|---|---|
| Choose by cake type | Select a board or drum based on the cake’s weight, size, and style for best stability. |
| Use the right size | Boards and drums should be at least two inches larger than the cake itself. |
| Support for tiers | Always use thick drums with proper doweling for tiered cakes to avoid collapse. |
| Safe transport matters | Always match your box and board for a snug fit to prevent shifting during delivery. |
| Quality saves effort | High-quality cake boards and drums make your presentation and transport much easier and safer. |
Understanding cake boards and drums: types and uses
Now that we’ve acknowledged the importance of sturdy cake presentation, let’s clarify what options you really have when it comes to boards and drums.
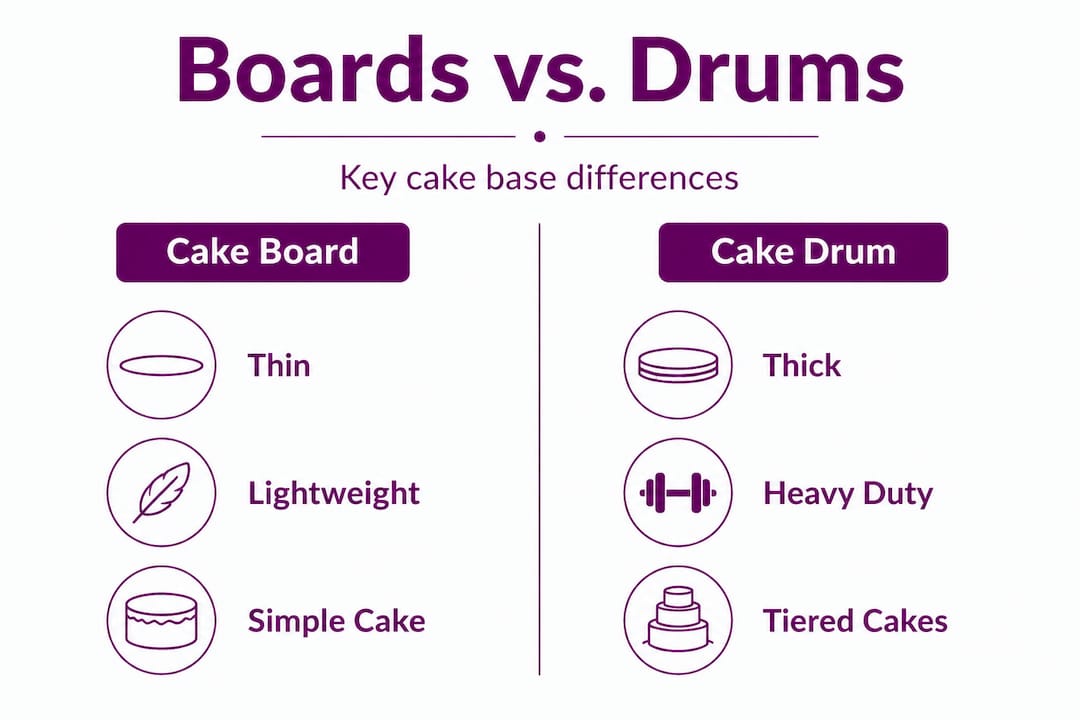
At their core, cake boards types and uses fall into two main categories. Cake boards are thin, lightweight sheets typically made from cardboard or foil-covered card. They sit directly beneath the cake and are brilliant for lighter bakes, single-layer sponges, and smaller creations that don’t need much structural support. Cake drums, on the other hand, are noticeably thicker, often around 12mm or more. They’re specifically designed for heavier cakes, stacked showpieces, and anything that needs to travel safely.
As cake boards and drums differ widely in thickness and intended use, choosing the wrong one for your project can cause real problems.
Here’s a quick summary of the most common board and drum materials:
| Type | Material | Best for |
|---|---|---|
| Thin cake board | Foil-covered card | Light sponges, cupcake bases |
| Thick cake drum | Dense cardboard | Fruit cakes, tiered cakes |
| Hardboard drum | MDF or wood | Display cakes, very heavy projects |
| Greaseproof board | Food-safe card | Direct contact with moist cakes |
| Wooden cake boards | Solid wood | Rustic displays, reusable bases |
Some key things to keep in mind as you navigate the options:
- Silver foil boards are classic and widely used. They’re cost-effective and look smart beneath a fondant-covered cake.
- Gold drums add a touch of glamour and are particularly popular for celebration cakes at weddings or big birthdays.
- White drums offer a clean, minimal look that suits contemporary cake styles beautifully.
- Greaseproof or food-safe boards are essential when the board will be in direct contact with fresh cream or a particularly moist sponge.
- Hardboard or MDF options are the go-to for extremely heavy display cakes, where standard cardboard simply won’t cut it.
Matching your board or drum to the purpose of your cake isn’t just about aesthetics. It’s about preventing a collapse, keeping the cake level, and ensuring it reaches its destination looking exactly as you intended.
Choosing the right board or drum for your cake
Now that you know the key differences, let’s look at exactly how to choose the perfect option for your baking project.
Selecting the correct board ensures both stability and a polished final appearance, and the process is simpler than you might expect once you know what to look for.
Here’s a step-by-step approach:
- Measure your cake first. Before you even think about boards, know your cake’s diameter or dimensions in full.
- Add at least 2 inches. Your board or drum should be a minimum of 2 inches wider than the cake itself. This gives you space for decorations and safe handling without squishing your design.
- Consider the weight. A single-layer vanilla sponge? A standard thin board is fine. A four-tier fruit cake? You absolutely need a thick drum beneath the bottom tier.
- Think about the journey. If the cake is travelling any distance at all, always err on the side of a thicker, sturdier drum. Transport stress is one of the most common causes of board failure.
- Factor in the decoration. Heavy sugar flowers, figurines, or multiple tiers all add weight that your base needs to handle confidently.
The perfect cake board guide can help you cross-reference your specific project, but here’s a handy comparison to get you started:
| Cake type | Recommended base | Minimum thickness |
|---|---|---|
| Single-layer sponge | Thin foil board | 2mm |
| Double-layer celebration cake | Standard drum | 6mm |
| Fruit cake | Thick drum | 12mm |
| Tiered wedding cake | Heavy drum (bottom tier) | 15mm+ |
| Display-only showpiece | MDF or hardboard | 18mm+ |
When it comes to choosing cake boards for multi-tiered projects, each tier typically needs its own thin board between the layers, with a substantial drum at the very base. This layering approach distributes weight evenly and keeps everything stable.
And here’s something many bakers overlook: bakery cake board insights consistently show that presentation actually starts with the base. A beautifully decorated cake on a cheap, flimsy board always looks slightly off. The base is part of the overall visual package.
Pro Tip: When in doubt, always size up. A slightly larger board costs pennies more but gives you so much more confidence during assembly and transport. It’s one of the easiest upgrades you can make.
How to use cake boards and drums: step-by-step process
With the right board chosen, it’s time to actually work with it. Here’s a foolproof process to get polished, reliable results.
Getting your board or drum properly prepped before the cake goes on is just as important as choosing the right type. Rushing this stage is where a lot of bakers come unstuck.
Follow these steps for a secure, professional result:
- Prepare your surface. Lay the board on a flat, clean work surface. If you’re using a drum for a display cake, consider placing a small square of non-slip mat underneath before you start working. It makes everything safer and steadier.
- Apply a dot of icing or buttercream to the centre. This acts as an adhesive and stops the cake from shifting once it’s placed. It really does make a difference.
- Place the cake gently and centrally. Take your time here. Once a freshly iced cake touches the board, repositioning it is tricky and can cause marks.
- Check for level. Use a spirit level or simply eyeball it carefully from all angles. If the board itself isn’t level, your whole cake will sit at an angle.
- Add support dowels for tiered cakes. This is non-negotiable for anything with more than one tier. Structural support is essential when working with multi-tiered cakes, and dowels inserted into each tier below carry the weight of the layers above, protecting your boards from bowing.
- Finish the board edges. Ribbon, royal icing, or decorative trim around the exposed edge of the drum lifts the whole presentation. A neat edge says “professional” before anyone even looks at the cake itself.
- Check stability before moving. Give the assembled cake a gentle, deliberate wobble test at waist height. If anything shifts unexpectedly, address it before you’re trying to carry it out of the kitchen.
“The board is the foundation of everything. If you get that right, the rest of the cake has a fighting chance.” That’s something we hear time and again from experienced decorators, and honestly, it’s the truth.
One of the most common mistakes is skipping dowels on what seems like a “not that heavy” tiered cake. Even a two-tier sponge can cause the bottom tier to compress and the board beneath the upper tier to warp if there’s no support. Don’t risk it.
To avoid cake board mistakes that experienced bakers make regularly, also watch out for: placing hot cakes directly on boards (allow them to cool completely first), using a board that’s the exact same size as the cake (always go bigger), and forgetting to account for fondant thickness when measuring.
Pro Tip: Stick a piece of non-slip matting between your board and the cake box during transport. It’s a tiny thing that can completely transform how securely your cake travels.
Transporting and presenting your cake safely
Once assembled, your cake needs to arrive and be displayed in one piece. Here’s how to guarantee that final flourish is picture-perfect.
Safe transport is essential for cake integrity and appearance, and the board or drum you’ve chosen plays a starring role in how well the journey goes.
Here are the key things to keep in mind:
- Always match the box to the board, not the cake. The box should fit snugly around the drum or board to prevent any sliding. Gaps inside the box are where disasters happen.
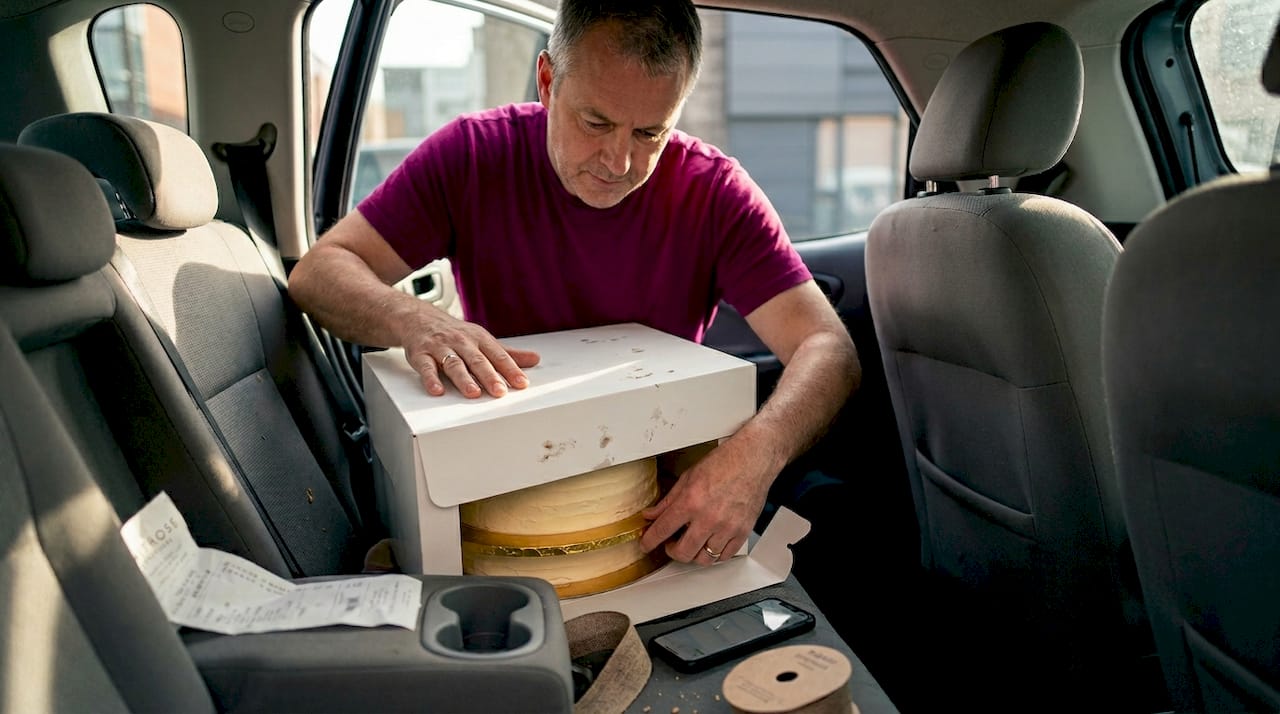
- Use a flat, stable surface in your vehicle. The boot of a car on a grippy, flat surface is almost always safer than a passenger seat. Avoid inclines where possible.
- Lift from underneath the drum, not the sides. This distributes the weight properly and reduces flex in the base. Use both hands and keep the cake close to your body.
- Chill the cake before transport if possible. A firmer cake is a more stable cake. Even 30 minutes in the fridge before the journey can make a real difference to how it holds up.
- Check the drum for any signs of flex or soft spots before you leave. Quality cake boards that are properly made shouldn’t give at all under the weight of the cake. If yours is bowing slightly, replace it before you go.
When it comes to presentation at the venue, take a moment to place the cake thoughtfully. A drum sits flat and looks intentional. Check the surface you’re placing it on is clean and level. Adjust before the candles go on rather than after.
It’s also worth knowing that the colour and finish of your drum contributes enormously to the overall display. A gold drum on a white-and-gold cake creates a cohesive, high-end look. A silver board beneath a rustic buttercream creation can feel slightly jarring. Think of the board as the frame for your masterpiece.
Why mastering cake boards and drums separates amateurs from professionals
Here’s something we genuinely believe, based on years of being around incredible bakers: the difference between a good cake and a truly professional cake very often isn’t the icing technique or the sugar flowers. It’s the foundation.
Novice bakers tend to treat the board as almost an afterthought. Something you grab at the end, toss the cake on, and consider done. But experienced bakers think about the board right at the start, alongside the recipe. They’re already asking: how heavy will this be? Where is it going? Who’s carrying it? How long is the journey?
That level of forward-thinking changes everything. A professional doesn’t just choose a drum because it looks nice. They choose it because they know a fruit cake soaked in brandy is significantly heavier than it looks, or because they know the venue is up three flights of stairs and the board needs to be something they can carry with total confidence.
We’ve heard stories, and honestly lived through a few ourselves, where the advanced cake board advice that seemed overly cautious at the time turned out to be exactly what saved the day. The baker who sized up to a 15mm drum for a cake that “probably didn’t need it” arrived at the venue with a perfect cake. The one who cut corners arrived with a board that had sagged in the heat of the car.
The other thing professionals understand is client wow factor. A cake that arrives on a premium gold drum, with a ribbon-finished edge and a perfectly clean base? That tells the client everything they need to know about the care and attention that went into the whole creation. It’s not just structural. It’s a statement.
Don’t underestimate what the right board says about your baking before anyone’s even tasted a slice.
Get everything you need for perfect cake bases
If this guide has got you excited about levelling up your cake game, we’d love to help you take the next step. At The Vanilla Valley, we’ve been supporting bakers of all levels since 2009, and we know exactly how much the right supplies matter.

Our shop stocks a brilliant range of cake boards, drums, and all the accessories you need to finish your cakes beautifully. From standard foil boards to thick MDF-style drums, and everything in between, you’ll find it all in one place. We also carry dowels, non-slip matting, ribbon, and cake boxes sized to fit your boards perfectly. Whether you’re baking for a family celebration or running a small cake business, pop over to The Vanilla Valley and take a look. And if you’re not sure what you need, our team is always happy to help you find the right fit.
Frequently asked questions
What is the main difference between a cake board and a cake drum?
A cake board is thinner and more flexible, suitable for lighter cakes, while a cake drum is thicker and stronger, making it ideal for heavy or tiered cakes. As noted in our guide, boards and drums differ significantly in thickness and intended use.
How do I know what size cake board or drum I need?
Choose a board or drum that is at least 2 inches wider than your cake to allow room for decorations and safe handling. Selecting the right size board also accounts for the visual frame your decoration needs to sit within comfortably.
Can you reuse cake boards and drums?
You can reuse cake drums if they’re not damaged or warped, but it’s best to use new cake boards for food safety and hygiene. Our cake board selection guide explains when reuse is safe and when to replace.
How can I stop my cake from sliding on the board or drum?
Apply a small amount of buttercream or royal icing under the cake to keep it secure on the board. As covered in our mistakes to avoid guide, using icing or buttercream to anchor the cake is one of the simplest and most effective tricks you can use.
What is the safest way to transport a cake on a board or drum?
Use a sturdy drum for larger cakes and ensure the box fits snugly around the board for stability during transport. Our safe transport guide goes into full detail on how drums provide better support throughout the journey.