
How to attach cake decorations securely every time

TL;DR:
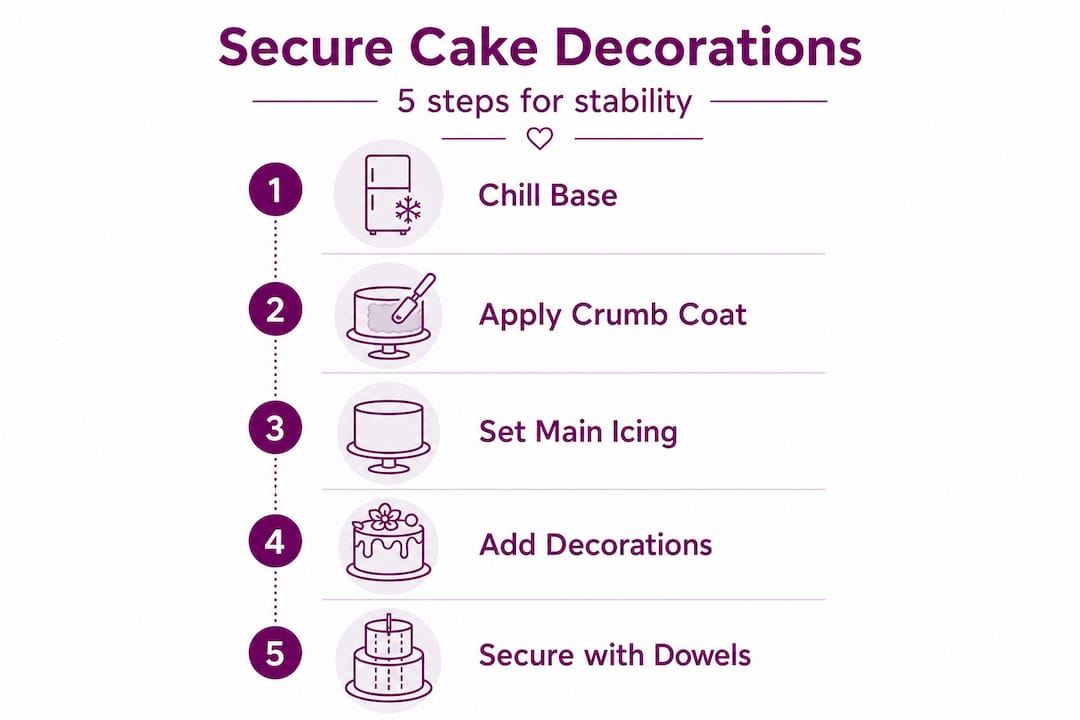
- Properly prepared, cooled, and supported bases are essential for securing cake decorations, preventing slipping or shifting. Using the right tools, techniques, and materials—such as edible glue, dowels, and buttercream anchors—ensures stability for both simple and intricate designs. Final verification steps confirm decorations are firmly attached, giving bakers confidence for presentation and transport.
There is nothing more frustrating than spending hours creating a beautiful cake, only to watch a fondant flower slide sideways or a sugarpaste topper topple moments before serving. It happens to beginners and experienced bakers alike, and it can feel like all that creative effort has gone to waste. The good news is that secure decoration attachment is absolutely achievable once you understand the right preparation, the correct materials, and the techniques that actually hold. This guide walks you through everything you need to get consistently stunning, stable results.
Table of Contents
- What you’ll need: tools, ingredients, and prerequisites
- Step-by-step: secure attachment techniques for different decorations
- Advanced stability: securing decorations on tiered and transported cakes
- Troubleshooting: common mistakes and how to fix them
- Verification: how to check decorations are secure before presenting
- An expert’s perspective: what really matters for secure cake decorations
- Level up your cake decorating with expert supplies
- Frequently asked questions
Key Takeaways
| Point | Details |
|---|---|
| Consistency is key | A stable, chilled cake base is the foundation for secure decoration attachment. |
| Choose the right adhesive | Buttercream and related mediums offer reliable, safe bonding for most decoration types. |
| Support multi-tiered cakes | Dowels and glue points prevent sliding and keep decorations in place during transport. |
| Check before serving | Test decorations are firmly attached to avoid accidents at presentation. |
What you’ll need: tools, ingredients, and prerequisites
Getting your workspace and materials right before you start is genuinely the difference between decorations that stay put and ones that cause last-minute panic. Think of it as laying solid foundations before you build something beautiful on top.
Essential tools
Before you even open your fondant or reach for your piping bag, gather these items:
- Turntable for smooth, even application
- Palette knife and offset spatula for spreading and smoothing
- Piping bags and assorted nozzles for precise buttercream work
- Cake dowels for tiered and heavy decoration support
- Cake boards in multiple sizes to support each tier
- Smoother tool for flawless fondant surfaces
- Small paintbrush for applying edible glue neatly
- Dipping solution or clear alcohol for activating sugar paste
- Food-safe gloves to prevent finger marks and moisture transfer
The base matters more than anything else
This is something we feel strongly about, and we will come back to it throughout this guide. Consistency in the base texture and temperature reduces adhesion failures, which is why a properly applied crumb coat and a well-chilled cake are non-negotiable starting points.
A crumb coat is a thin layer of buttercream that seals in all loose crumbs and creates a uniform surface for your outer coating. Once applied, the cake should rest in the fridge for at least 30 minutes, ideally longer. If you are working with fondant, our fondant finishing tips go into detail on how to get that perfectly smooth surface that decorations actually grip. And if buttercream is your outer layer, our buttercream techniques guide covers all the core skills.
Decoration mediums at a glance
| Medium | Best used for | Setting time | Flexibility |
|---|---|---|---|
| Sugarpaste | Covering, simple shapes | 24 hours | Good stretch |
| Flowerpaste | Fine details, petals, figures | 4 to 8 hours | Minimal |
| Modelling paste | 3D toppers, structures | 12 to 24 hours | Medium |
| Buttercream | Rosettes, borders, anchoring | Sets firm when chilled | Soft |
| Royal icing | Piped details, flat decorations | 2 to 6 hours | Very rigid |
Pro Tip: Always work with a cool, fully set base. Warm or soft surfaces cause decorations to sink, slide, and lose their shape before they have a chance to bond.
Step-by-step: secure attachment techniques for different decorations
With your workspace prepared and the correct tools at hand, here is how to securely attach each kind of decoration.
Attaching fondant and sugarpaste decorations
- Lightly brush the back of your fondant piece with cooled boiled water or a small amount of edible glue. Do not saturate it.
- Press gently but firmly onto the chilled cake surface and hold for ten seconds.
- For larger pieces, apply a tiny amount of white vegetable fat to the cake surface first, then press the decoration on. This creates a light tack without excess moisture.
- Leave to set undisturbed for at least one hour before adding further layers on top.
Attaching flowerpaste or wafer paper elements
Flowerpaste flowers and wafer paper decorations are lightweight but delicate. A tiny dot of royal icing works brilliantly here. Apply it to the base of the element, press into place, and prop with a small piece of foam until set.

Attaching fresh or edible flowers
If you are working with edible flowers, ensure they are fully dry and pesticide-free. Press gently into soft buttercream for immediate display. For longer events, use a small floral pick filled with water and inserted through the cake with a food-safe barrier.
Anchoring layers with buttercream
One of the most effective techniques bakers overlook is using buttercream as a structural glue beneath the cake itself.
Which medium suits which decoration?
| Decoration type | Best attachment medium | Why it works |
|---|---|---|
| Fondant flowers | Edible glue or water | Creates a clean, invisible bond |
| Sugarpaste figures | White vegetable fat or edible glue | Gentle tack, no discolouration |
| Wafer paper elements | Royal icing | Fast set, rigid hold |
| Edible flowers | Soft buttercream | Natural, food-safe grip |
| Chocolate pieces | Tempered chocolate | Bonds to fondant and ganache |
| Sugar pearls | Piping gel | Transparent, stays pliable |
Understanding the difference between sugarpaste vs modelling paste will help you pick the right material for each decoration, and using fondant in baking covers the broader role fondant plays across different styles of cake.
Pro Tip: Do not overwork your edible paste glue. Repeatedly stirring or warming it breaks down its bonding agents and makes it runny and unreliable. Apply it fresh, use minimal amounts, and let it do its job quietly.
Advanced stability: securing decorations on tiered and transported cakes
Once you have learned to attach decorations to single cakes, it is crucial to understand the extra stability requirements for complex or multi-tiered cakes. This is where things get exciting, but also where the stakes are higher.
Using dowels and boards
Every tier of a stacked cake needs its own cake board and a set of internal dowels to bear the weight of whatever sits on top. Without them, the tiers compress over time, which causes the outer decoration to crack, bulge, or simply slide off.
Best practices for tiered and transported cakes:
- Insert dowels vertically into each tier before stacking, cutting them to the exact height of the tier
- Place a cake board between each tier to distribute weight evenly
- Use a central dowel running through all tiers on cakes with four or more layers
- Secure each tier to its board with a buttercream glue point underneath
- Chill the assembled cake before adding final decorations or transporting
- Box the cake in a snug-fitting box with a non-slip mat beneath it during transport
Buttercream glue points
This is one of our favourite techniques. The buttercream glue point method involves piping a small circle of stiff buttercream onto the board before placing each tier. Once chilled, this acts almost like a plug, preventing lateral movement during transport. It sounds simple because it is, and it genuinely works.
Guidance on how to use dowels correctly, including sizing and placement, is covered in our cake dowel guide.
Safety note: Always ensure heavy decorations, sugar showpieces, and tall toppers are structurally supported from within the cake, not just glued to the surface. A decoration that relies solely on surface adhesion can become a hazard if it tips or falls, particularly around children.
Troubleshooting: common mistakes and how to fix them
Even with best practices in place, mistakes can occur, so let us address how to spot and resolve common issues quickly.
The most common problems and their fixes
Problem 1: Decorations are sliding down the sides of the cake.
Root cause: The outer coat is too warm or too soft. The decoration has nothing firm to grip.
Fix:
- Remove the decoration carefully using a palette knife.
- Return the cake to the fridge for 30 to 45 minutes.
- Once the surface is cold and firm, re-attach the decoration using fresh edible glue.
- Hold the piece in place for 20 to 30 seconds before releasing.
Problem 2: Fondant decorations are staining or bleeding colour onto the cake surface.
Root cause: Too much water was used during attachment, or the food colouring in the decoration was not fully set before application.
Fix:
- Blot the affected area gently with a piece of clean kitchen paper.
- Allow to dry fully in a cool room before assessing whether a patch is needed.
- Next time, allow coloured pieces to dry for at least 24 hours before attaching.
Problem 3: Decorations will not bond to the fondant surface at all.
Root cause: The fondant surface has crusted over and dried out, becoming too smooth and hard.
Fix:
- Lightly rough up the surface with a small tool or pin.
- Apply a thin layer of edible glue and allow it to become slightly tacky for 30 seconds.
- Press the decoration onto the tacky glue. The mechanical grip combined with the adhesive now creates a reliable bond.
Chilled, consistent cake textures reduce decoration adhesion failures, so returning the cake to the fridge between stages is always a smart move.
Pro Tip: If a wet or soft decoration is causing smearing on a buttercream surface, it is almost always because the buttercream was not firm enough before application. Do not rush this stage. Patience here saves you a lot of trouble later.
For more on getting buttercream right, explore our guide on fixing buttercream mistakes, and if you are unsure which style of buttercream to use, our buttercream styles guide breaks it all down clearly.
Verification: how to check decorations are secure before presenting
After attaching and correcting decorations, ensure everything will stay put with these final verification steps. This is the stage that separates confident bakers from stressed ones on the day of an event.
Your pre-presentation checklist
- Gentle nudge test: Using one finger, lightly nudge each decoration from the side. If it rocks or shifts, it needs more time or re-attachment before presentation.
- Tilt test: Carefully tilt the cake board to about a 20-degree angle. Watch for any movement in the decorations or tiers. Everything should stay firmly in place.
- Visual inspection: Look at the cake from all sides and from above. Are there any gaps, cracks at attachment points, or areas where edible glue has created shiny, wet-looking patches?
- Setting time check: Always allow at least one hour after final decoration before transporting or displaying. For large showpieces, overnight is ideal.
- Temperature check: Make sure the cake has been stored at a consistent cool temperature and is not being taken directly from a very cold fridge into a very warm room, as the temperature change can cause condensation that loosens bonds.
- Check non-edible elements: If you have used picks, wires, or non-edible toppers, confirm each one has a food-safe barrier in place and that there is a clear note for whoever will be serving the cake.
This final review takes no more than ten minutes, but it gives you enormous peace of mind. Think of it as a quick but careful once-over before the big moment.
An expert’s perspective: what really matters for secure cake decorations
Here is our honest take, having helped thousands of bakers over the years. The most common reason decorations fail is not the glue. It is the base.
Bakers often spend a lot of energy finding the “best” edible glue, experimenting with different pastes, and searching for adhesion shortcuts. But the reality is this: a perfectly chilled, evenly surfaced cake with a solid crumb coat will hold decorations beautifully with nothing more than a tiny brush of water. A warm, soft, or uneven base will cause even the strongest edible glue to fail within the hour.
We have seen gorgeous competition cakes travel across cities and arrive without a petal out of place. The secret every time? Proper dowelling, a firm cold base, and minimal fuss with the glue itself. Less really is more when it comes to adhesives. Using too much creates wet patches, slippage, and discolouration.
Our contrarian piece of advice: stop buying new adhesives when things go wrong and start asking whether your base was properly chilled and set first. Nine times out of ten, that is the answer.
For those ready to push their skills further, our guide on advanced decorating techniques explores texturing and embossing methods that add another dimension to your work. Once your foundations are solid, the creative possibilities really do open up.
Experiment freely, be bold with your designs, but always come back to the fundamentals: a cool, firm, well-prepared base is your greatest tool.
Level up your cake decorating with expert supplies
Ready to put these methods to work? Having the right tools genuinely makes a difference, and we have everything you need to achieve brilliant results from your very first attempt.

At The Vanilla Valley, we stock a full range of cake decorating supplies including dowels, cake boards, edible glues, fondant, flowerpaste, and so much more. Whether you are building your first tiered cake or putting the finishing touches on a showstopper, our cake decorating shop has the tools to match your ambition. We have been supporting bakers across the UK since 2009, and we know exactly what you need to get those decorations staying put. Browse our full selection today and decorate with real confidence.
Frequently asked questions
What is the safest edible ‘glue’ for attaching decorations to cakes?
A small amount of buttercream is the safest and most reliable edible glue for most cake decorations, as buttercream anchors layers without affecting taste or texture. Edible glue made from tylose powder and water is also a great option for fondant and paste work.
How do I keep decorations from sliding off a fondant cake?
Ensure the cake is well chilled and the surface is dry before applying attachments, as base texture and temperature are the biggest factors in adhesion success. Use a firm buttercream base or edible glue, and give each element time to set before moving the cake.
Can I use cocktail sticks or wires to secure non-edible decorations?
Non-edible supports like cocktail sticks or wires should only be used with food-safe barriers between the support and the cake, and they must be clearly identified and removed before serving.
What’s the best way to transport a cake with delicate decorations?
Secure each tier using a small buttercream glue point beneath it and strengthen the internal structure with properly sized dowels for safe transport. Box the cake in a snug-fitting box with a non-slip mat underneath to prevent movement on the journey.