
How to colour buttercream without changing texture in 2026
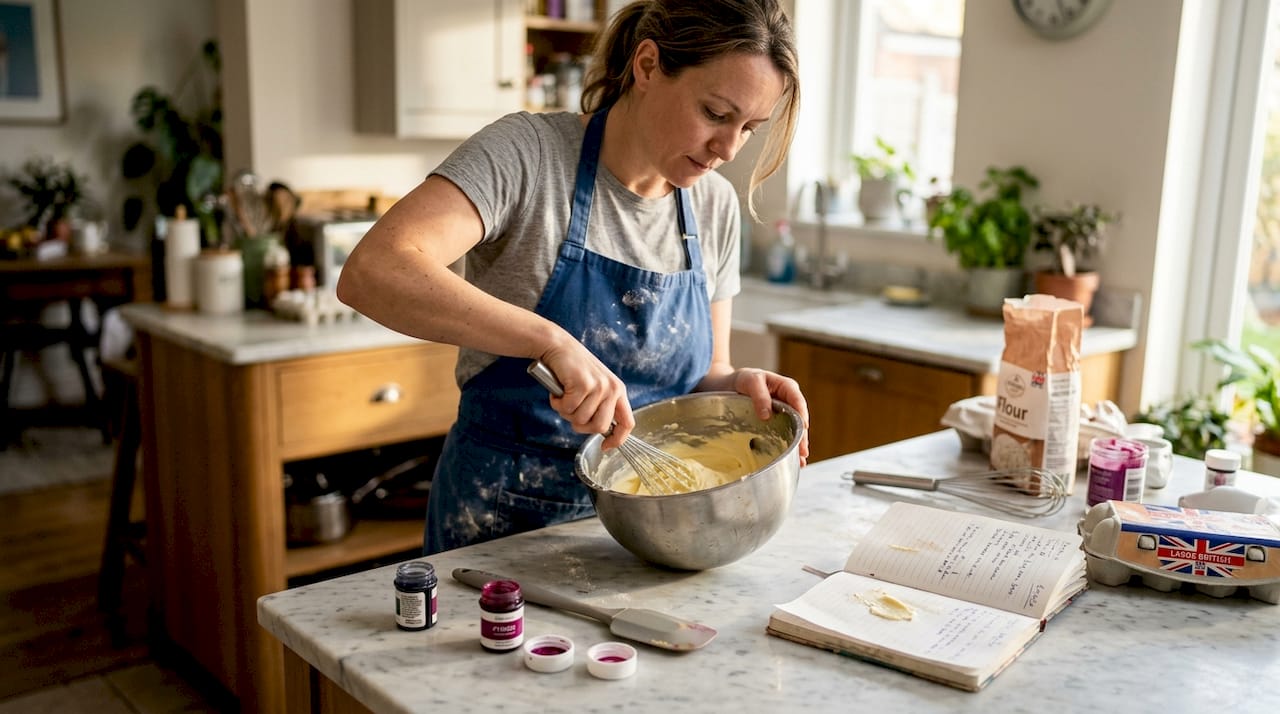
You’ve spent time perfecting your buttercream recipe, achieving that smooth, pipeable consistency you need for beautiful cake decorations. Then you add colour, and suddenly the texture transforms into something grainy, separated, or impossibly thin. This frustrating scenario happens because most bakers don’t understand how different colourants interact with buttercream’s delicate emulsion. This guide reveals expert techniques to add vibrant colour whilst preserving your buttercream’s flawless consistency, covering colourant selection, preparation methods, precise application steps, and troubleshooting common texture problems.
Table of Contents
- Understand Why Buttercream Texture Changes When Coloured
- Prepare Properly: Tools And Colourants For Flawless Buttercream Colouring
- Step-By-Step Guide: How To Add Colour While Preserving Buttercream Texture
- Troubleshooting And Common Mistakes To Avoid When Colouring Buttercream
- Shop Cake Decorating Supplies For Flawless Buttercream Colouring
- Frequently Asked Questions
Key takeaways
| Point | Details |
|---|---|
| Match colourant base to buttercream | Oil and gel colourants blend with buttercream fats, preserving smooth texture where water-based colours break emulsion |
| Microwave small portions for intensity | Heating coloured buttercream for 5-10 seconds activates pigments, creating deep colours without adding excess liquid |
| Add colour gradually with minimal mixing | Toothpick application and low-speed mixing prevent air incorporation and graininess |
| Understand emulsion science | Buttercream’s fat-water balance determines texture stability when colourants are introduced |
Understand why buttercream texture changes when coloured
Buttercream is fundamentally an emulsion, a carefully balanced mixture of fat (butter) and water (from butter, milk, or other liquids) held together in a stable suspension. This balance creates the smooth, spreadable texture you need for decorating. When you introduce colourants, you’re adding a new element to this delicate system, and the results depend entirely on what base your colourant uses.
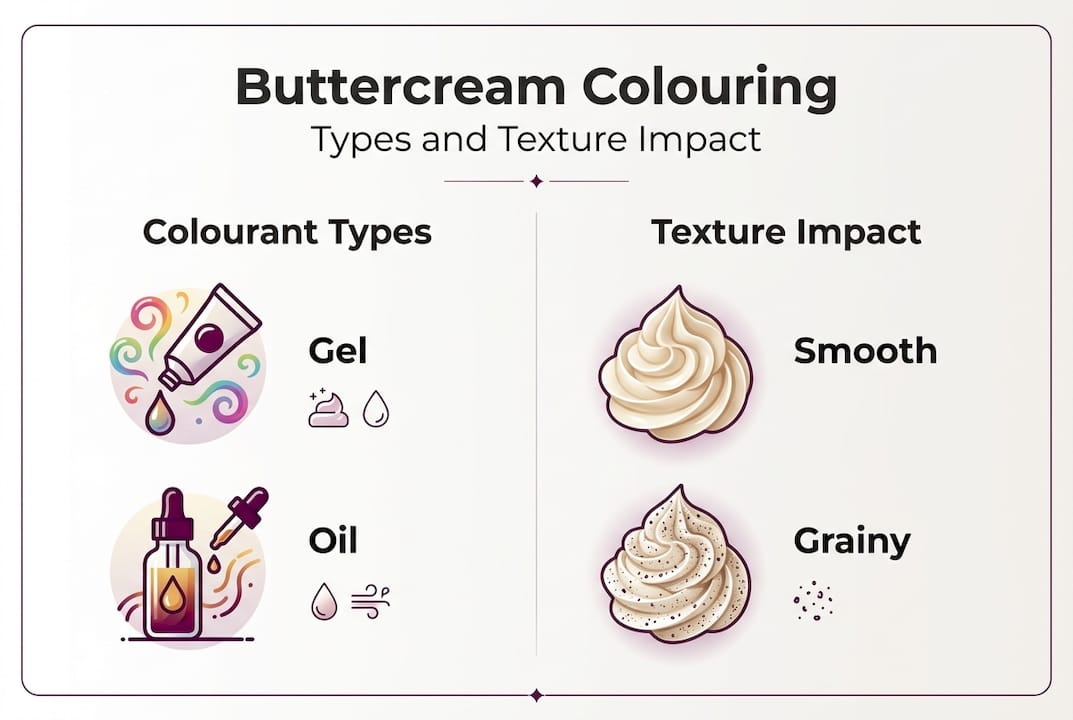
Water-based colourants introduce excess liquid that disrupts the emulsion’s equilibrium, causing the fat and water to separate. This separation manifests as graininess, a curdled appearance, or buttercream that suddenly becomes too thin to hold its shape. The proteins and fats in your buttercream can no longer maintain their structure when overwhelmed by additional water molecules.
Oil and gel-based colourants work differently because they blend seamlessly with buttercream’s fat content. These colourants integrate into the existing fat structure without introducing water that would destabilise the emulsion. The result is vibrant colour that maintains your buttercream’s original consistency. When you colour buttercream without ruining texture, you’re essentially respecting the emulsion’s chemistry rather than fighting against it.
Some colourants, even compatible ones, may slightly thin your buttercream simply due to the volume of liquid added. Understanding these ingredient interactions helps you anticipate adjustments and choose the right colourant type for your specific buttercream recipe. The key is selecting products that work with your emulsion rather than against it, ensuring every cake you decorate maintains professional quality.
Pro Tip: Always test new colourants on a small batch before committing to your entire buttercream quantity, as different brands vary in concentration and base formulation.
Prepare properly: tools and colourants for flawless buttercream colouring
Successful buttercream colouring starts long before you add the first drop of colour. Gathering the right materials and understanding colourant types prevents texture disasters and saves you from wasting entire batches of buttercream.
You’ll need these essential tools:
- Toothpicks or cocktail sticks for precise colour application
- Gel or paste food colours in your desired shades
- Small microwave-safe bowls for the heating method
- Flexible spatulas for gentle mixing
- Clean mixing bowls for testing colours
Colourant selection makes the difference between success and failure. Gel and paste colours offer concentrated pigments in a base that blends with buttercream fats, giving you vibrant results without compromising texture. Oil-based colours work similarly, integrating smoothly into the emulsion. Liquid water-based colours, whilst readily available in supermarkets, introduce too much liquid and should be avoided for buttercream applications.
| Colourant type | Base | Texture impact | Best use |
|---|---|---|---|
| Gel colours | Glycerine | Minimal, preserves smoothness | All buttercream types |
| Paste colours | Concentrated pigment | Minimal, very thick | Deep, vibrant shades |
| Oil-based colours | Vegetable oil | Minimal, blends well | Chocolate buttercream |
| Liquid colours | Water | High, causes separation | Avoid for buttercream |
Preparation involves more than just opening your colour jar. Measure your buttercream and set aside a small test portion, roughly 2-3 tablespoons, before colouring your main batch. This lets you experiment with shade intensity without risking your entire quantity. The microwave method transforms colour intensity by heating a small coloured portion for 5-10 seconds, activating pigments to create deep colours with minimal dye. This technique prevents the bitter taste and thinning that occurs when you add excessive colour to achieve dark shades.
When using the microwave technique, work quickly and limit heating time. Exceeding 10 seconds risks melting your buttercream portion, which then needs cooling and rewhipping before use. The goal is gentle heat that enhances pigment without altering buttercream structure.
Pro Tip: Colours deepen as buttercream sits, so aim slightly lighter than your target shade to account for this intensification over time.
Step-by-step guide: how to add colour while preserving buttercream texture
Executing proper colouring technique requires patience and precision. Rushing this process or adding too much colour at once guarantees texture problems. Follow these steps for consistent, professional results every time.
-
Start with properly prepared buttercream. Your buttercream should be at room temperature, smooth, and already whipped to your desired consistency. Cold buttercream won’t accept colour evenly, whilst overly warm buttercream may become too soft when mixed.
-
Apply colour using the toothpick method. Dip a clean toothpick into your gel colour, then wipe it through your buttercream. This delivers tiny amounts of pigment, giving you precise control over shade development. Toothpick application with low-speed mixing creates smooth results without incorporating excess air that causes texture changes.
-
Mix gently at the lowest speed. Use a spatula or mixer on its slowest setting to blend the colour through your buttercream. Vigorous mixing or high speeds whip air bubbles into the emulsion, creating a grainy, unstable texture. Fold the colour through systematically, scraping down the bowl sides to ensure even distribution.
-
Repeat additions until you achieve your target shade. Add colour incrementally, mixing between each addition. This gradual approach prevents overshooting your desired colour and maintains texture control. Remember that colours appear lighter when first added and deepen slightly as they fully incorporate.
-
Apply the microwave method for deeper shades. If you need intense colours like navy, black, or deep red, remove 2-3 tablespoons of your coloured buttercream into a microwave-safe bowl. Heat for 5-10 seconds, stir to distribute heat evenly, then fold this concentrated portion back into your main batch. This technique delivers rich colours without adding excessive liquid colourant.
The entire process should feel controlled and methodical. You’re working with buttercream’s chemistry rather than forcing colour into an unwilling medium. Each addition should blend smoothly, with no signs of separation, graininess, or texture breakdown.
Pro Tip: If you’re colouring buttercream for multiple cake tiers, prepare all your colours at once to ensure consistency across your entire project.
Troubleshooting and common mistakes to avoid when colouring buttercream
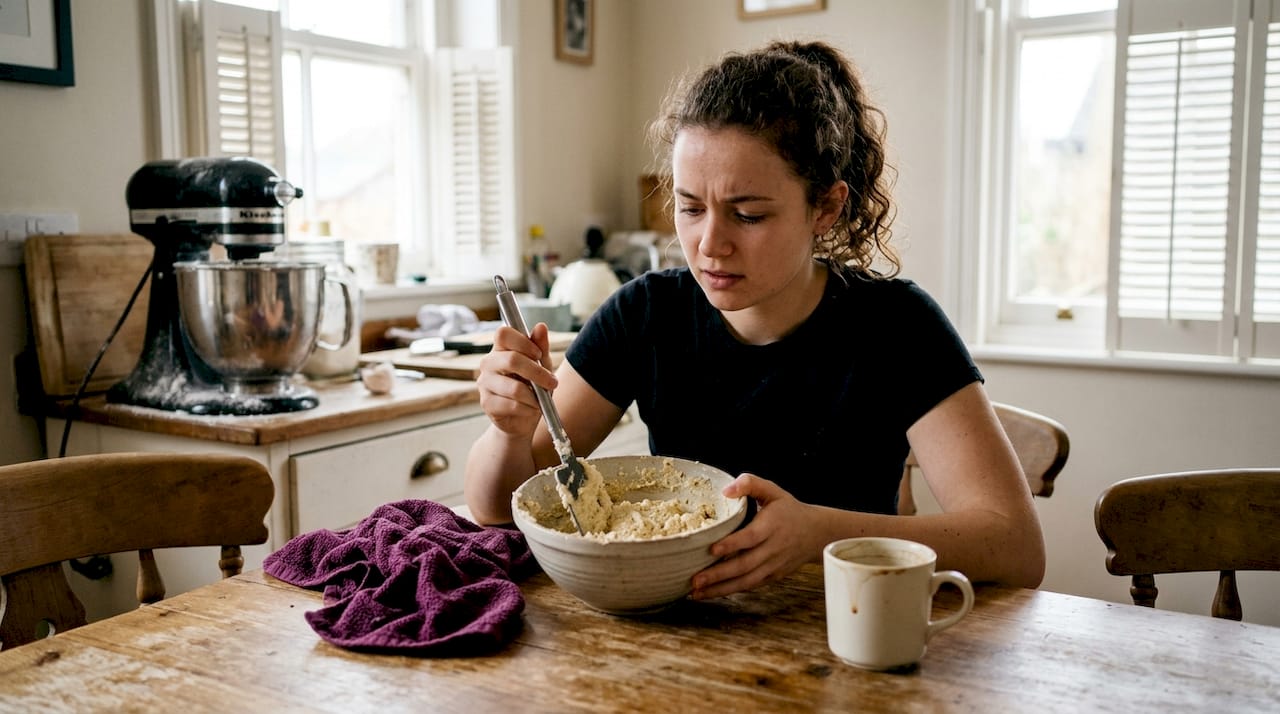
Even experienced bakers encounter texture problems when colouring buttercream. Understanding what went wrong and how to fix it saves batches from the bin and builds your troubleshooting skills for future projects.
Graininess typically signals one of three issues: overmixing, temperature problems, or incompatible colourants. When you mix buttercream too vigorously or for too long, you break down the emulsion’s structure, causing fat and liquid to separate into grainy particles. Excess water from incompatible colours disrupts the emulsion, creating the same grainy or separated appearance.
Separation appears as liquid pooling around your buttercream or a curdled, broken texture. This almost always results from adding water-based colourants or working with buttercream at the wrong temperature. Buttercream that’s too warm can’t maintain its emulsion when colour is added, whilst cold buttercream resists colour integration, leading to overmixing.
| Problem | Cause | Solution |
|---|---|---|
| Grainy texture | Overmixing or water-based colour | Rewhip gently, add small amount of fat (butter) |
| Separated appearance | Temperature issues or wrong colourant | Bring to room temperature, remix at low speed |
| Too thin consistency | Excess liquid colourant | Chill briefly, add powdered sugar or more butter |
| Uneven colour | Insufficient mixing | Fold thoroughly with spatula, ensure full incorporation |
Avoid these common mistakes that guarantee texture problems:
- Never add liquid water-based colours to buttercream, regardless of how convenient they seem
- Don’t mix at high speeds, even if you’re in a hurry
- Avoid adding colour to cold buttercream straight from the fridge
- Don’t overheat when using the microwave method
- Never add colour directly from the bottle without controlling the amount
If you’ve already damaged your buttercream’s texture, you can often rescue it. For grainy buttercream, try adding a small amount of softened butter (about 1 tablespoon per cup of buttercream) and remixing gently. For separated buttercream, ensure it’s at room temperature, then rewhip at medium speed until the emulsion reforms. If your buttercream became too thin, refrigerate it for 10-15 minutes, then rewhip to restore body.
Prevention remains easier than correction. When you fix common buttercream problems, you’re often addressing issues that proper technique would have prevented entirely. Master the fundamentals of colourant selection and gentle mixing, and you’ll rarely need emergency fixes.
Shop cake decorating supplies for flawless buttercream colouring
Achieving perfect buttercream colour whilst maintaining ideal texture requires quality supplies designed specifically for cake decorating. The Vanilla Valley offers everything you need to implement these expert colouring techniques, from professional-grade gel colours to precision tools that give you complete control over your buttercream consistency.

Our curated selection includes gel and paste colours in dozens of shades, flexible spatulas for gentle mixing, and all the accessories that make buttercream colouring straightforward rather than stressful. Whether you’re creating pastel tones for a wedding cake or bold colours for a child’s birthday celebration, you’ll find supplies matched to your buttercream’s needs. We’ve served Cardiff bakers and decorators nationwide since 2009, building our range around products that deliver professional results for both hobbyists and established cake businesses.
Pro Tip: Choose gel colours with bases that match your buttercream’s fat content, ensuring seamless integration and preserved texture every time you colour.
Frequently asked questions
Can I use water-based food colouring to tint buttercream?
Water-based colours introduce liquid that breaks buttercream’s fat-water emulsion, causing grainy or separated texture. Gel or oil-based colours blend with buttercream fats, preserving the smooth consistency you need for decorating. Save water-based colours for royal icing or other water-based mediums where they won’t compromise texture.
How do I deepen the colour without thinning my buttercream?
Heat a small portion of coloured buttercream in the microwave for 5-10 seconds to activate pigments. This technique intensifies colour dramatically without adding more liquid colourant that would thin your texture. Fold the heated portion back into your main batch for rich, deep shades whilst maintaining perfect consistency.
What is the best mixing technique to avoid graininess when colouring buttercream?
Add colour gradually using a toothpick, then mix at low speed to control air incorporation. High-speed mixing or vigorous stirring whips air bubbles into the emulsion, creating grainy texture. Gentle folding with a spatula or slow mixer speeds blend colour evenly whilst preserving buttercream’s smooth structure.
Why does my buttercream colour look different after it sits for a while?
Gel colours contain pigments that continue developing and deepening over time as they fully integrate with buttercream fats. This intensification means your buttercream will appear slightly darker after 30 minutes to an hour than when you first mixed it. Always aim for a shade slightly lighter than your target to account for this natural deepening process.
Can I fix buttercream that became grainy after adding colour?
Yes, often you can rescue grainy buttercream by adding 1-2 tablespoons of softened butter per cup of affected buttercream, then remixing gently at low speed. If the problem resulted from temperature issues, bring your buttercream to proper room temperature before attempting to rewhip it. Severe separation may require starting fresh, which is why proper technique matters from the start.
Recommended
- How to Colour Buttercream Without Ruining the Texture Easily - The Vanilla Valley
- Perfect Textured Buttercream: Elevate Your Cake Designs - The Vanilla Valley
- 7 Essential Creative Buttercream Techniques for Beginners - The Vanilla Valley
- Why Is My Buttercream Grainy? 70% of Bakers Get It Wrong - The Vanilla Valley