
Perfect fondant finishing: pro tips for flawless cakes
TL;DR:
- Proper tools and preparation are essential for a smooth, professional fondant finish.
- Chilling and leveling the cake create a perfect base for fondant application.
- Creative finishing techniques can hide imperfections and enhance the cake’s appearance.
You’ve spent hours baking, filling, and stacking a beautiful cake. Then the fondant goes on and suddenly there are air bubbles, rough patches, and elephant skin staring back at you. It’s one of the most frustrating moments in cake decorating, and you’re certainly not alone. Even experienced bakers find fondant finishing tricky. The good news? With the right tools, solid preparation, and a few expert techniques, you can achieve a consistently smooth, professional result every single time. This guide walks you through everything, from essential kit to troubleshooting those last-minute disasters.
Table of Contents
- Essential tools and materials for fondant finishing
- Proper cake preparation for a flawless base
- Mastering the fondant covering technique
- Troubleshooting common fondant finishing mistakes
- Finishing touches: polishing and presenting your cake
- Why confidence and creativity beat perfection with fondant
- Get the right tools and guidance for stunning cakes
- Frequently asked questions
Key Takeaways
| Point | Details |
|---|---|
| Right tools matter | Quality tools and materials make fondant finishing much easier and more consistent. |
| Prep is critical | Taking time to properly level, coat, and chill your cake ensures a flawless fondant finish. |
| Refined technique prevents problems | Following precise steps for rolling and covering reduces the chance of cracks or air bubbles. |
| Most flaws are fixable | Common mistakes in fondant can usually be disguised or corrected with simple techniques. |
| Finishing touches impress | Adding shine, texture, and creative decorations elevates cakes to a professional standard. |
Essential tools and materials for fondant finishing
Having the right tools genuinely transforms your results. You can have all the skill in the world, but without proper equipment, fondant finishing becomes a battle you’re likely to lose.
Here’s what you’ll need in your kit:
- Non-stick rolling pin – for rolling fondant to an even thickness without dragging
- Fondant smoother – creates a flat, mark-free surface that fingers simply can’t achieve
- Sharp palette knife or pizza cutter – for clean, precise trimming at the base
- Turntable – lets you rotate the cake smoothly as you work, keeping pressure consistent
- Cornflour or icing sugar – dusted on your surface to prevent sticking
- Quality fondant – this one matters more than people realise
The types of fondant you choose directly affect how your finish looks, because fondant quality affects smoothness and workability. A cheap fondant may crack, dry out too fast, or leave a grainy texture no amount of smoothing can fix.
| Tool | Function | Top tip |
|---|---|---|
| Rolling pin | Roll fondant evenly | Use guide rings for consistent thickness |
| Fondant smoother | Eliminate marks and bubbles | Work in circular motions from the top down |
| Sharp knife or cutter | Trim excess cleanly | Cut at a slight inward angle for a neat edge |
| Turntable | Consistent coverage | Keep one hand on the smoother, one rotating |
| Cornflour | Prevent sticking | Use sparingly to avoid drying the fondant |
Don’t overlook your cake board either. A sturdy, correctly sized board gives you a stable base to work from and a clean edge to trim against. It’s also worth knowing what goes under your fondant. Choosing the right ganache or buttercream under fondant makes a real difference to how smoothly everything sits.
Pro Tip: A good fondant smoother is one of the best investments you’ll make. Even a basic plastic smoother is miles ahead of using your palm, and a professional-grade one will give you that glass-like finish you see on competition cakes.
Proper cake preparation for a flawless base
With your tools ready, it’s time to focus on preparation, the step that makes or breaks flawless results. Skipping or rushing this stage is the number one reason fondant looks bumpy, lumpy, or uneven.
A smooth, firm cake surface is absolutely essential. Without it, every lump and crumb shows through the fondant like a shadow.
Follow these steps every time:
- Level your cake layers – use a cake leveller or serrated knife to remove any dome. Uneven layers create uneven fondant.
- Fill and stack – add your filling and press layers firmly together so there are no gaps.
- Apply a crumb coat – a thin layer of best cake coverings under fondant traps any loose crumbs and creates a sticky surface for the fondant to grip.
- Chill the cake – refrigerate for at least 30 minutes, or until the crumb coat is firm to the touch.
- Apply a second, thicker coat – smooth it carefully with a palette knife and scraper, then chill again.
- Check for imperfections – run your hand gently over the surface and fill any dips before the final chill.
‘A flawless base is half the battle won!’
When it comes to professional cake base preparation, ganache is often the preferred choice because it sets firm and creates a beautifully flat canvas. Buttercream works too, but it needs to be chilled until genuinely solid.
Pro Tip: When chilling your cake, wrap it loosely in cling film or store it in a box. An uncovered cake in the fridge can absorb odours and dry out at the edges, which affects how the fondant adheres. Check out our advice on keeping cakes fresh for more on this.
Mastering the fondant covering technique
Having prepped your cake, you’re ready for the signature step, covering it with fondant flawlessly. This is where many bakers feel most nervous, but with a methodical approach it becomes genuinely enjoyable.
Air bubbles cause the majority of surface flaws, so your technique here is everything. Follow this process carefully:
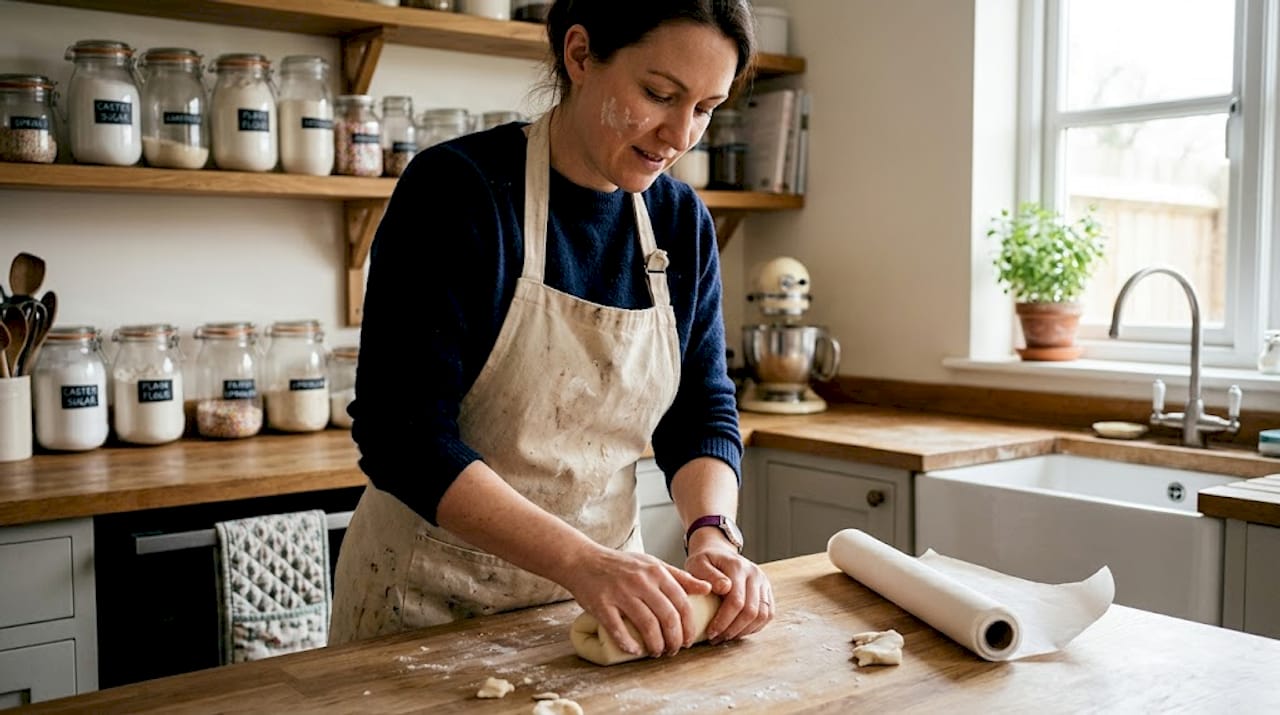
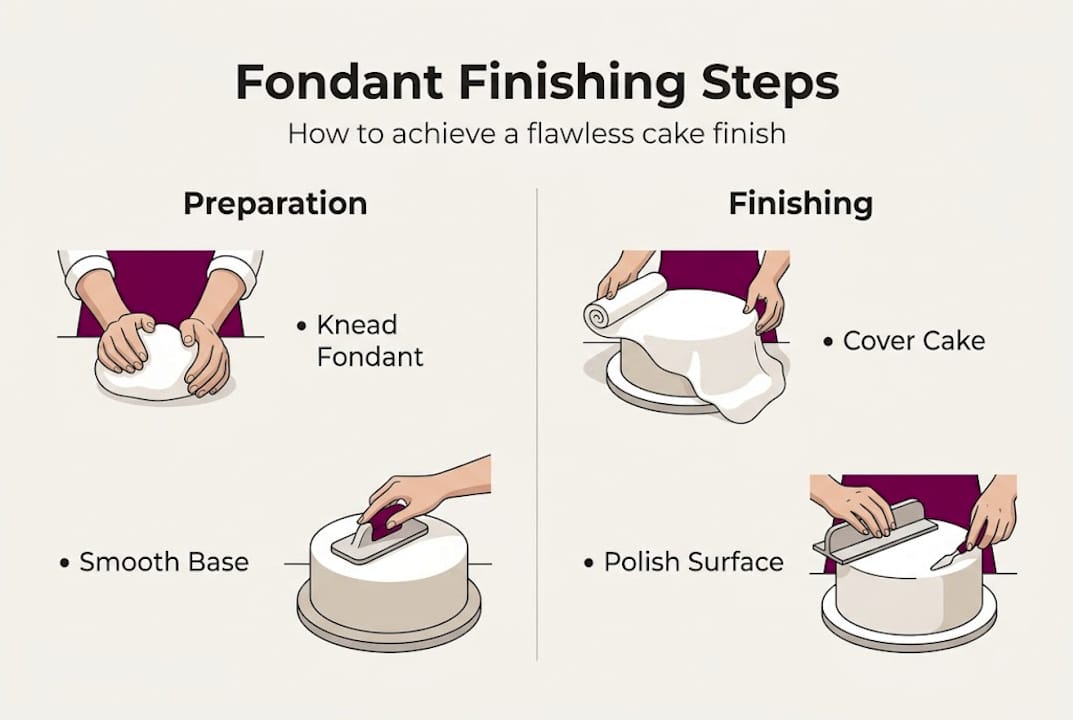
- Knead the fondant – work it until it’s soft, warm, and pliable. Cold fondant tears.
- Dust your surface – a light dusting of cornflour or icing sugar prevents sticking.
- Roll to an even thickness – aim for around 4 to 5mm. Too thin and it tears; too thick and it looks heavy.
- Lift gently – use your rolling pin to lift the fondant, draping it over the pin rather than your hands.
- Lay over the cake – start from one side and gently lower it across, smoothing from the top downwards.
- Smooth the top first – use your smoother in circular motions before moving to the sides.
- Work the sides downward – ease the fondant down and outward to avoid pleats, then trim the excess.
Using specific rolling and covering techniques is what separates a wrinkle-free finish from a frustrating one.
| Method | Pros | Cons | Best for |
|---|---|---|---|
| Rolling pin lift | Quick, traditional | Requires confidence | Intermediate and above |
| Fondant mat | More control, less tearing | Slightly slower | Beginners and nervous decorators |
If you spot an air bubble, don’t press it. Instead, pierce it gently with a clean pin at an angle, then smooth the fondant back over. For tears, a tiny bit of water or edible glue and gentle pressure can seal small ones invisibly. For more help with this, our guide to step-by-step fondant covering is a great resource.
Troubleshooting common fondant finishing mistakes
Even when following every step, fondant can be unpredictable, so let’s cover what to do when things go wrong.
Here are the most common issues and how to fix them:
- Cracking – usually caused by dryness. Knead in a tiny amount of vegetable shortening to restore elasticity. Our guide to fixing fondant cracks covers proven cracking techniques in detail.
- Elephant skin – that wrinkled, saggy texture happens when fondant is overworked or too warm. Work quickly and keep your hands cool.
- Sticky surface – too much moisture in the room or on the cake. Dust lightly with cornflour and allow to dry in a cool spot.
- Streaks or marks – often from using fingers instead of a smoother. Switch to your smoother tool immediately.
- Fondant sliding – the crumb coat wasn’t sticky enough. A light brush of cooled boiled water can help it grip.
- Uneven edges at the base – trim with a sharp knife after the fondant has rested for five minutes and firmed slightly.
‘Don’t panic, most flaws can be hidden or fixed brilliantly!’
Pro Tip: Temperature and moisture are your biggest variables. A warm, humid kitchen speeds up drying and causes cracking, while a cold room can make fondant stiff and prone to tearing. Aim to work in a cool, dry space around 18 to 20 degrees Celsius.
And remember, creative decoration can conceal minor flaws beautifully. A well-placed sugar flower, a ribbon trim, or a dusting of edible shimmer can turn a small imperfection into a deliberate design feature. Knowing how to store your materials also helps, so check our tips on storing fondant correctly to keep it in perfect condition between uses.
Finishing touches: polishing and presenting your cake
Once the fondant is smooth and set, it’s time to truly elevate your cake with professional finishing touches. This is the fun part, where your personality really gets to shine.
Here are some brilliant ways to add that final polish:
- Buff to a sheen – rub the surface very gently with a piece of clean cling film or a food-safe foam pad in small circular motions. This creates a gorgeous, subtle shine without any product.
- Emboss patterns – press a textured mat or rolling pin lightly into the fondant while it’s still slightly soft. Check out embossed fondant effects for inspiration on adding shine and texture.
- Use stencils – lay a stencil flat against the surface and dust or brush over it with edible lustre or cocoa powder.
- Apply shimmer dust – a dry brush of pearl or gold lustre dust transforms a plain white fondant into something truly stunning.
- Add edible toppers – attach edible toppers and embellishments using a tiny amount of edible glue or water, pressing gently so they sit flush.
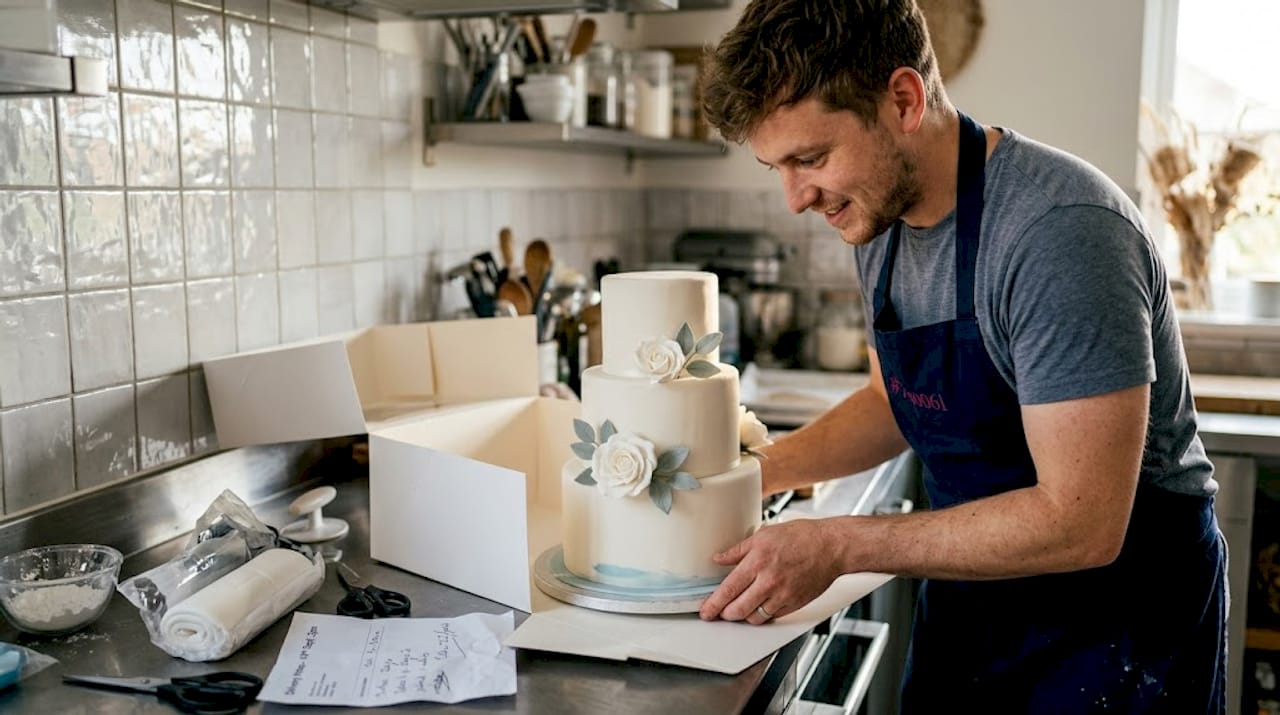
For transporting your finished cake, always use a sturdy cake box that fits the board snugly. This prevents the cake from sliding and keeps the surface pristine. A non-slip mat beneath the board inside the box adds extra security on the journey.
For longer storage before display, keep your decorated cake in a cool, dry place away from direct light. Our fondant freshness tips will help you keep everything looking its best right up to the moment it’s served.
Why confidence and creativity beat perfection with fondant
Here’s something we genuinely believe at The Vanilla Valley: the most memorable cakes aren’t always the most technically perfect ones. They’re the ones made with heart.
No fondant finish is ever truly flawless under close inspection, not even the ones you see winning at competitions. What makes them look incredible is the confidence of the decorator and the creative choices they make along the way. A beautifully placed sugar bloom over a tiny crack isn’t a cover-up. It’s artistry.
We see bakers hold themselves back because they’re afraid of making mistakes. But every imperfection is a lesson, and every cake you make gets you closer to the finish you’re dreaming of. Explore creative decoration ideas and let yourself experiment freely.
Technique matters, absolutely. But your creative instincts and willingness to keep going matter just as much. Trust yourself, enjoy the process, and the results will follow.
Get the right tools and guidance for stunning cakes
Putting all these tips into practice is so much easier when you have quality supplies to work with. The right fondant, a reliable smoother, and a sturdy turntable really do make the difference between a frustrating session and a brilliant one.

At The Vanilla Valley, we’ve been supporting bakers of all levels since 2009, and we stock everything you need to achieve that professional fondant finish at home or in your small business. From premium fondant to cake decorating supplies, boards, boxes, and finishing tools, it’s all here. Pop over to the shop, browse our full range, and find your next favourite product. We’d love to be part of your next bake!
Frequently asked questions
What causes fondant to crack or tear while covering a cake?
Cracking or tearing is usually due to dryness, over-stretching, or not kneading the fondant enough before covering. Our guide to avoiding fondant cracks covers the most effective prevention techniques.
How can I smooth fondant without leaving marks?
Use a fondant smoother tool and light, even pressure to glide over the surface, and avoid using fingers directly. Using a fondant smoother consistently yields clean, professional results.
Is it better to cover a chilled cake or a room temperature cake with fondant?
A chilled cake is best as it is firmer and less likely to shed crumbs or shift under the fondant. A smooth, firm surface makes fondant application significantly easier and neater.
Can decorations be added on top of fondant without ruining the finish?
Yes, edible toppers and decorations can be attached, but use gentle pressure and edible adhesive to avoid damage. Edible toppers add brilliant flair without ruining the surface when attached carefully.
How do I keep fondant and finished cakes fresh?
Store in a cool, dry place covered in a box, and avoid refrigeration unless the filling requires it. Proper fondant storage tips will help you maintain both texture and appearance for longer.
Recommended
- Stop fondant from cracking: Essential steps for perfect cakes - The Vanilla Valley
- Master crumb coating for flawless cake finishes: A step-by-step guide - The Vanilla Valley
- How to get a perfect crumb coat every time: flawless cakes - The Vanilla Valley
- Make your cakes look more professional: step-by-step guide - The Vanilla Valley