
Buttercream troubleshooting: Fix split, grainy or runny icing fast
TL;DR:
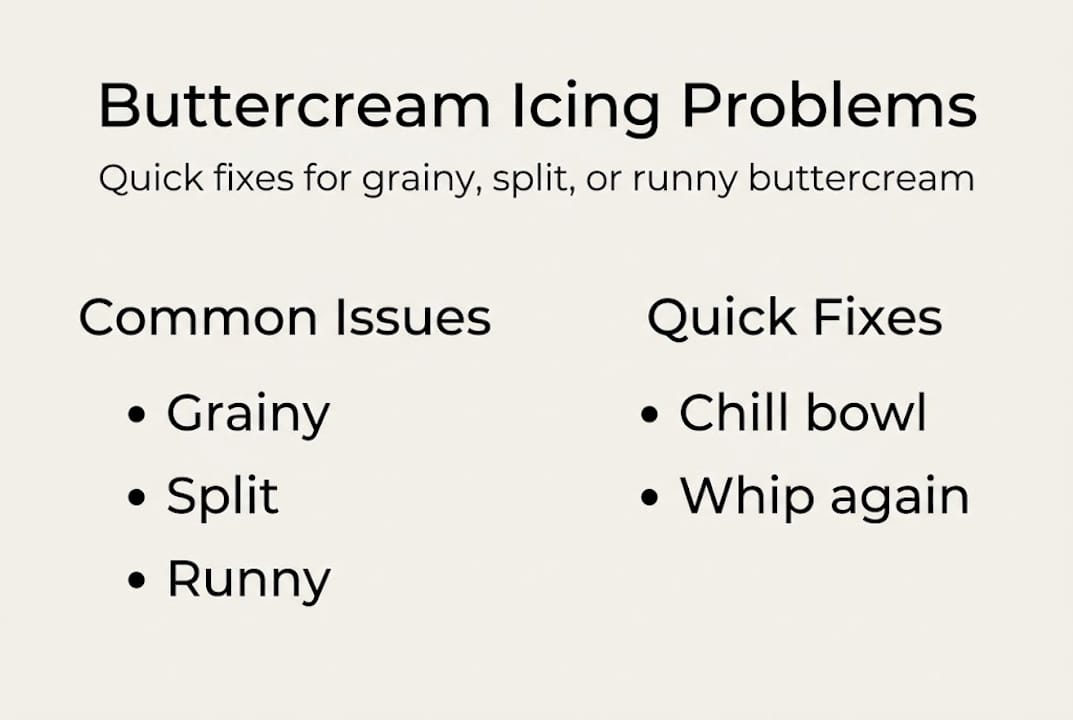
- Temperature is the main cause of most buttercream failures, including splitting, graininess, and runniness.
- Fixes often involve temperature adjustments like chilling or warming the bowl rather than adding more ingredients.
- Proper preparation and environment control ensure smooth, stable, and professional-quality buttercream results.
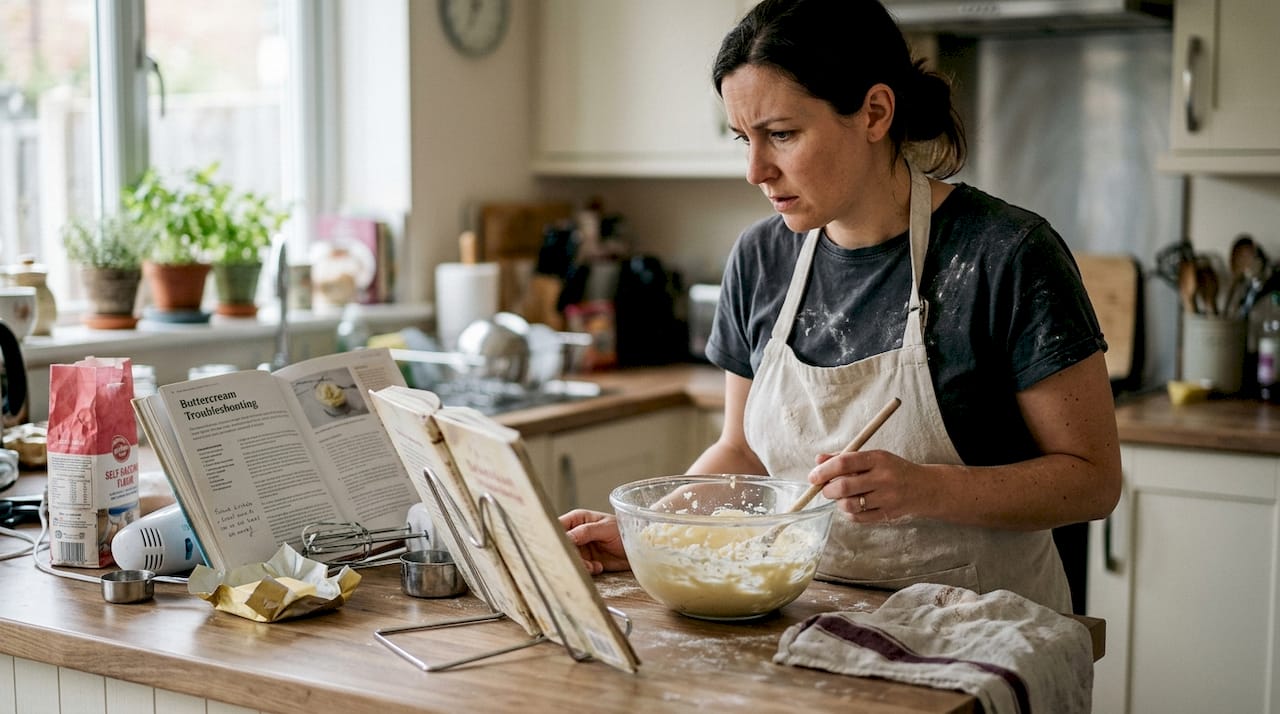
Buttercream is one of those things that looks simple until it isn’t. One minute you have a glossy, silky bowl of icing, and the next it’s a greasy, curdled mess. Sound familiar? Here’s the thing: most buttercream failures are not down to poor technique or a bad recipe. Temperature is almost always the real culprit. In this guide, we’ll walk you through exactly why your buttercream splits, turns grainy, or goes runny, and give you clear, step-by-step fixes to rescue it fast. Whether you’re working with American, Swiss, or Italian meringue buttercream, you’ll leave knowing how to recover your icing and nail a perfect finish every time.
Table of Contents
- Why buttercream icing fails: The science behind split, grainy and runny textures
- How to fix split, grainy and runny buttercream: Step-by-step remedies
- Prevention: The essential kitchen setup and habits for flawless buttercream
- Testing and applying your rescued buttercream: Finishing for professional results
- The truth about troubleshooting: Why temperature trumps quick fixes every time
- Level up your decorating: Expert resources and supplies from The Vanilla Valley
- Frequently asked questions
Key Takeaways
| Point | Details |
|---|---|
| Temperature is crucial | Most buttercream problems trace back to the mixture or room being too cold or too warm. |
| Fix before adding ingredients | Try temperature adjustments and extra mixing before adding sugar or butter to rescue split or runny icing. |
| Prevention starts in setup | Room temperature ingredients and a stable kitchen environment prevent most icing disasters. |
| Test rescued icing | Check the consistency by spreading or piping before decorating to ensure professional results. |
Why buttercream icing fails: The science behind split, grainy and runny textures
Now that you know most icing mishaps aren’t your fault, let’s look under the hood at what’s really happening.
Buttercream is an emulsion. That means fat and water are being held together in a delicate balance. When something upsets that balance, whether it’s heat, cold, or the wrong ingredient ratio, the whole thing can fall apart. The three most common failures are splitting (where the fat separates from the liquid), graininess (a rough, sandy texture), and runniness (icing that won’t hold its shape).
68% of splits are temperature-related, and 75% of runny issues resolve with chilling. That’s a striking statistic. It means the vast majority of problems you’re facing in the kitchen have a straightforward fix, once you understand what’s going on.
What causes each failure type?
- Split buttercream: Usually caused by butter that’s too cold (below 16°C) or too warm (above 25°C). Cold butter won’t incorporate properly; warm butter turns the emulsion greasy.
- Grainy buttercream: In American buttercream, this is almost always undissolved sugar causing that gritty texture. In Swiss or Italian meringue types, graininess usually signals emulsion failure rather than a sugar issue.
- Runny buttercream: Most often caused by a warm kitchen, over-mixing, or adding too much liquid at once.
For a deeper look at why your icing might be gritty, our article on grainy buttercream causes is a great next read.
Buttercream failure comparison
| Buttercream type | Most likely failure | Primary cause |
|---|---|---|
| American | Grainy texture | Undissolved icing sugar |
| American | Runny | Too much liquid or warm butter |
| Swiss meringue | Split or curdled | Temperature fluctuation |
| Italian meringue | Split | Hot syrup added too fast |
| All types | Runny | Warm kitchen or over-mixing |
The science of Swiss meringue buttercream is particularly interesting because it relies on a stable protein foam from egg whites, which is far more sensitive to temperature than a simple butter and sugar mix. Understanding which type you’re working with changes everything about how you fix it.
How to fix split, grainy and runny buttercream: Step-by-step remedies
Understanding the causes lets you take the best route to a fix. Here’s exactly what to do when things go wrong.
Fixing split buttercream
- Stop mixing immediately. More beating won’t help at this stage.
- Check the temperature of your bowl. If it feels cold, warm it gently by placing the bowl over a pan of hot water for 30 seconds, then beat again.
- If the bowl feels warm or greasy, pop it in the fridge for 10 to 15 minutes, then beat again on medium speed.
- For meringue buttercreams, follow the meringue buttercream recovery steps and keep beating. It often looks worse before it comes together.
- Still split? Try adding one tablespoon of room-temperature butter and beat on low until it incorporates.
Fixing grainy buttercream
Beating for 5 to 10 minutes, adding a splash of cream, or gentle heating fixes most cases of graininess. For American buttercream, try these steps:
- Beat on medium speed for an extra 5 minutes before adding anything else.
- Add one teaspoon of double cream and beat again.
- If still grainy, warm the bowl slightly and beat until smooth.
For meringue types, graininess usually means the emulsion has broken. Gentle warming and sustained beating is your best bet. If granulated (not caster) sugar was used in Swiss meringue, the batch may need to be restarted. That’s one situation where salvaging isn’t really possible.
Fixing runny buttercream
- Chill the bowl in the fridge for 15 to 20 minutes, then beat again.
- Avoid adding more icing sugar as a first step. It changes the flavour balance and can create a crust.
- Temperature-corrective methods are what professionals reach for first, not extra ingredients.
For a full list of rescue techniques, our guide to fix common buttercream problems covers even more scenarios. And when you’re ready to go further, our tips on how to achieve perfect buttercream texture are brilliant for building long-term confidence.
Pro Tip: Always try a temperature correction first. Chill or warm the bowl before reaching for extra butter or sugar. Adding ingredients to an already unstable mix often makes things worse, not better.
Prevention: The essential kitchen setup and habits for flawless buttercream
Fixes are crucial, but prevention is best. Here’s how to set up your kitchen for consistent, fail-proof results.
The single biggest thing you can do is control your environment. A stable kitchen temperature between 20 and 22°C, with butter at around 18°C, gives you the best possible starting conditions. Butter that’s too cold won’t cream properly; butter that’s too soft turns the whole mix greasy before you’ve even started.
Ingredient prep checklist
- Always sift your icing sugar before adding it. Lumps are the main cause of graininess in American buttercream.
- Take butter out of the fridge at least an hour before you start. It should leave a slight indent when pressed but not feel oily.
- Add liquid (cream, milk, flavouring) gradually, one teaspoon at a time.
- Never rush the creaming stage. Beat butter and sugar together until genuinely pale and fluffy before adding anything else.
Daily habits that make a real difference
Mix on medium speed, not high. High speed introduces too much air too quickly and can warm the butter unevenly. When you’re adding food colour or flavouring, check the consistency as you go. Gel colours are far less likely to affect texture than liquid ones. Our guide on how to colour buttercream without texture change is worth bookmarking for this exact reason.
When you’re deciding which style of buttercream to make, it helps to understand the differences. Our breakdown on choosing buttercream styles is a great starting point.
Ideal benchmarks for buttercream success
| Factor | Ideal condition | Why it matters |
|---|---|---|
| Kitchen temperature | 20 to 22°C | Prevents butter melting or seizing |
| Butter temperature | Around 18°C | Ensures proper emulsification |
| Icing sugar | Sifted, fine | Avoids graininess |
| Mixing speed | Medium | Prevents over-warming |
| Liquid addition | Gradual, 1 tsp at a time | Avoids runniness |
Pro Tip: Before you start decorating, spread a small amount of buttercream on a piece of baking parchment and pipe a small swirl. If it holds its shape cleanly and doesn’t weep, you’re good to go. This takes 30 seconds and saves a lot of heartache.
Testing and applying your rescued buttercream: Finishing for professional results
With your buttercream now rescued and stable, let’s make sure it’s actually ready to shine on your bakes.
Rescuing buttercream is satisfying, but it’s not quite the finish line. Before you start decorating, you need to confirm the icing is genuinely stable and not just holding together temporarily. A quick test makes all the difference.
How to test your rescued buttercream
- Spread a small amount onto baking parchment using a palette knife. It should spread smoothly without tearing or looking greasy.
- Pipe a small swirl using your chosen nozzle. It should hold its shape for at least 5 minutes at room temperature.
- Press a finger lightly into the surface. It should feel firm but not stiff, and shouldn’t leave an oily residue.
- Lift a spoonful and let it fall back into the bowl. It should ribbon off the spoon and hold a soft peak.
“Meringue types hold peaks best but require exact temperatures for sharp piping.” Testing on parchment after any fix is the professional’s way of confirming the icing is truly ready.
Signs you’re ready to decorate
- The icing holds a clean peak when lifted with a spatula.
- It spreads without dragging or crumbling.
- Piped shapes keep their definition after a few minutes.
- There’s no visible pooling of butter or liquid around the edges.
Signs you need to adjust again
- The icing slumps or spreads immediately after piping.
- There are visible shiny patches or pools of fat.
- The texture feels gritty or uneven on the parchment.
Once you’re confident the buttercream is stable, you’re ready for the creative part. Our guide to piping cupcake swirls is brilliant for beginners, and if you want to push your skills further, our article on creative buttercream techniques is full of inspiring ideas.
The truth about troubleshooting: Why temperature trumps quick fixes every time
So, what truly sets successful bakers apart from those always fighting their icing? Here’s the honest answer.
Social media is full of quick fixes. “Just add more icing sugar.” “Throw in extra butter.” We’ve seen it all. And honestly, we’ve tried it all too, usually in a panic at 11pm before a big order. The result? Icing that was too sweet, too stiff, or that started sweating on the cake by the next morning.
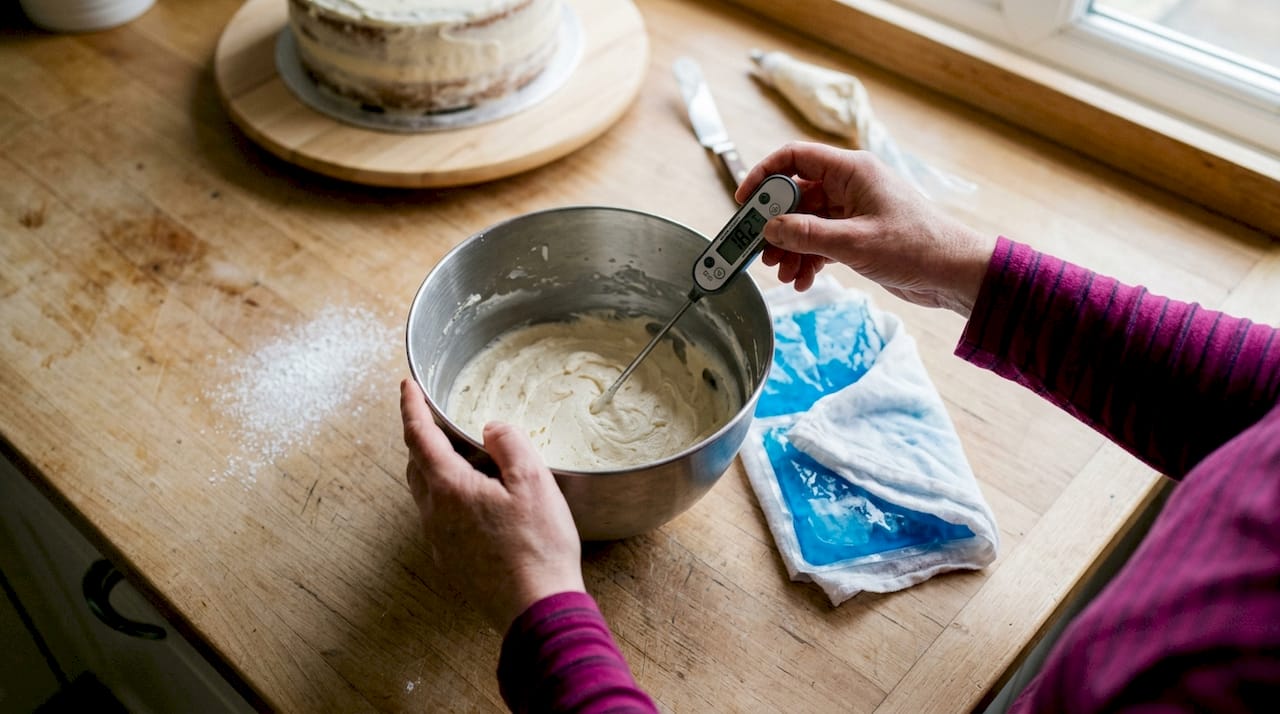
The professionals we admire don’t reach for extra ingredients first. They reach for a thermometer. Temperature management isn’t some advanced skill reserved for patisserie chefs. It’s the most accessible, most reliable tool any baker has. Once we started treating the kitchen temperature and butter temperature as non-negotiables, rather than nice-to-haves, everything changed.
Our buttercream problem-solving insights reflect years of real experience, not just theory. A simple digital thermometer costs a few pounds and saves hours of frustration. That’s a trade we’d make every single time.
Level up your decorating: Expert resources and supplies from The Vanilla Valley
Ready to put your reliable buttercream skills into practice? The right tools and supplies make all the difference.
At The Vanilla Valley, we’ve been helping bakers get brilliant results since 2009, from our shop in North Cardiff and online across the UK. Whether you’re after gel food colours that won’t affect your icing texture, quality piping bags, or the finest decorating accessories, we’ve got everything you need.

Explore our full range of cake decorating supplies and discover why thousands of bakers trust us for their most important bakes. And if you want to keep building your skills, our guide to perfect textured buttercream is the ideal next step. Great buttercream starts with great ingredients and the right knowledge. We’re here for both.
Frequently asked questions
Why does my buttercream keep splitting?
Temperature causes most splits, as butter that is too cold or too warm prevents the fat and liquid from emulsifying properly. Try chilling or warming your bowl before beating again.
Can you fix buttercream that is too runny?
Yes, chilling the bowl for 15 to 20 minutes and whipping again resolves most cases. Runny buttercream is typically fixed by adjusting temperature rather than adding more sugar or butter.
Is grainy buttercream safe to eat?
Grainy buttercream is perfectly safe to eat, just not very pleasant in texture. Additional beating or a little cream usually resolves graininess in American buttercream within a few minutes.
What temperature should my ingredients be for perfect buttercream?
Room-temperature butter at around 18°C and a kitchen between 20 and 22°C give you the best foundation for smooth, stable buttercream every time.
Recommended
- 7 Easy Ways to Fix Common Buttercream Problems at Home - The Vanilla Valley
- How to Colour Buttercream Without Ruining the Texture Easily - The Vanilla Valley
- 7 Essential Creative Buttercream Techniques for Beginners - The Vanilla Valley
- Buttercream Breakdown: Choosing the Right Style - The Vanilla Valley