
Master textured buttercream techniques for stunning cakes
TL;DR:
- Textured buttercream features deliberate marks and patterns, making cakes unique and expressive.
- Achieving the perfect texture requires slightly thicker buttercream, prepared by specific mixing techniques.
- Basic tools like spoons, palette knives, and combs can create a variety of stunning textures at home.
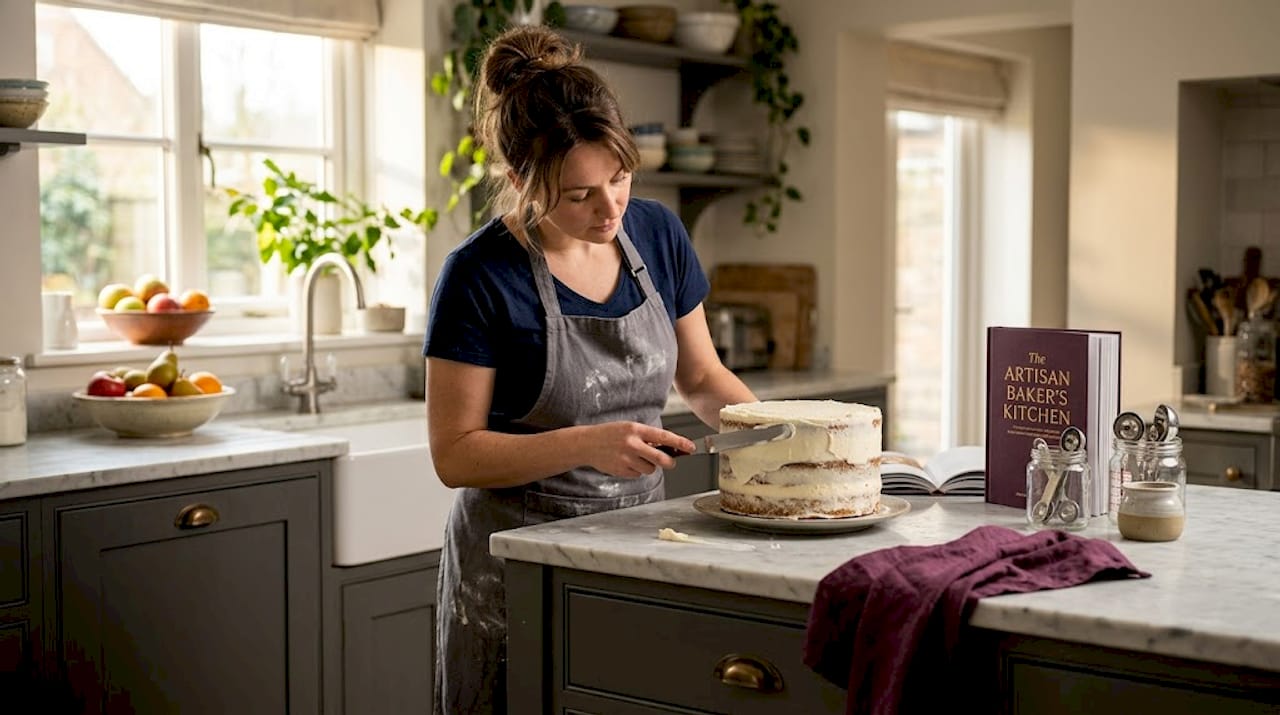
Textured buttercream has taken the cake decorating world by storm, and the brilliant news is that you don’t need to be a professional pastry chef to pull it off. Many bakers assume that those gorgeous swirled, ridged, or stucco-effect finishes belong in the realm of competition cakes and fancy bakeries. Not true at all. With the right buttercream consistency, a few accessible tools, and a willingness to experiment, you can create truly show-stopping results at home. This guide walks you through everything, from mixing your buttercream correctly to exploring the most exciting on-trend textures around right now.
Table of Contents
- Understanding textured buttercream
- How to prepare the ideal buttercream for texture
- Tools and simple techniques for stunning textures
- Creative ideas: modern textured buttercream styles
- Our perspective: the overlooked secrets to textured buttercream success
- Find tools and inspiration for your next textured cake
- Frequently asked questions
Key Takeaways
| Point | Details |
|---|---|
| Buttercream texture matters | A thicker, well-whipped buttercream will hold textured shapes and give clean results. |
| Tools are flexible | Great textures are achievable with common kitchen utensils, not just professional tools. |
| Troubleshooting is easy | Adjust sugar or cream amounts and remix for perfect consistency every time. |
| Inspiration unlocks creativity | Explore different styles and experiment with techniques to find your signature look. |
Understanding textured buttercream
So, what exactly do we mean by textured buttercream? Simply put, it’s any decorative finish on a cake where the buttercream surface has deliberate, visible marks, patterns, or raised effects rather than a perfectly smooth coating. Think rustic swirls, combed ridges, stucco peaks, or bold palette knife strokes. The effect can be wildly artistic or quietly elegant, and that’s part of what makes it so appealing.
Textured buttercream differs from a smooth crumb coat or a polished finish in one key way: intention. Every mark is part of the design. That means imperfections aren’t disasters; they’re often what gives a cake its character and charm.
Why consistency is everything
Here’s the thing that trips up so many bakers. The texture you create on the outside of a cake is only as good as the buttercream you’re working with. If it’s too soft, those beautiful ridges will slump and disappear. If it’s too stiff, you’ll end up dragging and tearing rather than sculpting.
For perfect textured buttercream technique, you need a buttercream that’s slightly thicker than what you’d use for a simple crumb coat. According to best buttercream guidance, using cool room-temperature butter, sifted icing sugar, and a paddle attachment on low speed, beaten for 7 to 10 minutes until you reach soft peaks, gives you that ideal workable consistency.
Common textured effects and what creates them
| Texture style | Tool used | Skill level | Effect |
|---|---|---|---|
| Rustic swirls | Spoon back or palette knife | Beginner | Organic, handmade feel |
| Combed ridges | Cake comb or fork | Beginner | Clean, geometric lines |
| Stucco peaks | Small offset spatula | Beginner to intermediate | Textured, tactile finish |
| Palette knife flowers | Palette knife | Intermediate | Painterly, artistic look |
| Ombré ridges | Cake comb and multiple colours | Intermediate | Modern and colourful |
Here are the most popular effects you’ll see on cakes right now:
- Rustic swirls: Sweeping strokes with a palette knife for that warm, homemade aesthetic
- Combed stripes: Horizontal or vertical lines using a cake comb or even a fork
- Stucco effect: Lots of small, dabbed peaks that look like textured plaster
- Pulled peaks: A spoon or spatula dabbed and pulled away quickly for a spiky finish
- Painterly swipes: Bold, overlapping palette knife strokes in one or multiple colours
Pro Tip: You don’t need to commit to just one texture. Combining a combed base with a few palette knife flower accents is a brilliant way to make a cake feel both polished and creative. Exploring colouring buttercream without ruining texture is worth doing before you start adding colour to your designs.
How to prepare the ideal buttercream for texture
Now that you know why texture matters, let’s talk about actually making your buttercream ready for decorating. Getting this part right saves so much frustration later. Many bakers rush through mixing and then wonder why their beautiful designs won’t hold up. The preparation stage is genuinely where the magic starts.
Your basic buttercream recipe for texture
A reliable starting point is this ratio: 2 sticks of unsalted butter (around 225g), 3 cups of sifted icing sugar, and 1 to 2 tablespoons of double cream or milk. That gives you a firm but workable base.
Here’s the step-by-step process we recommend:
- Start with cool room-temperature butter. Not melted, not fridge-cold. It should feel pliable but still slightly cool to the touch. Around 20°C is spot on.
- Sift your icing sugar. Always. Skipping this step is the number one cause of a gritty, grainy finish that no amount of texturing will hide.
- Use a paddle attachment on low speed. Add your icing sugar gradually. Low speed prevents clouds of sugar and reduces the amount of air you incorporate.
- Beat for 7 to 10 minutes. This is longer than most people expect. You’re aiming for a light, whipped consistency with soft peaks.
- Add cream one tablespoon at a time. Check the consistency after each addition. You want it to hold a peak without drooping.
- Test with a spatula. Scoop some up and flip it. It should hold its shape for a few seconds before slowly falling. That’s your green light.
“Getting the right texture in your buttercream before you even pick up a tool is honestly the most important step. Once you nail this, everything else follows so much more naturally.”
Fixing common buttercream problems
Even experienced bakers run into issues. The good news is that most problems have simple fixes. As buttercream troubleshooting experts explain, if your buttercream is too soft, add more icing sugar a tablespoon at a time or pop it in the fridge for 10 to 15 minutes before rebeating. Too stiff? Add cream, just a little, and mix again.
Graininess is another common frustration. This usually comes from unsifted sugar or cold butter, and the fix is often as simple as letting the mixture come up to room temperature and beating it again. If you’re baking in humid conditions, you may need to add extra icing sugar to compensate for the moisture in the air.
Overmixing is a sneaky one. It creates a very airy, almost mousse-like buttercream that looks lovely but won’t hold texture well. If you’ve gone too far, you can often rescue it by switching to a spatula and hand-beating briefly to knock out some of the air. Our buttercream troubleshooting guide covers all of these scenarios in detail if you want to go deeper.
Tools and simple techniques for stunning textures
After mastering buttercream consistency, the really fun part begins: shaping the texture. And here’s the exciting bit. You genuinely do not need a fancy toolkit to get started.
What tool creates what effect?
| Tool | Texture created | Ease of use | Level of control needed |
|---|---|---|---|
| Spoon back | Peaks and swirls | Very easy | Low |
| Palette knife | Swipes, rustic finishes | Easy | Low to medium |
| Cake comb | Ridges, stripes | Easy with practice | Medium |
| Fork | Fine ridges | Very easy | Low |
| Offset spatula | Stucco, smooth dabs | Easy | Low to medium |
| Piping bag and nozzle | Rosettes, rope borders | Moderate | Medium to high |
Here are some tools worth having in your kit, even as a beginner:
- Palette knife: An absolute essential. Both the flat and angled varieties have different uses. The angled one is brilliant for sweeping strokes.
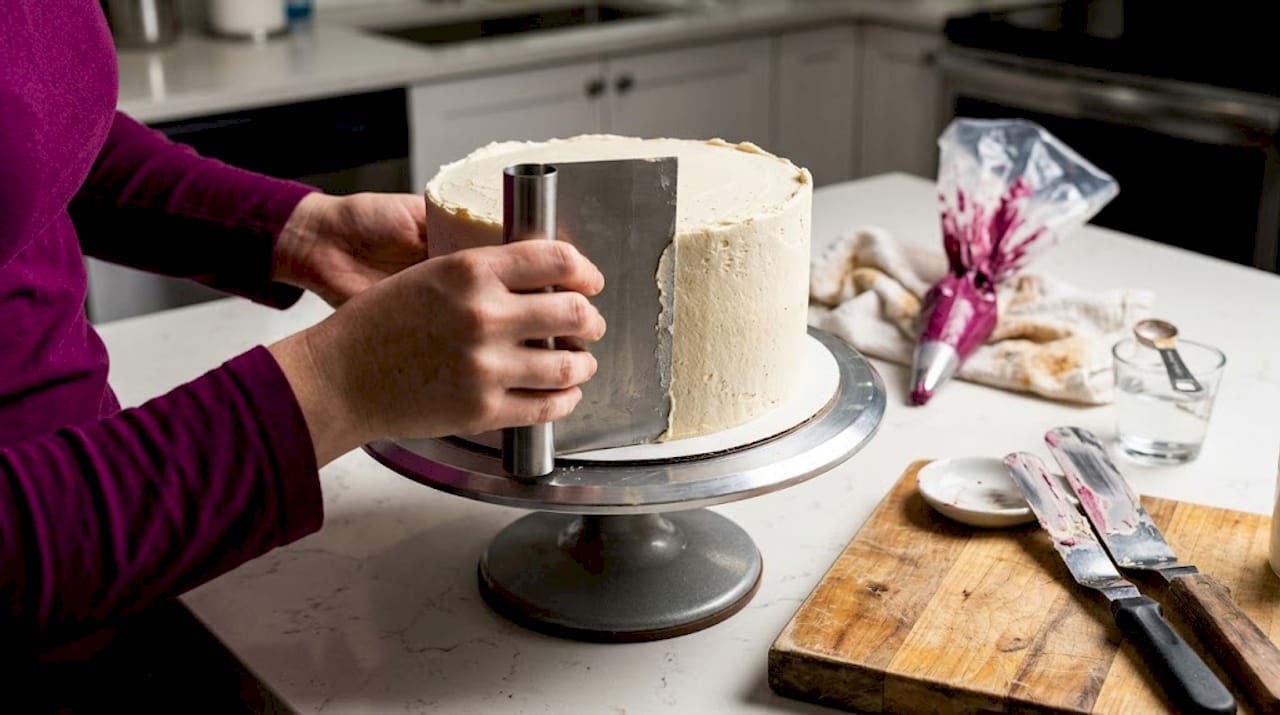
- Cake comb (also called a scraper): Creates those satisfying uniform ridges that look incredibly professional.
- Small offset spatula: Perfect for stucco effects and dabbing individual peaks.
- Spoon: Yes, an ordinary spoon from your kitchen drawer. The back of a spoon dragged gently through buttercream creates beautiful organic swirls.
- Fork: For a fine, delicate ridge effect, draw a fork lightly across the surface.
Pro Tip: Try using both ends of your palette knife. The tip creates fine detail work and small flower petals, while the flat of the blade gives you those broad, sweeping strokes that look stunning on a semi-naked style cake.
For building confidence with creative buttercream techniques, start with a stucco finish. It’s the most forgiving of all the styles because slight variations in your dabbing pressure actually add to the look rather than detracting from it. Once you’re feeling brave, try piping simple cupcake swirls to build your piping control before tackling full cake designs.
Creative ideas: modern textured buttercream styles
With the basic techniques in hand, let’s explore some genuinely exciting directions you can take your textured cakes. The world of buttercream design has expanded enormously in recent years, and there are so many styles that work brilliantly whether you’re making a birthday cake or something more elaborate.
Styles that are having a real moment right now
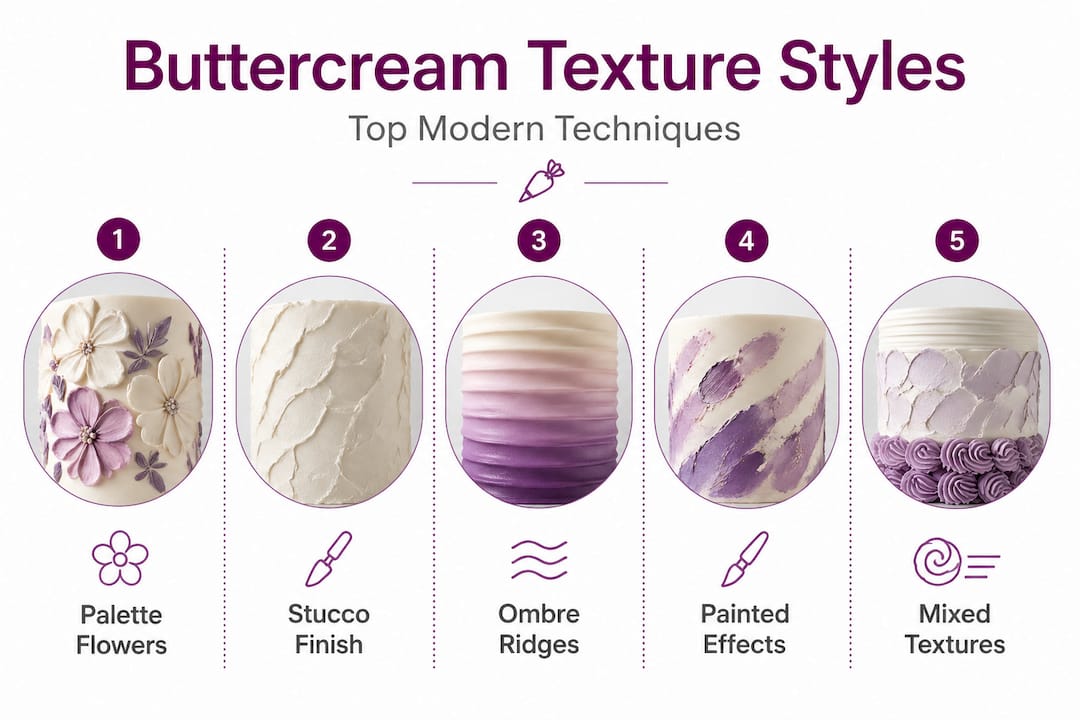
Palette knife flowers are one of the most popular looks on social media right now and for good reason. Using small blobs of coloured buttercream and a palette knife, you build up petal shapes directly on the cake surface. The effect is painterly and organic, and every cake ends up completely unique. As a basic texture tutorial demonstrates, you don’t need specialist tools here at all.
The stucco finish gives cakes a Mediterranean, tactile quality that’s incredibly versatile. It pairs beautifully with dried flowers, bronze sprinkles, or a drizzle of metallic lustre dust mixed with clear alcohol. It’s also the perfect base if you want to add painted effects afterwards.
Ombré ridges involve blending two or more colours as you work a cake comb around the cake. The result is a gradient of colour within the ridged texture, and it photographs brilliantly.
Geometric stripes use firm, evenly spaced passes of a comb to create a bold, structured look that feels very modern and editorial.
Here’s a quick list of style prompts to inspire your next project:
- Rustic - soft swirls, muted tones, dried botanicals as decoration
- Abstract - overlapping palette knife strokes in clashing or complementary colours
- Modern minimalist - clean combed ridges in a single bold colour
- Romantic - palette knife flowers in blush and cream with gold leaf accents
- Earthy and textural - stucco finish in terracotta tones with pressed flowers
Combining textures with colour is where things get really creative. Colouring without changing texture is a skill worth developing early. Gel food colours are the go-to choice because they add pigment without adding liquid that would soften your carefully prepared buttercream. And if you want to avoid any texture being lost through overmixing when adding colour, this guide on silky results without overmixing is genuinely invaluable.
Textured buttercream also makes the most wonderful base for painted effects. Once your ridged or stucco surface has chilled and set slightly, you can paint over it with edible metallic dust mixed with a little vodka or rejuvenator spirit. The paint settles into the grooves and raised areas differently, creating real depth and drama.
Our perspective: the overlooked secrets to textured buttercream success
We’ve seen so many bakers come through our community, both beginners and seasoned decorators, and the thing that holds most people back isn’t technique. It’s the fear of making a mistake. There’s this idea that a textured cake has to look a specific way, and if it doesn’t match that Instagram-perfect image, it’s somehow failed.
That’s just not true, and honestly, some of the most beautiful cakes we’ve seen have been gloriously imperfect.
Here’s something we genuinely believe: worrying less about perfection and more about expression leads to more interesting cakes. When you’re not trying to replicate someone else’s design exactly, you start making choices that are authentically yours. Your palette knife strokes have your own rhythm. Your stucco peaks have your own pressure behind them. That’s what makes a cake yours.
One thing we don’t see mentioned often enough is the value of letting your buttercream rest before texturing. After you’ve crumb-coated and applied your outer layer of buttercream, pop the cake in the fridge for just 10 to 15 minutes. This firms everything up slightly and, crucially, allows any air bubbles to settle. When you come back to add texture, the surface is more stable and your marks hold far more cleanly.
We also want to encourage you to fix buttercream problems without panic. Most issues mid-decoration are genuinely fixable. Scrape it back, rest the cake, and start the texture again. The buttercream doesn’t know you’ve started over.
Play is the real secret ingredient. Try your palette knife on a spare piece of baking paper before touching the cake. Experiment with your tools. See what a fork does versus a spoon. Give yourself permission to be curious rather than cautious, and the results will surprise you every time.
Find tools and inspiration for your next textured cake
Whether you’re just starting out with your first palette knife swipe or you’re ready to layer colours for a full ombré ridge design, having the right supplies makes the whole process so much more enjoyable.

At The Vanilla Valley, we stock everything you need to bring your textured buttercream visions to life. From gel food colours that keep your buttercream beautifully stable, to palette knives, cake combs, and offset spatulas, our cake decorating supplies are chosen with bakers like you in mind. We’ve been supporting the baking community since 2009, and we genuinely love seeing what you create. Browse our full range online, and don’t forget to check out our guides and cakespiration articles for even more ideas and techniques to keep your decorating skills growing.
Frequently asked questions
How do I keep my buttercream texture firm in hot weather?
In warm conditions, add more icing sugar gradually and chill your buttercream for 10 to 15 minutes before working with it to help it hold its shape during decorating.
Why does my textured buttercream look grainy?
Graininess almost always comes from unsifted sugar or cold butter, so always sift your icing sugar thoroughly and make sure your butter is at a cool but pliable room temperature before you start mixing.
Do I need special equipment for textured buttercream designs?
No. As demonstrated in many basic texture tutorials, everyday tools like spoons and palette knives create beautiful results, though quality combs and spatulas do add more consistency and control as your skills develop.
How can I fix buttercream that is too stiff or soft for texturing?
If your buttercream is too stiff, add cream a small amount at a time, or if too soft, add more icing sugar and remix until you reach the right peak consistency for texturing.
Recommended
- 7 Essential Creative Buttercream Techniques for Beginners - The Vanilla Valley
- Master Textured and Embossed Cake Decorating Techniques - The Vanilla Valley
- Colour your buttercream without overmixing for silky results - The Vanilla Valley
- Perfect Textured Buttercream: Elevate Your Cake Designs - The Vanilla Valley